Taking on your own DIY tiling project? Got your tile choice, adhesive and grout sorted? Next step is making sure you have all the tools for the job to achieve a professional and long-lasting result.
While most of the equipment you need may already be in your shed, there are a few essential tools you’ll have to invest in or hire. From prepping the walls or floor, laying down your tiles with absolute precision and cleaning the tiles when the job is done, here is our definitive list of tiling tools for your DIY project.

Preparing your workspace
- Pencil
- Dust sheet (if you need to cover up furniture)
- Tape measure
- Spirit level
- Stanley Knife
- Step ladder (for wall tiling)
- Clean rags
- Bucket
- Safety goggles (for cutting tiles)
Fixing your tiles
- Tile cutter
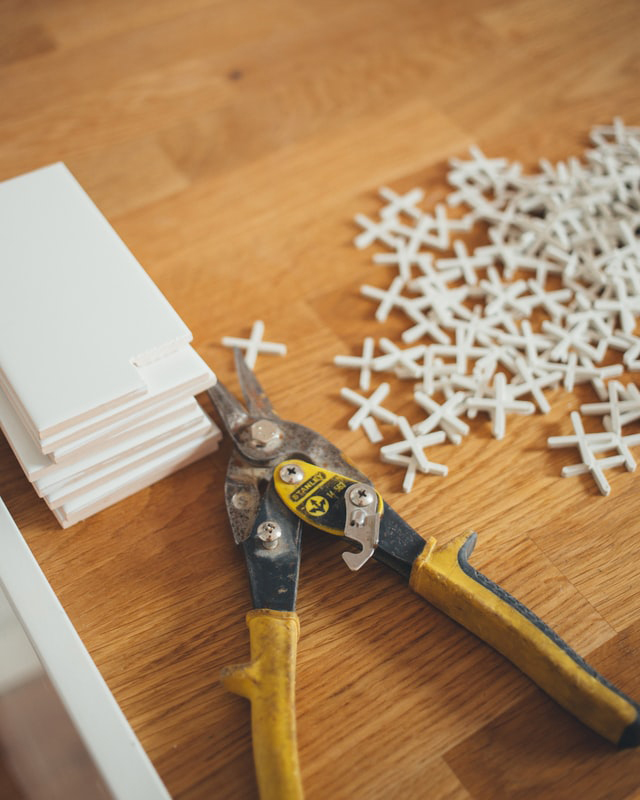
- Tile nipper
- Adhesive mixer (if you want to achieve the perfect mix)
- Notched trowel
- Rubber mallet (to gently tap the tile into place and ensure it bonds properly)
- Tile spacers
Tile cutter
Unless your room is perfectly square, you’re going to need a tile cutter to cut your tiles to the required shape and size. There are 3 different types of tile cutters you can buy or hire:
- Manual tile cutter – great for straight cuts in ceramic or porcelain tiles.
- Electric wet saw – ideal for straight or angled cuts in ceramic, porcelain, glass and natural stone. Water is used to avoid the dust factor and keep the blade cool, which helps minimise chipping.
- Angle grinder with a diamond cutting blade – an affordable and versatile cutting solution
Tile nipper
A tile nipper is great for slicing off small chunks of tile when you need to fine-tune a rounded edge or awkward spot. When using a tile nipper, make sure to file down any sharp or rough edges with a polishing pad for a perfect finish.
Notched trowel
Notched trowels are used for spreading tile adhesive onto the floor or wall. The straight edge of a trowel is used to evenly spread tile adhesive onto the surface you’re tiling. This ensures even coverage and thickness. The notched edge is used to apply ridges into the adhesive to support the back of the tile. Notches come in different sizes, so make sure you choose the best size based on your tiling project.
Tile spacers
Tiles spacers are a DIY tiler’s lifesaver! These little guys work to keep the spacing between all your tiles uniform. They also help to keep your tiles in place and maintain straight grout lines while the tile adhesive dries.

Grouting & finishing
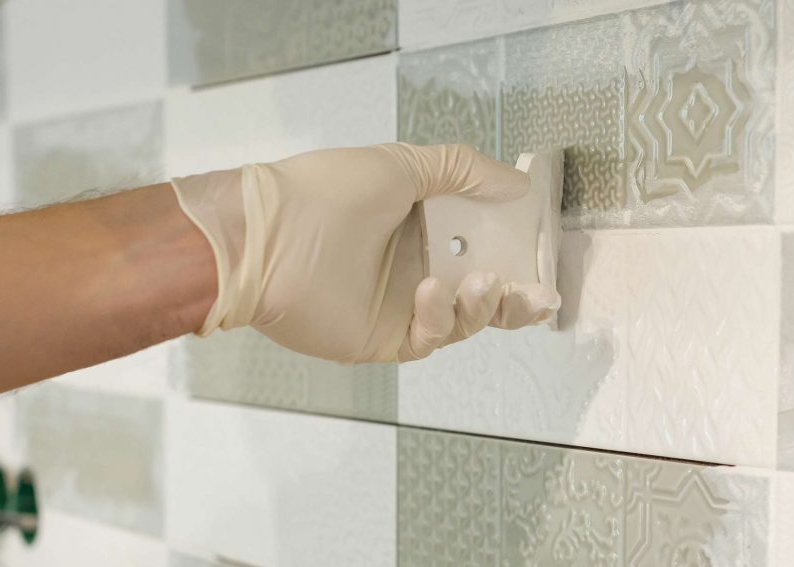
- Grout float
- Grout sponge
- Grout finisher
- Dustpan and brush
Grout float
A grout float is a flat trowel with a rubber base that is used to spread the grout into the joints (gaps) between the tiles. The rubber ensures an even spread.
Grout sponge
A grout sponge is used to smooth over the grout joints (after applying grout with a grout float) and cleaning excess grout from the tile faces. Always use a proper grout sponge! While you might think an ordinary household sponge will do the trick, the sharp edges have a tendency to pull the grout from the joints. Grout sponges are bigger, denser and have rounded corners.
Final thoughts
There’s nothing worse than having to stop-start a job because you don’t have a certain piece of equipment. Making sure you’ve got the right tools from the start will ensure you’re prepared, and result in professional looking tiles for your home or business.
Perth’s tile specialists
Be inspired by Ceramic Tile Supplies’ range of quality tiles. Browse through our extensive range of floor and wall tiles online or visit our Wangara and Myaree showrooms to see the full range of tiles in Perth.


