Taking on a DIY bathroom tiling project can be both exciting and rewarding. Whether you’re refreshing a tired space or completing a full renovation, tiling has the ability to completely transform the look and feel of your bathroom. With the right tools, preparation and mindset DIY tiling is achievable and a great way to upgrade your bathroom.
Before you begin laying tiles, it’s important to understand what goes into the process. From surface preparation to waterproofing and installation, each stage plays a crucial role in achieving a durable and visually appealing result.
Start with a Clear Plan

When taking on a DIY project, planning is essential. This will see each and every step of the process and ensure you are fully prepared and equipped when you come to it. First things first, to start planning, you’ll want to begin by measuring your space carefully and deciding on your tile selection early. Consider how the tiles will flow across the room, where your focal points will sit, and how cuts will be distributed.
Pro tip: Always allow for extra tiles for wastage and future repairs, as running short midway through the job can create delays (and sometimes a little bit of frustration).
It’s also worth thinking about how the bathroom is used day-to-day to ensure the space remains functional and fits in with your lifestyle.
Choose the Right Tiles
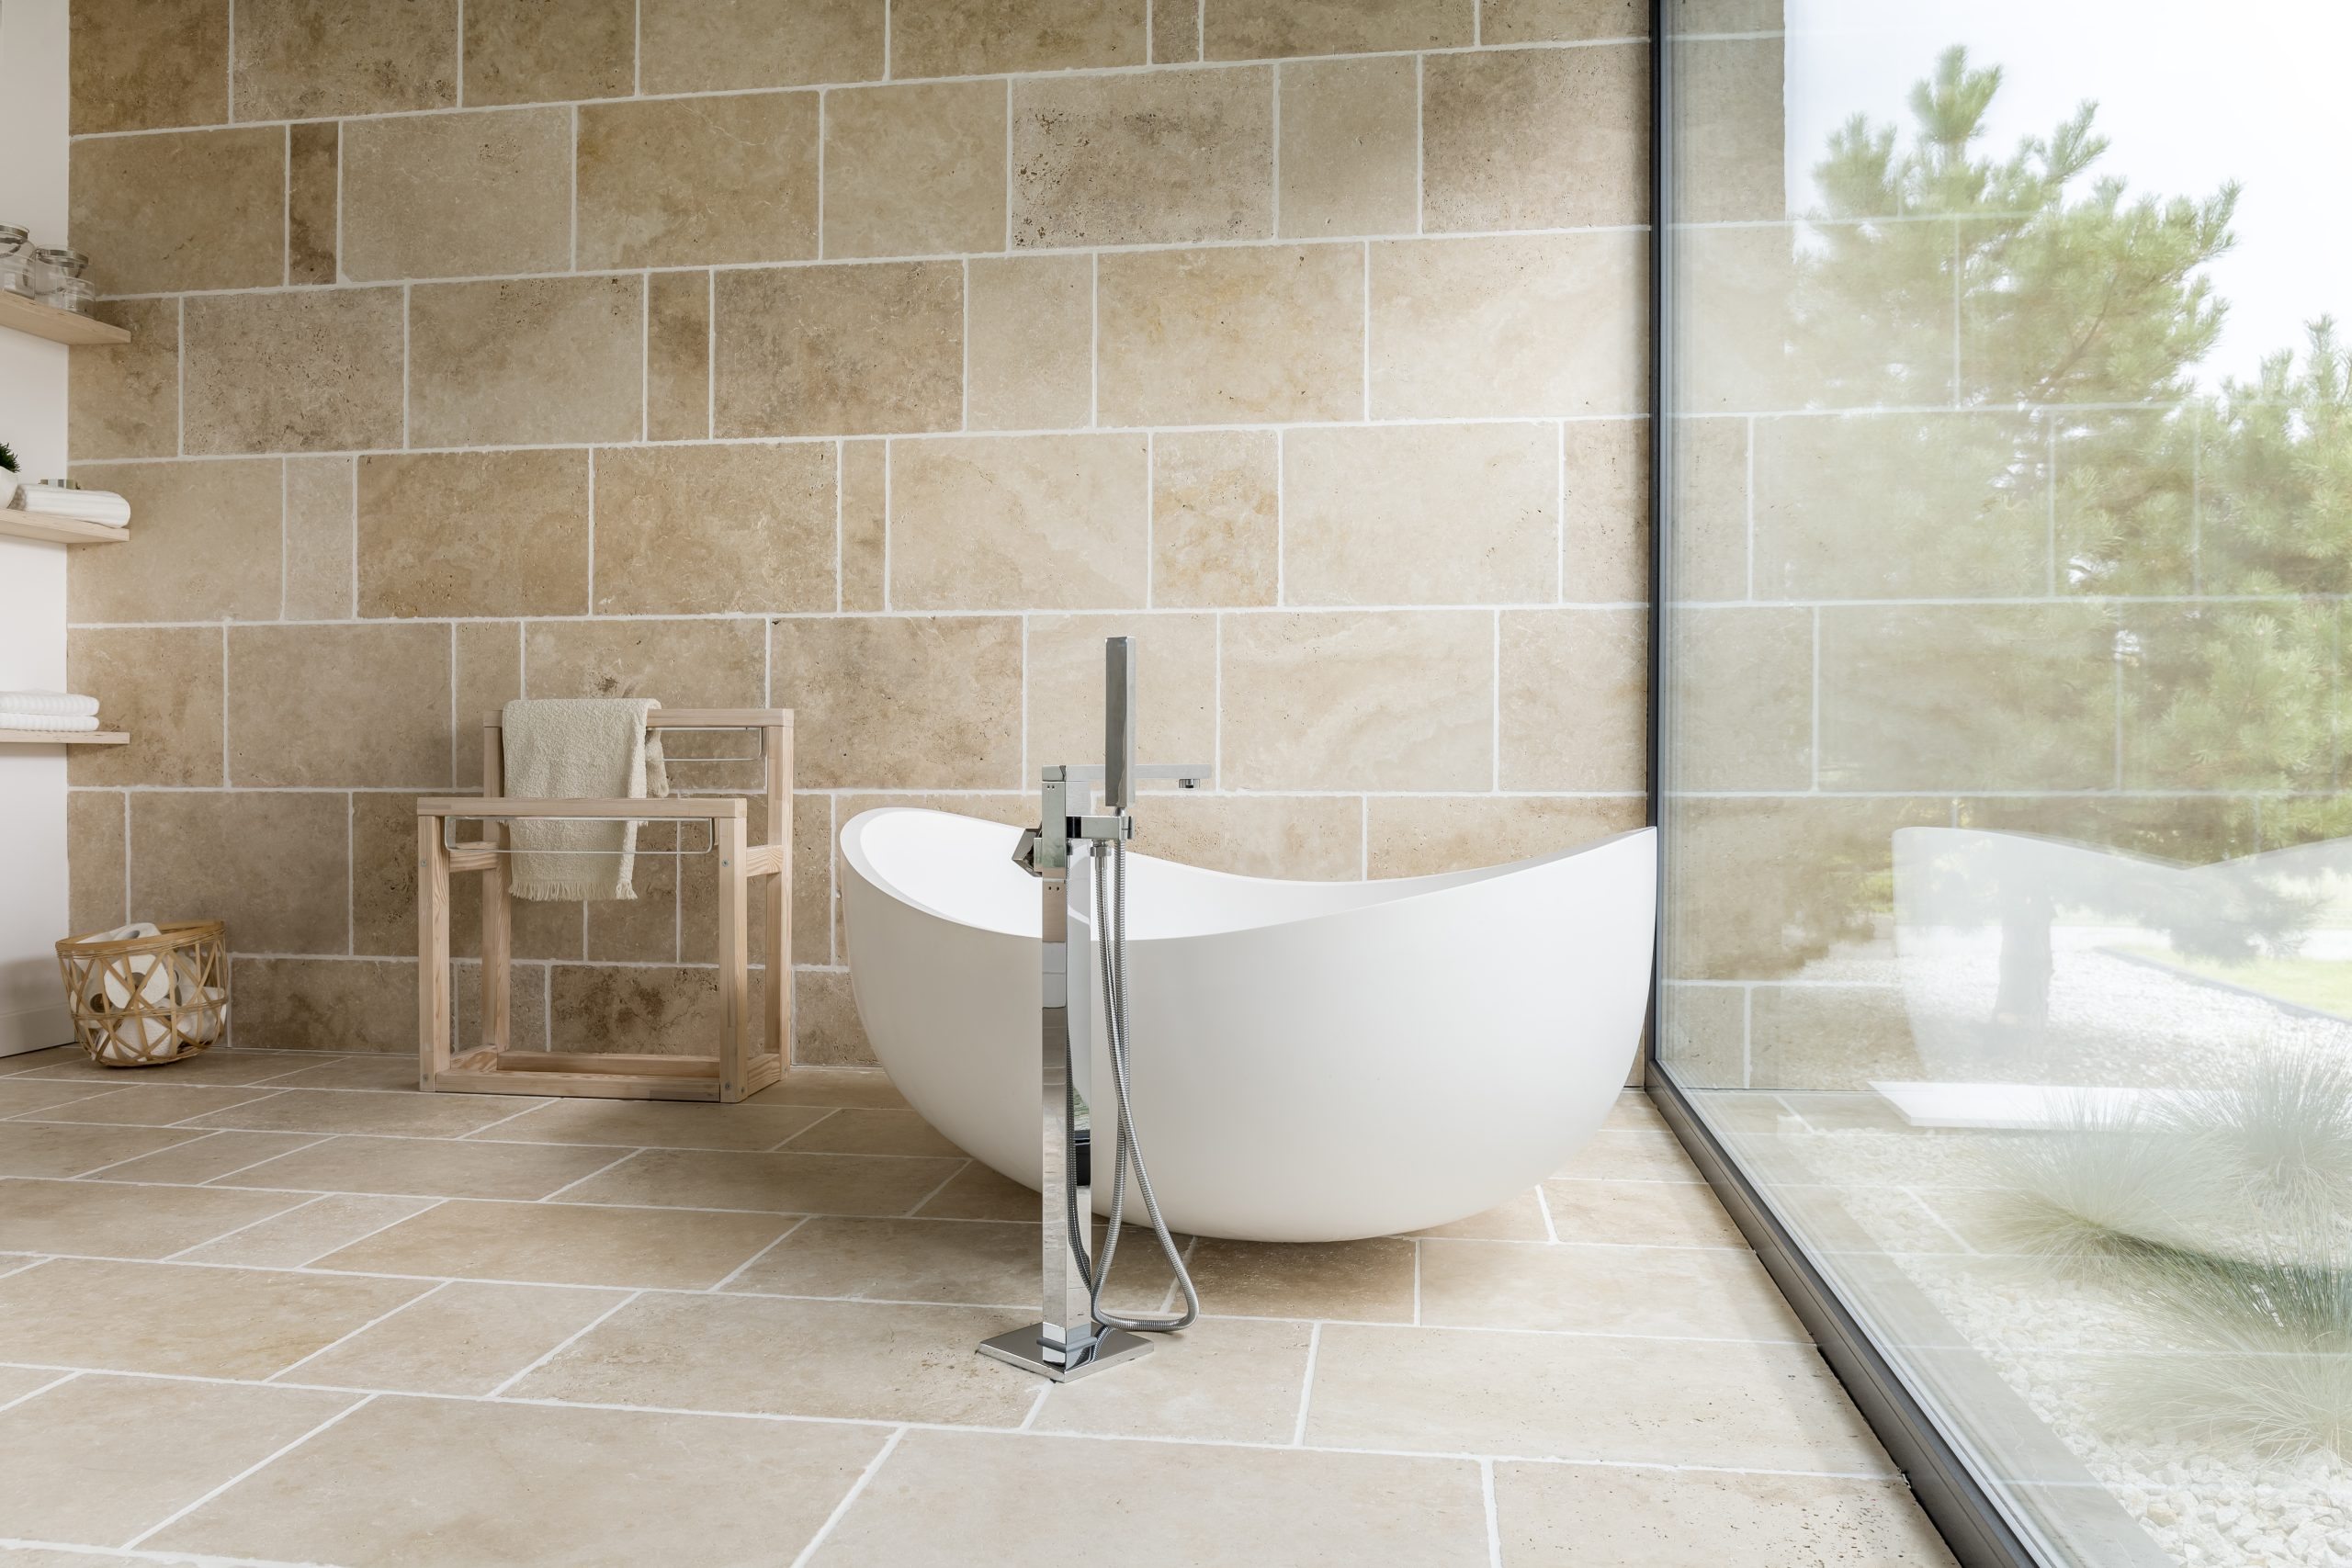
When it comes to DIY bathroom renovations, choosing the right tiles plays a major role in both functionality and overall finish in your bathroom. We recommend our range of slip-resistant tiles, which are essential in high-moisture environments. Options like bush hammered or textured anti-slip tiles provide added grip underfoot, making them ideal for wet areas without compromising on style.
When it comes to the design, this approach also ties into current bathroom makeover trends, where texture and subtle statement features are being used to elevate everyday spaces.
Key Steps for Your DIY Bathroom Renovations
Prepare the Surface
Surface preparation is one of the most important steps in bathroom tiling. Even high-quality tiles won’t perform well on an uneven or poorly prepared surface.
Make sure all walls and floors are clean, dry and level before starting. Remove old tiles, adhesives and debris, and repair any cracks or imperfections. Taking the time to prepare properly improves adhesion, prevents movement and ensures a more professional finish.
Make Sure You Waterproof Properly
Waterproofing is essential in any bathroom, especially in wet areas like showers and around baths or sinks. Skipping this step can lead to costly water damage.
Before tiling, apply a quality waterproof membrane to floors, walls and corners. Ensure surfaces are primed and allow proper drying time between coats.
While waterproofing can be done as a DIY task, this stage is critical to the longevity of your bathroom. If you are unsure, we recommend contacting our team, who can provide you with a list of qualified and experienced tilers that can quote you on waterproofing and tile installation.
Get the Right Tools and Materials

Having the right tools on hand will make the DIY process smoother and improve the final result.
At a minimum, you’ll need:
- Tile spacers for consistent grout lines
- A notched trowel for applying adhesive
- A tile cutter or wet saw for precise cuts
- A spirit level to maintain alignment
- Grout and a grout float for finishing
- Sponges and cloths for cleaning
When it comes to your bathroom renovation, it’s also worth investing in high-quality adhesives and grout. These help keep tiles secure and moisture-resistant over time, reducing the risk of lifting, cracking or mould. Combined with the right tile selection, they ensure a finish that not only looks good but lasts.
Plan Your Tile Layout
Before applying any adhesive, take some time to dry lay your tiles. This ensures you have a clean and cohesive final look before committing.
- Start from a key focal point, such as a vanity or shower, and work outward
- Balance cut tiles evenly across the space to avoid small, awkward pieces at one end
- Take the time at this stage to ensure a clean, cohesive and professional finish
Focus on Installation Quality
When it comes to laying tiles, consistency is key:
- Apply adhesive in small sections using a notched trowel for even coverage
- Press each tile firmly into place and use spacers to keep gaps consistent
- Check alignment regularly with a spirit level to keep tiles straight
- Work in manageable sections to prevent adhesive drying too quickly
- Allow time for small adjustments to avoid noticeable inconsistencies in the final finish
Precision Finishing: Cuts & Grout Selection
Achieving a clean, professional finish comes down to accuracy and patience. Most bathroom tiling will require cuts around edges, corners and fixtures, so careful measuring and the right tools are key. Straight cuts can be done with a tile cutter, while more detailed shapes may need a wet saw for a precise fit.
Grout selection also plays a big role in the final look. Matching grout creates a seamless finish, while contrasting tones can highlight patterns and add interest. Whichever you choose, make sure it’s suitable for wet areas and consider sealing it to protect against moisture and staining.
Allow proper drying time, follow instructions closely and take the time to get each step right for a result that lasts.
Herringbone and mosaic tiles continue to be standout features in Perth bathroom renovations, offering both visual interest and a timeless appeal. These layouts and formats allow homeowners to introduce texture, pattern and personality without overwhelming the space.
Herringbone tiles are especially popular for adding movement and sophistication. Whether used on shower walls, splashbacks or full feature walls, the angled pattern elevates even simple tiles like subway or stone-look ceramics. In bathrooms, herringbone layouts are often paired with neutral tones to create a refined, modern finish that still feels classic.
Quality Materials for a Professional Finish
DIY bathroom tiling can be a highly rewarding project, offering both cost savings and the satisfaction of transforming your own space. However, success comes down to preparation, patience and precision.
By planning thoroughly, preparing surfaces correctly and focusing on installation quality, you can achieve a result that looks professional and performs well over time.
At Ceramic Tile Supplies, we’re here to support you in your DIY tile renovation project. Our experts are here to help you pick the right tiles for your project and ensure you’re all set before getting to it. Visit our Perth showrooms in Wangara or Myaree to get the best expert help and tile recommendations before starting your DIY bathroom tiling renovations.