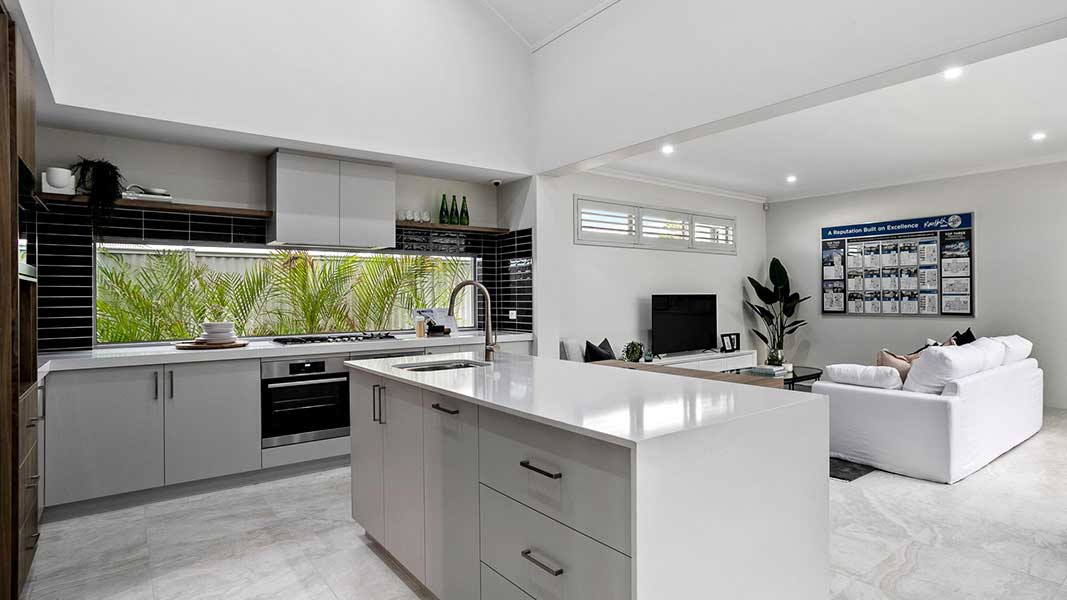
The kitchen splashback is the pièce de résistance to your kitchen interior. The kitchen splashback is not only an aesthetic essential but also a practical component to your kitchen that protects the wall’s surface. Without the splashback ceramic tiles, steam from pots, oil bursts from pans and everyday splashes fall onto the wall’s surface, damaging paint and plaster. Not to mention, if you don’t have the ceramic tiles, it completely alters the overall look and feel of your kitchen, making it look unfinished.
We understand that when you’re building or renovating your kitchen, costs can quickly add up. It can be hard to balance meeting your budget with choosing materials and designs you’re going to enjoy in your home. It can feel as though you have to choose one or the other – sticking to budget or choosing the ceramic tiles you want. But – we have good news for you…
In this blog, we explain how you can bring to life your dream kitchen splashback whilst ALSO staying on budget. Yes, it’s possible!
Clearance Tiles
If you’re looking to save money on your tiling project, head to the clearance section of our showroom. Many people are surprised to discover that we offer a selection of ‘end of the line’ tiles available at heavily discounted prices. With limited quantities available, our clearance tiles are great options for small-scale projects… such as a kitchen splashbacks.
Our clearance tiles at CT Supplies although are discounted, they’re still of top quality, making for excellent additions to your kitchen interior… no one will even know they’re from the ‘sales rack’!
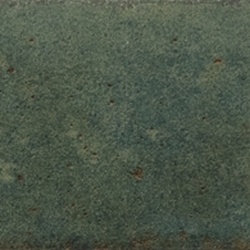
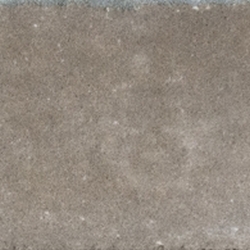
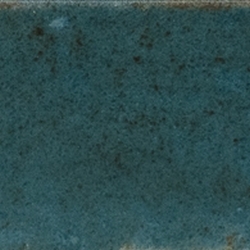
We’re regularly adding ceramic tiles to the clearance section, which means you have the choice of a wide variety of different styles, colours and patterns! Choose between glazed or polished rectified porcelain, non-rectified porcelain, non-rectified stone look tiles and timber look tiles. All originally sourced and imported directly from the finest tile manufacturers in Italy, Spain, Portugal, Turkey, Japan and China. The hardest bit will be choosing which tiles to buy!
It’s always a good idea to see our selection of clearance tiles in person before you commit to a purchase not only does this help with colour selection but there are more available than what is shown online.
DIY Kitchen Splashback
Another great way to save on costs, is building the kitchen splashback yourself!
Over the last few years, building costs have rapidly increased due to an unfortunate combination of higher energy costs, material shortages and skilled labour shortages. This means for anyone completing a building project, you’ll need to prepare yourself for a higher outlay than previous years. In fact, over the last 12 months, building costs have gone up by 10.4% – the second highest annual increase in construction costs in history. To reduce costs, complete DIY projects where possible.
If you’ve never completed a DIY project or worked with ceramic tiles before, this might be a daunting suggestion for you. However, once you have all of the necessary resources, materials and tools – you’ll discover it’s easier than you think plus, the great enjoyment you’ll get from completing a home DIY project is incredibly rewarding.
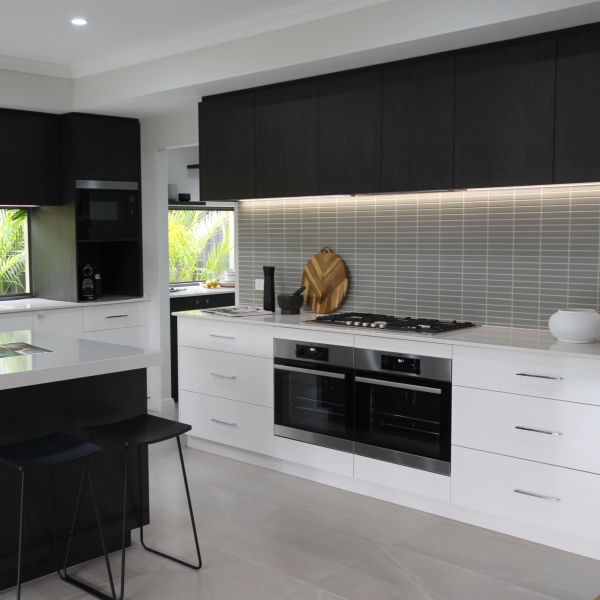
For quick rundown on how to complete your own DIY kitchen splashback follow these steps:
- Confirm the area you require. Measure areas (height x length) and add them all up. Consider do any of the window sills or under benchtops areas also need to be tiled?
- Select your splashback tiles and grout!
- Collect all your tools together and all other required materials. Did you know CTS can also supply you with glue, grout, silicon, tile trim and tile spacers?
- Wear the recommended safety attire.
- Prepare the surface; remove previous splashbacks and ensure the surface will bond with your purchased glue. Often primers are suggested, this will depend on your surface. It is always good to talk to a professional if you are unsure at this stage.
- Mark out the extents, it is sometimes handy to draw a central alignment line to insure your staying straight. Work out where your grout lines and full tiles end up.
- Start laying from the bottom and work your way up.
- Use a notched trowel to place adhesive on the wall ensure all of tile is covered by glue once attached.
- Stop every so often to assess symmetry. Stand back to look.
- Leave the splashback for a minimum of 24 hours to finish setting. The wetter the weather the longer you wait.
- Grout after glue is completely dry.

Reconsider size
There are areas of the kitchen that require a splashback for regulation purposes. These are; behind sinks for waterproofing and behind cooktops to create a fire retardant space between wall and cooktop. All other areas can be minimal and are only really required aesthetically to make the area look complete.
If you had your eye on a particular tile design and/or you didn’t want to commit to a DIY project – try reducing the splashback area. Kitchen splashbacks don’t have to be large, keep your kitchen splashback to only essential areas to reduce costs.
Of course, reducing the size of the ceramic tile splashback comes with a drawback. Reducing the size of your kitchen splashback might compromise the design and aesthetics of your kitchen. If you’re unsure whether the smaller kitchen splashback suits your home, take a few photos and bring them into one of our Showrooms to consult with a Ceramic Tile Supplies team member. Consulting with one of our design experts will clarify any concerns or questions you may have.
Unsure where to start?
If you’re unsure where to start with your kitchen splashback, talk with our team! We’ve got years (and years!) of experience with designing and renovating different tile projects.
Before popping by one of our Perth showrooms, measure out the area you’re hoping to install your kitchen splashback, make note of overhead cabinet heights and determine a budget you’re hoping to stick to. Take any photos of the space that might be useful to our team. Bring this information in with you on your visit and our team here at Ceramic Tile Supplies will do our best to meet your needs.
We’re here to bring to life your dream kitchen splashback.

