Everyone enjoys a good DIY project in their home. Painting, crafts, and other small projects are immensely popular choices. What about something a bit larger, though?
Tiling your wall is a wonderful way to add a new flair to your living or business space. You can do intermittent tiling or go for a retro subway tiles look. Either way, there are a few steps to the process, and it requires quite a lot of patience. If you are hoping to undertake a tiling project and you are looking for tiles in Perth, our showrooms have exactly what you need!
How does one go about starting this sort of project? Here is a very brief guide to start your DIY journey with wall tiling!
Prepare the Surfaces & Yourself
The first step is to make sure the area you will be tiling is clean and clear of obstructions. If there is already wallpaper present on the wall, strip it down to the plaster. Fill any holes or cracks before tiling. Once the space is prepared, you need to be certain you are prepared too.
Here are a few supplies that you should have to keep yourself protected during your project. Your local Bunnings should have all of this.
- Safety goggles
- Dust mask
- Gloves
You will also need to get materials and tools:
- Tile adhesive
- Grout
- Measuring tape
- Level
- Trowel
- Masking tape
- Cloth
Depending on the style of tiling you are looking for, you may need other supplies. Consult with our tiling experts if you have any questions about specific tile types and installation.
Determine Your Design
Once you have your supplies and tiles, you want to determine your layout.
Beginning from the middle of the tiling space, establish the vertical rows first. Measure your tiles and use a pencil to mark where the tiles will be placed. Lay down a row of tiles with a bit of space between them (depending on how much space you want). Be sure to line up the bottom of the tiles to keep them even.
If you are looking to do a more abstract pattern, take the time to lay out the tiles to set up your pattern. It may also be helpful to number the tiles so you know how many you need.

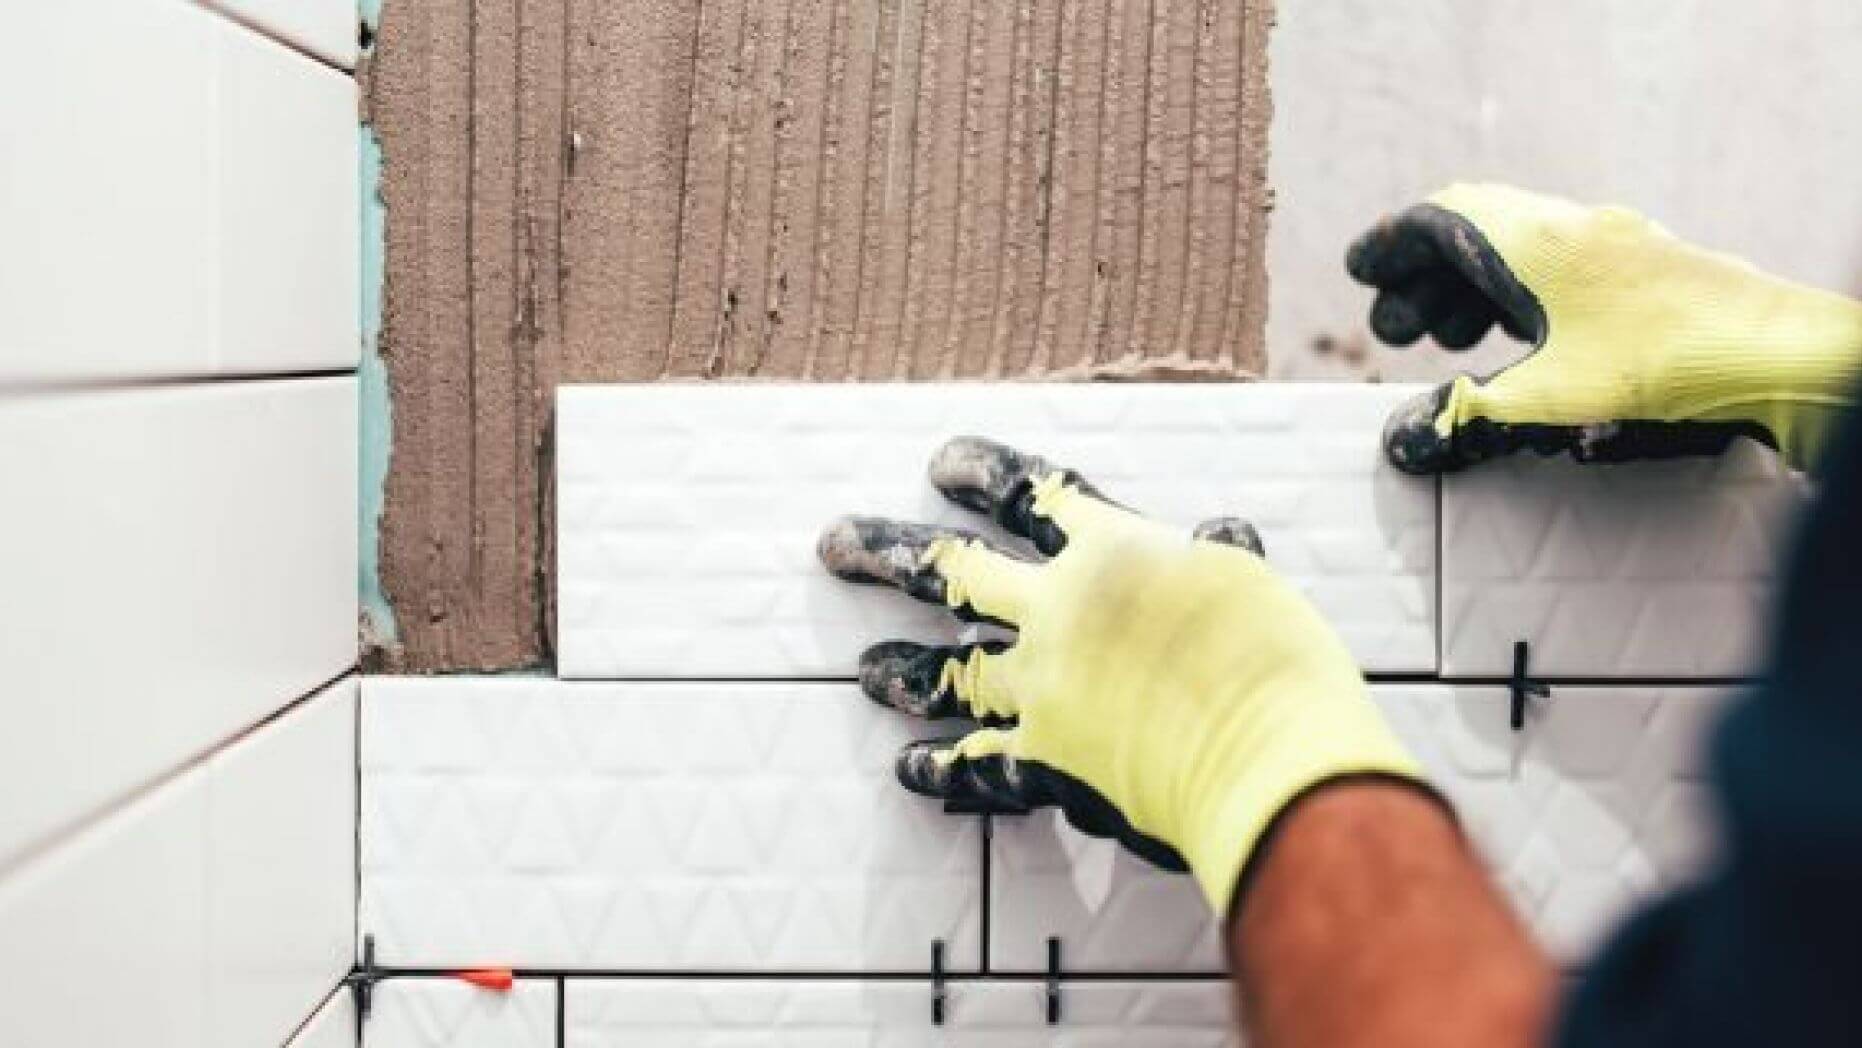
Fixing Tiles to the Wall
Before fixing tiles in place, be certain that the surfaces are even. If any tiles are uneven from their neighbours, you may need to get rid of it or use your various tools to adjust it. If the tiles are bevelled or rounded, you will not need a corner trim.
Begin from the centre once again and tile one side all the way over to the edge. Repeat the process for the other side. Use the trowel to place adhesive on the wall.
When spacing out your tiles, you’ll find battens help to determine a starting point. Use the battens to your advantage when attaching tiles, beginning in the corner and working outwards. Use tile spacers to secure space between the patterns and to make it easier to apply grout.
Be sure to remove extra adhesive with a damp sponge as you go. Once it dries, grout is almost impossible to clean.
Take Your Time
Tiling is a rewarding process. Once you finish, the results are beautiful and unique every time. However, taking your time is key to a secure tiled wall.
When approaching difficult spots, like corners or baseboards, use caution. It may even be necessary to search out expert opinions on these areas. There are lots of videos and helpful demonstrations for these situations. If you are uncertain, don’t power through it. Take the time to do it right, and you will enjoy the results even more.
Visit One of Our Showrooms
If you are considering this style for your wall and don’t know where to begin, visit one of our showrooms! Tiling is a great way to spice up any room, and we have plenty of options for you.