Bathroom tiles are made to last, but even the toughest surfaces can fall victim to chips, cracks, or general wear and tear over time. Whether they are on walls, countertops or the floor, tile cracks and chips can be an issue in homes. Regardless of the effect these fractures have on aesthetics, they diminish the quality and safety of your tiles and bathroom. Taking proper care of your tiles and addressing any damage early ensures they remain perfect within your bathroom.
Repairing cracks doesn’t always require professional help— many fixes can be done with simple tools and materials available at most hardware stores. With the right techniques, you can restore your tiles to their original state and keep them looking great for years to come.
Repairing Cracked or Chipped Bathroom Tiles: Identifying the cause
Porcelain tiles, whilst strong, have the potential to crack or chip due to a variety of circumstances. Various factors contribute to tile cracks, such as improper installation or sudden impacts or environmental reasons.
Improper installation is one of the most common causes. When tiles are laid incorrectly, they may not have enough support beneath them, which causes them to crack under pressure. Always make sure your tiles are installed with the right adhesive and technique, or have a professional install them. Professional installation also ensures that tiles are laid on an even surface so each one bears weight evenly. This reduces the risk of cracking due to pressure from an uneven subfloor.
Temperature changes can also lead tiles to crack, as tiles expand and contract when temperatures fluctuate. Extreme temperature changes can also cause tiles to develop stress cracks. To prevent this, flexible adhesives should be utilised to support this movement of contraction and expansion.

When choosing tiles for your bathroom, choose tiles that suit your climate and the moisture level within your bathroom. Moisture level in your bathroom is important as, when trapped, moisture causes tiles to expand and crack.
At Ceramic Tile Supplies, we offer a range of porcelain bathroom tiles that are less porous than standard ceramic tiles, reducing water absorption and helping to prevent cracking. By recognising these causes, you can take proactive measures to keep your tiles in top shape and avoid future damage in your bathroom.
Repairing Cracked or Chipped Bathroom Tiles: What You Need
To fix bathroom tile cracks and chips, you always need the right tools. These tools help you carry out a quick fix on any cracked or chipped tiles.
Protective Gear
Always ensure you’re wearing safety goggles and gloves, especially when dealing with broken porcelain/ceramics, as they can be sharp and cause harm.
Tile Adhesive
To help secure any loose pieces back in place. Make sure to choose one that is compatible with the specific type of tile you are repairing, accommodating flexibility and environmental concerns.
Grout
Grout is essential for filling the gaps between tiles and blending the repair with the surrounding area.
Putty Knife
For smoothing grout and adhesive when repairing.
Tile Filler or Crack Repair Kits (epoxy filler)
These kits are available in various colours to match your tiles. They work by filling spaces and are perfect for concealing cracks and chips.
Sponge and Water
Essential for removing excess grout and adhesive from tile surfaces.
Sandpaper or Tile File
Used to smooth down rough surfaces or edges after filling or repairing.
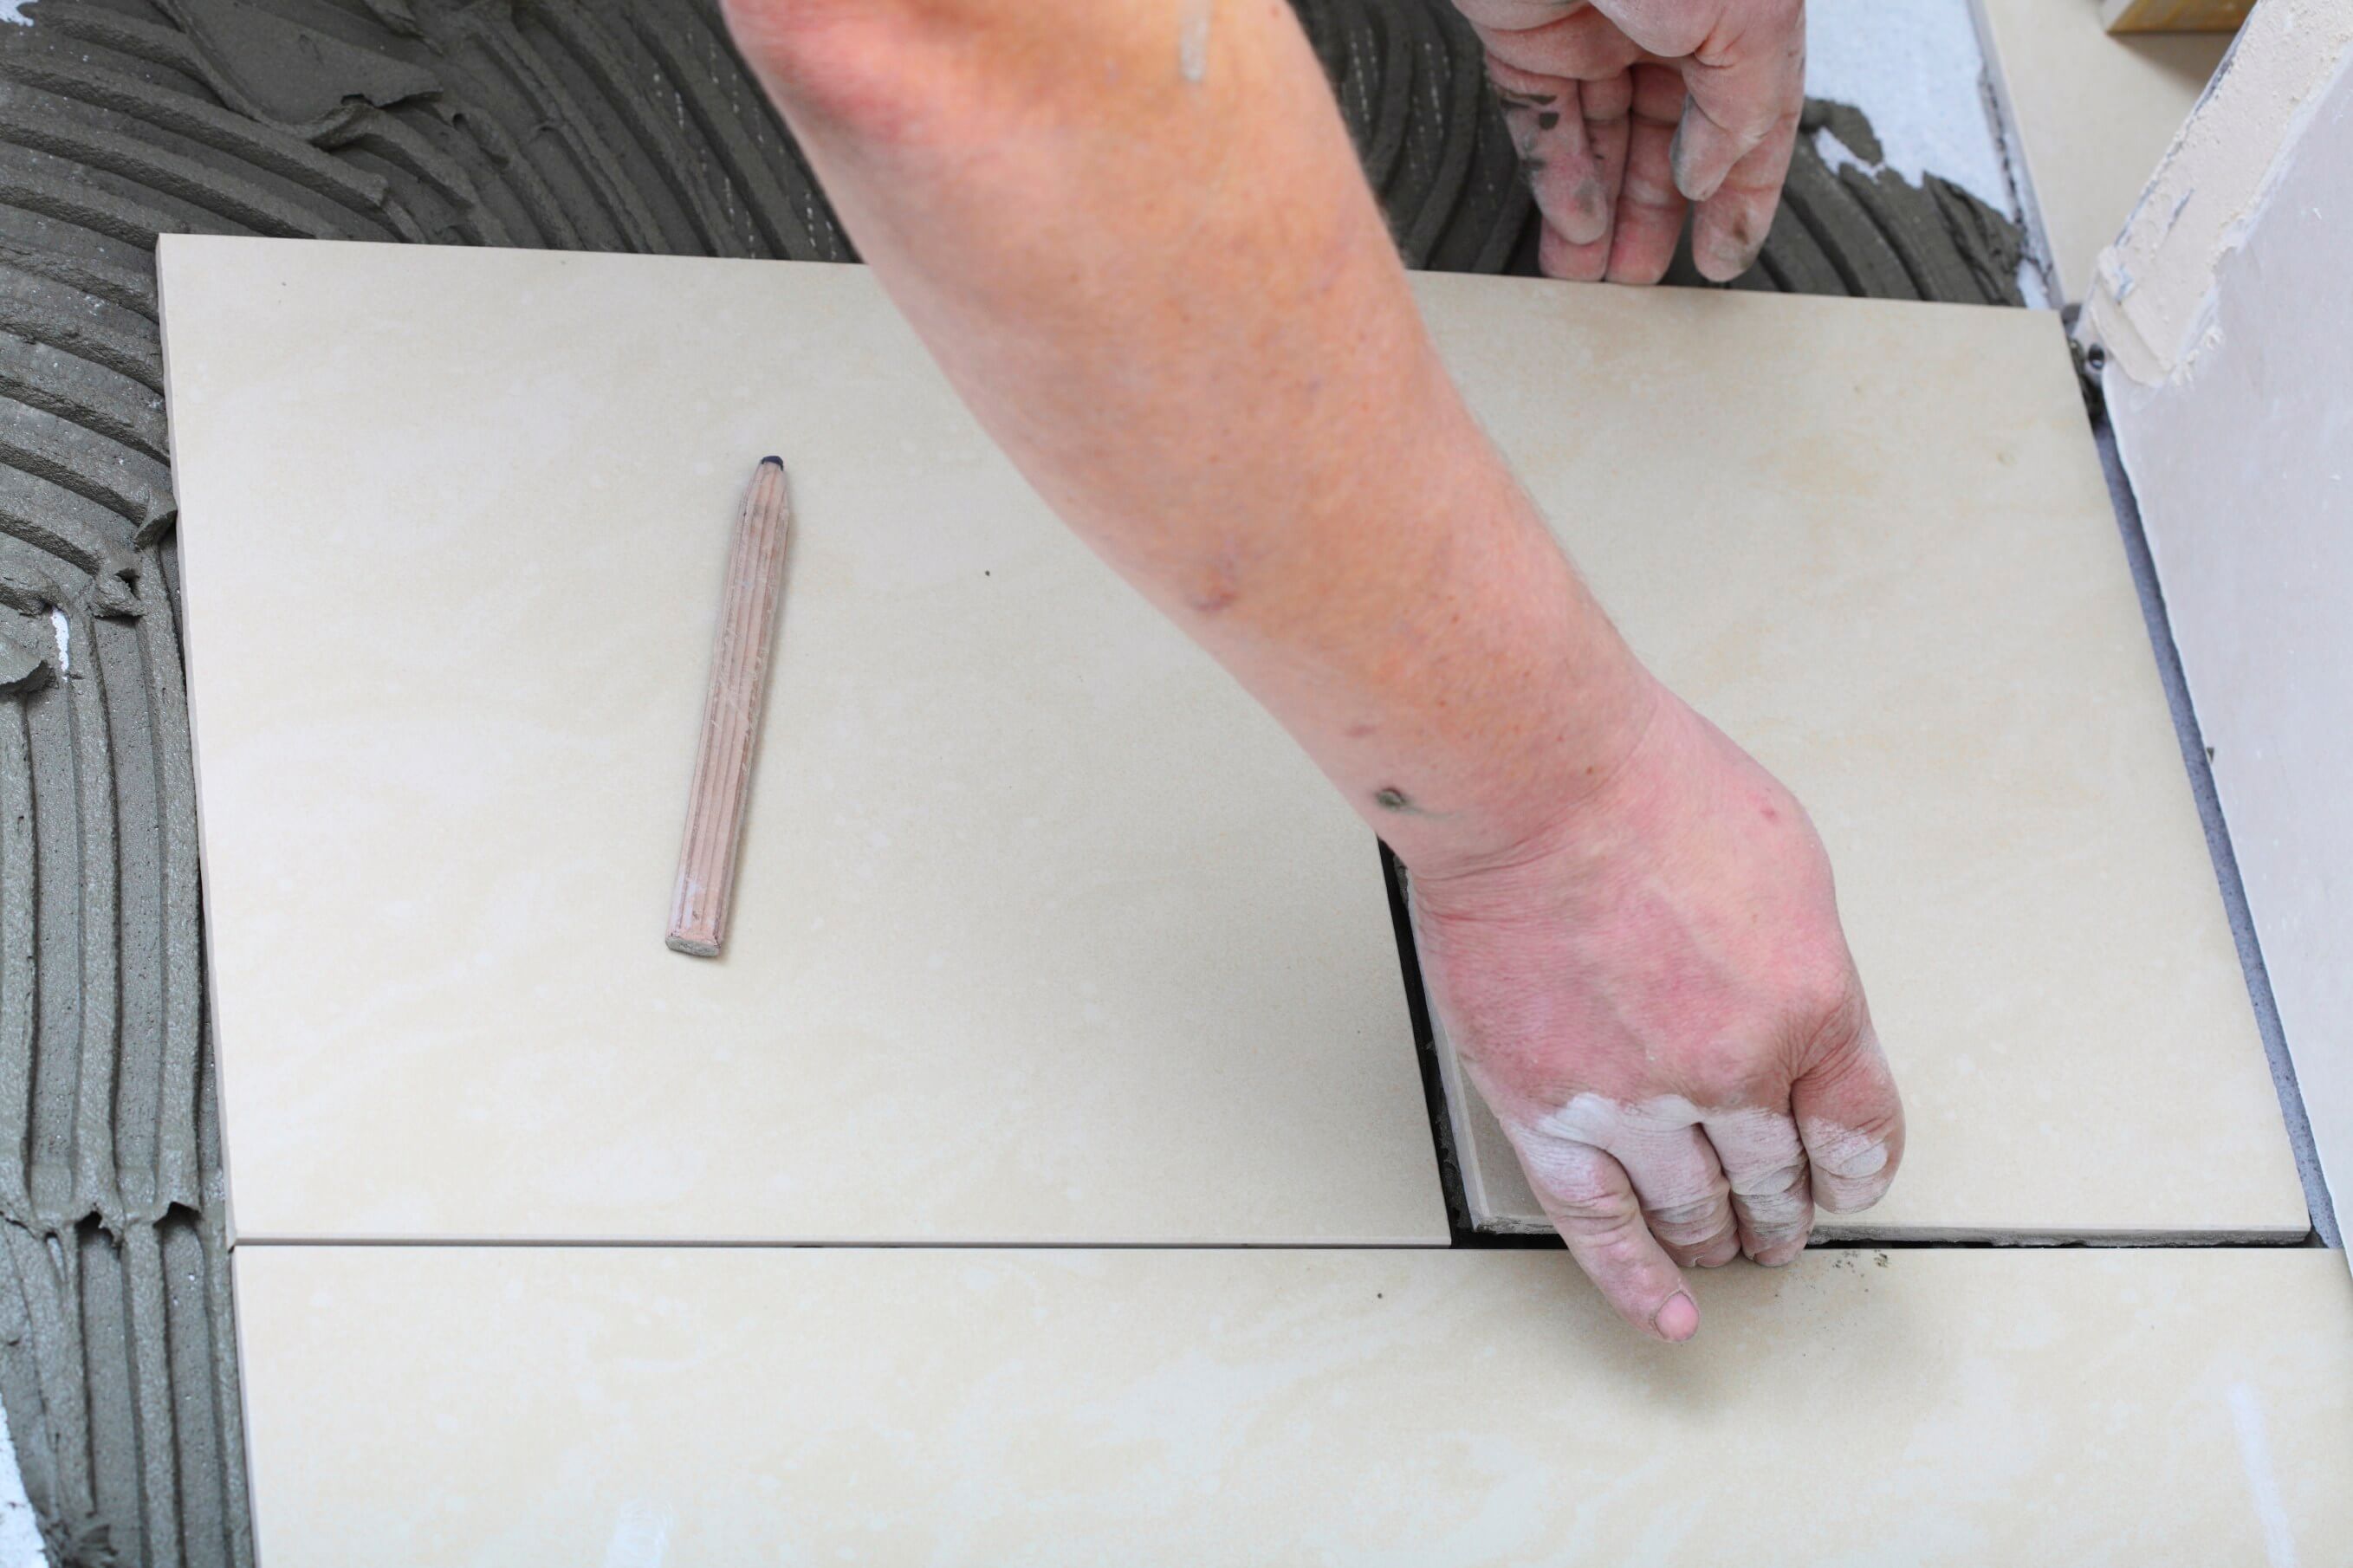
Repairing Cracked or Chipped Bathroom Tiles: Step-by-Step Guide
1. Clean the area
Start by washing the damaged tile with warm, soapy water to remove any dirt, grime or residue. The tile must be dried completely before moving on to the next step.
2. Prepare the cracked or chipped area
Remove any loose or crumbling pieces gently around the damaged area using a putty knife. Be careful not to widen or crack the chip further, and always wear protective gloves.
3. Apply tile filler
Using tile filler or a crack repair kit in a matching colourway, fill the damaged area. Always follow the directions for the best finish from your kit or tile filler.
4. Smooth it out and leave it to dry
Level the filler with your putty knife, allowing it to sit perfectly in line with the rest of the tile. Wipe away any excess with a sponge and water before it begins to set. Give the filler plenty of time to dry and always follow your kit for recommended drying times.
5. Sand away any excess
If the filled area feels or looks raised or uneven once dry, lightly sand it with fine sandpaper or a tile file for a smooth finish.
6. Touch up with grout
For any gaps around the repair, apply a small amount of grout to complement and match the surrounding area and blend seamlessly. Wipe away any excess and repeat if necessary.
With these simple steps, you can achieve a clean, polished repair that helps extend the life of your tiles and keeps your bathroom looking its best. If at any point assistance is needed, contact a professional.
Keep Your Bathroom Looking Its Best with Ceramic Tile Supplies
Tile repairs are a simple yet effective way to keep your bathroom looking fresh without the need for a full renovation. However, if your tiles’ damage is beyond repair, it might be a sign time has come to fully redo your bathroom, which can be the perfect opportunity to explore new tile options.
At Ceramic Tile Supplies, we offer a wide range of high-quality bathroom tiles in various colours, styles, materials and finishes to suit every home aesthetic. Whether you’re looking to replace a singular tile or undergo a complete refurbishment, our range has something to match every inspiration or creative vision.
Explore our collection, or visit our showrooms in Myaree or Wanagara, for all our bathroom tiles today. Find the right tile to make your bathroom the perfect space, because beautiful spaces start with the right foundation.