AIzaSyCx0PM-3N_RmbMTt2SRm-GX9AD-tAsfpC8 Skip to main content
Category

Tile Maintenance

Large tiles or Small tiles? A guide on choosing the right tile

Large tiles or small tiles? A guide on choosing the right tile

By Tile Installation, Tile Maintenance, Tile Selection

Just like people, tiles come in many different shapes and sizes. Depending on where you’re installing your tiles as well as your personal preferences, there are different factors at play that will determine whether you should choose large or small format tiles.

Choosing the right-sized tile is much more complex than just finding a tile that will fit in the space. Different tile sizes have different visual impacts as well as different practical components that cater to the room’s requirements. If you’re choosing a tile for your shower versus choosing a tile for your dining area—each area requires different-sized tiles to improve the functionality of the space.

In this blog, we unpack everything you need to know about small and large tiles to ensure you choose the right tile for your project.

Size of the room

It might sound obvious but one of the most important factors to consider before you decide whether to install large or small tiles is the size of the room. A wide and spacious home with an open kitchen and dining area will suit large format tiles. Alternatively, a small home, unit or apartment might better accommodate small tiles. It’s important to acquire the room’s measurements to get a better understanding of how the tiles will fit into the room.

For wall tile installations, the same logic applies. Once you have measured the length and width of the surface, you can consider the dimensions of the tiles and get a better understanding of the project at hand.

Tile size and grout lines

The smaller the tile, the more grout lines you will have on your surface. The grout line is the gap between one tile to another. Grout lines are essential, allowing for dilation of the floors and natural settling due to structural movements and variations in temperatures. Although 0 grout line is impossible, there are options for those seeking a minimal aesthetic with little grout lines as possible.

For customers who are seeking flooring with no grout lines, we would recommend large format tiles. Large format tiles have grown in popularity due to their striking appearance featuring minimal grout lines. Large format tiles are big in size varying from: 500mm x 1000mm, 1000mm x 1000mm, 1000mm x 3000mm and 1440x3200mm. The result is a surface with nearly no visible grout lines.

Tile installation

Although some people might think that large format tiles will be easier to install due to their larger size, however, this isn’t the case. Large-format tiles require different skills compared with regular tiles. This is important to keep in mind when choosing your tile installer. It’s best to choose a tile installer who has experience working with large-format tiles so that you can rest easy knowing that your project will be completed to a high standard.

Large vs. small tiles

If you have the luxury of choosing either large or small tiles, you might be struggling to make a final decision. To help with your deliberation, allow us to break down the main factors you want to keep in mind:

Aesthetics

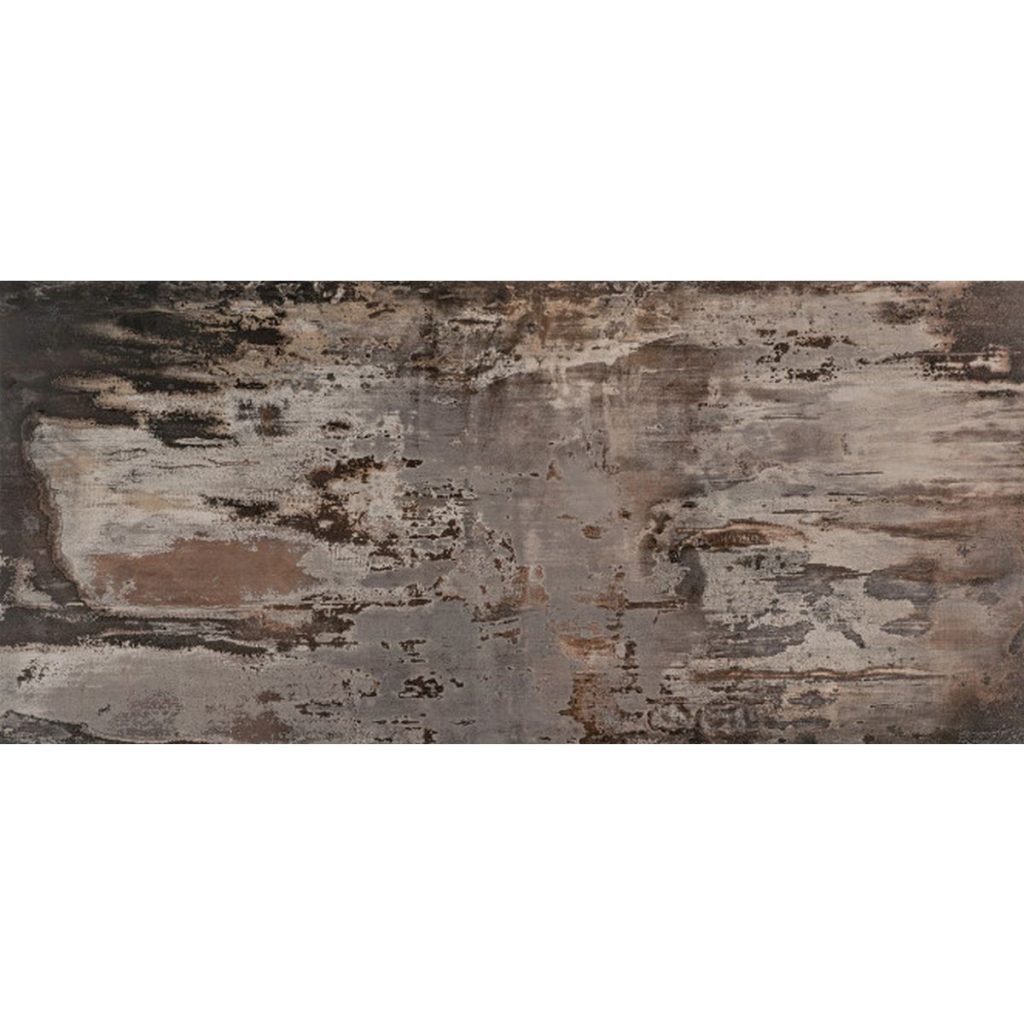
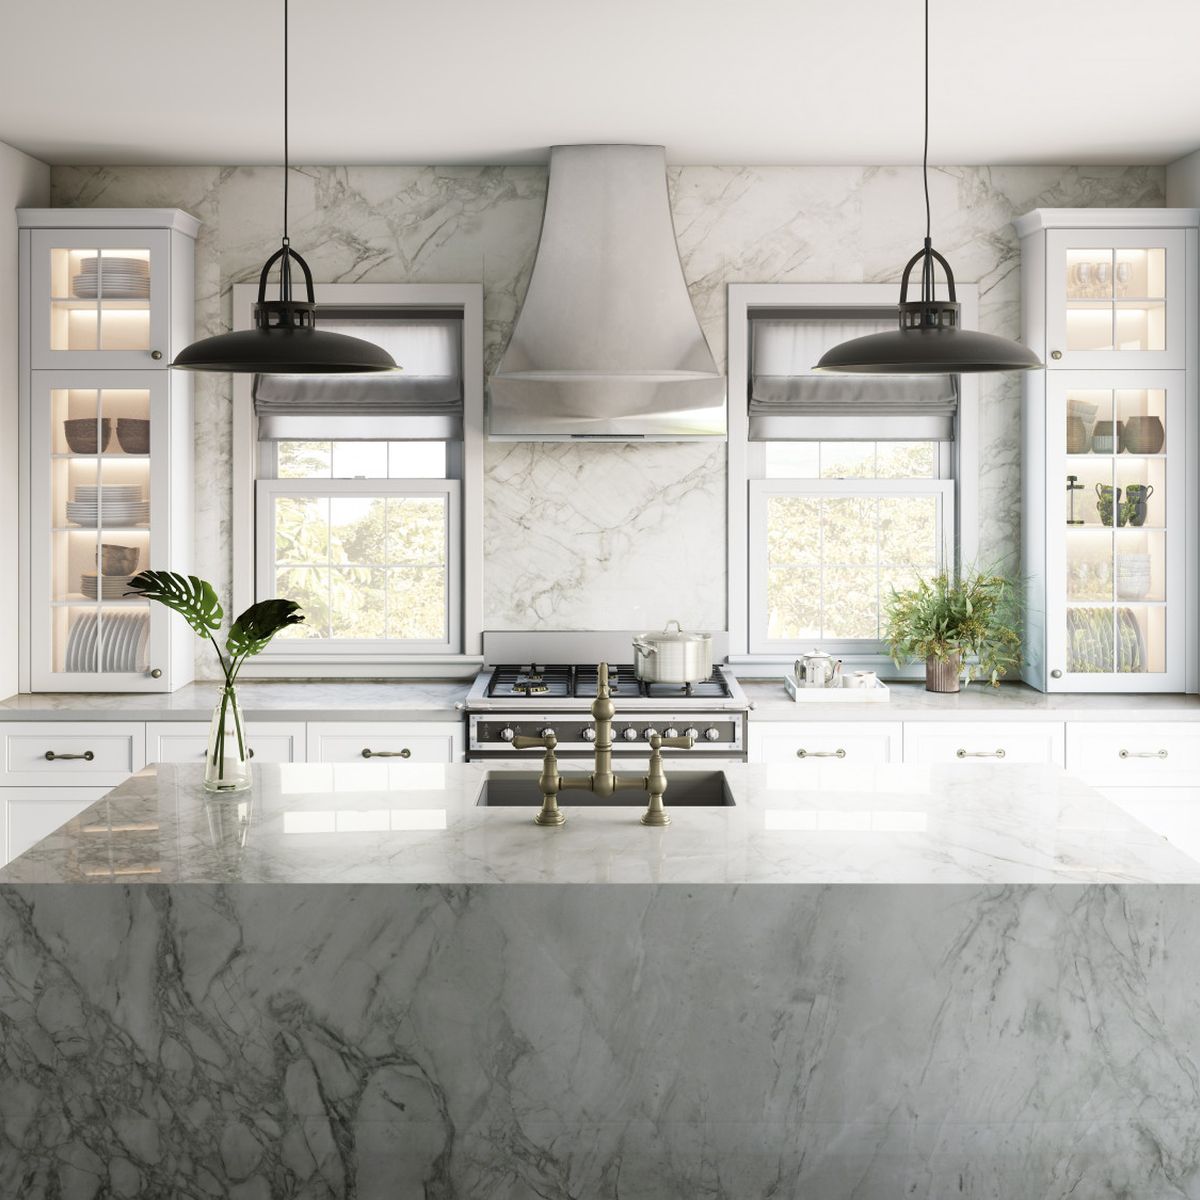
Arguably the most important factor to consider when choosing large or small tiles. Whilst large format tiles offer a seamless and chic surface that can elevate any room, small tiles can offer more creativity. Small tiles add character and charm with the option to create different patterns and play with colour. Large format tiles however are often one colour and mimic textures such as marble, cement and/or wood.

Ultimately, large format tiles will look modern, stylish and expansive. Small format tiles will offer fun, creative and interesting patterns.
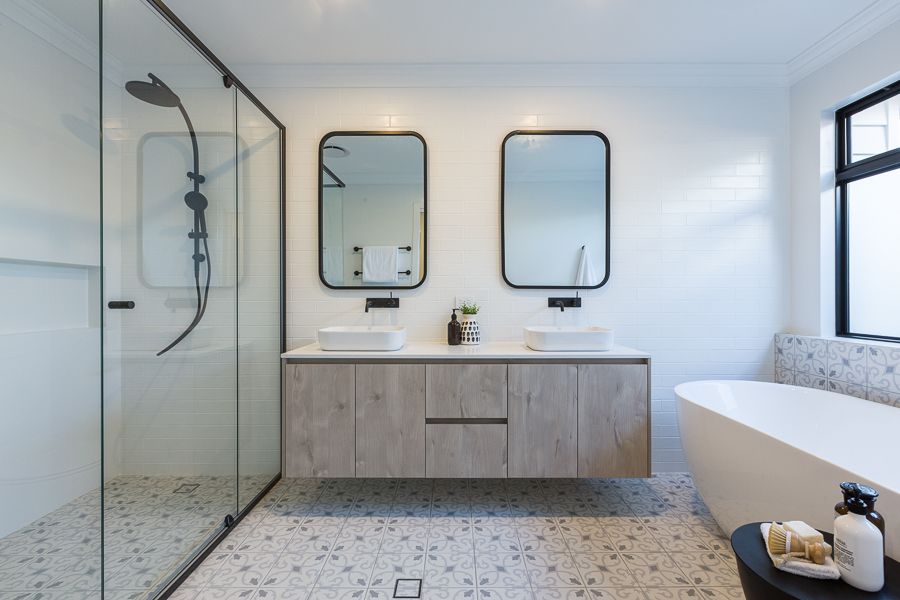
Large tiles or small tiles? A guide on choosing the right tile 1
Large tiles or small tiles? A guide on choosing the right tile 2

Functionality

Both large and small format tiles can accommodate different spaces. From kitchens and bathrooms to dining areas and bedrooms—both options can accommodate a wide variety of needs.

If you’re installing tiles in your kitchen or bathroom, it’s important to consider slip resistance. For both residential and commercial settings, slip resistance is a vital feature to include in your ceramic tiles to prevent accidents from occurring. Ensure to check the tile description or consult with one of our tile experts if you need slip resistance.

Maintenance

Those who choose large-format tiles will be delighted to discover that large-format tiles require less maintenance. Considering there are fewer grout lines, and in some cases no grout lines, between large format tiles, there’s less vigorous maintenance required.

Tiles with a rectified edge require less maintenance due to their straight edges allowing for less gap between tiles. Tiles with a rectified edge generally have a gap between 1-2mm rather than 2-5mm, which greatly aids the cleaning process.
Large tiles or small tiles? A guide on choosing the right tile 3

Tile questions?

If you’re still unsure about how much space you’re going to need for tiles, or how many tiles are needed for it, you can contact Ceramic Tile Supplies for more information. Our team will ensure that you’re given all the help and advice that you need so that you can get the best tiles for your home!

View our floor tiles

Benefits, Options, and Maintenance of Swimming Pool Tiles 8

Benefits, Options, and Maintenance of Swimming Pool Tiles

By DIY, Swimming Pool Tiles, Tile Maintenance, Tile SelectionNo Comments

When it comes to swimming pool features, there are many different options for style and functionality. Entrances, handrails, water features, square vs oval vs infinity pools – these are all options that you will have to decide when you are building your below-ground oasis.

One of the most important decisions, however, is an underappreciated material: swimming pool tiles.

Benefits of Tiles

Tiles offer more benefits than just looking good although they do that, too. Check out what opportunities become available when you focus on the pool tile as an all-important detail.

Underwater Style

Tiles create a beautiful and shimmering look in the water. The water and the tiles work together to make an aesthetically pleasing style that you will enjoy for years to come.

Tiles come in a range of options, so you may customise the tiles based on what you want. The Brilliante 245 Plus in our selection is great for a naturally patterned look. Other options like the Daintree Mix PLUS is great for a Caribbean aesthetic while the Black Step Tread works well for a darker, sophisticated style.

Safety

Some tiles can be a great feature to enhance the safety of the pool, especially on the stairs and the deck area. Our Step Tread series, for instance, features subtle ridges that allow swimmers to find firm footing on the hosing of stairs. This tread is available in black, grey, and granite.

Longevity

Besides style, tiles are very reliable as well. Tiles designed for pools are long-lasting, especially when they receive the proper care and maintenance.

Not only do the tiles themselves last, but it helps your whole pool obtain greater longevity. As long as you keep up with cleaning and treating your tiles, they will hold up for many summer pool parties to come.

Mostly you will only have to worry about occasionally resealing your pool tile. Otherwise, there is very little upkeep needed.

The Finishing Touch

You can use tiles to finish your deck as well. You can line the edges or create intricate designs in or around the pool itself.

Our Mass Mosaics and Ocean Mix PLUS series are popular choices for finishes. Using these, you can design elaborate fish, flowers, or any finishing look you desire.

Tile Options

When you’re choosing a tile, you want to research your options. Consider the placement, how much wear-and-tear they might endure, and the environment as well.

For example, our Trend Plus Surf 8051 tiles add a brilliant pop of blue. These are great for a cheery, bright scheme. Those looking for a more relaxed, monotone style might prefer the Cloud Mix PLUS.

Overall, your tile options will vary in style and colour, but you will also want to make sure that the tile you’re using will be comfortable and functional.

Tile Maintenance

Over time, roots grow, minor cracks spread, and walls shift in pools. To keep up with this, you’ll need to be consistent about tile maintenance and replacement.

Make sure that you lower your water level before starting. Then, remove the damaged tiles with a hammer. After that, you can replace and re-set a new tile into the missing spot. Allow it to dry for 24 hours before raising the water again.

If you keep up with this maintenance, you’ll have a perfect pool for years to come.

Ready to Put Some Tile into Your Style?

For pools in need of a serious makeover, or for pools that are just being built, pool tiles are a great way to enhance the luxury of having a pool. Consider the colour and style that you want and then continue to keep up with the repairs on damaged tiles. Soon, you will be ready to invite your whole neighbourhood to your next pool party.


If you’re in the market for stylish new pool tiles, visit one of our showrooms today for some expert advice!


How to Tackle Tough-to-Clean Tiles & Grout 9

How to Tackle Tough-to-Clean Tiles & Grout

By General, Bathroom Tiles, DIY, Tile MaintenanceNo Comments

Whether you’ve recently had tiles in Perth installed and are preparing to seal your grout, or regular wear has your grout looking less than brand new, there a few popular at-home, do it yourself solutions many homeowners swear by to get their grout grime free.

Tips From The Professionals:

At the tile shops in Perth, we all know nothing ruins the appearance of a beautiful tile like dirty grout. Before we begin looking at the different approaches to cleaning grout, keep in mind these important tips to get your tile looking brand new.

  • Don’t rush: Let your grout cleaner sit for ten to fifteen minutes before you continue for the best results.
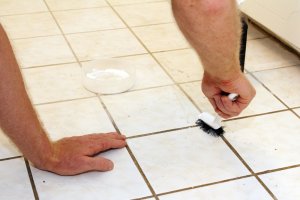
  • Use the right tools: A small, stiff brush than can fit within your grout lines is the key to getting any and all buildup off.
  • Rinse, don’t repeat: Mop or wipe down your recently cleaned tile and grout with warm water and mild cleaning detergent to pick up any remaining loosened residue and prevent streaking.
  • Test a sample: Especially on coloured grout, test all of these solutions on a small corner to confirm that any chemical reactions will not produce discolouration.

OPTION ONE: STEAM CLEANING

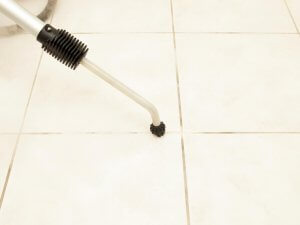
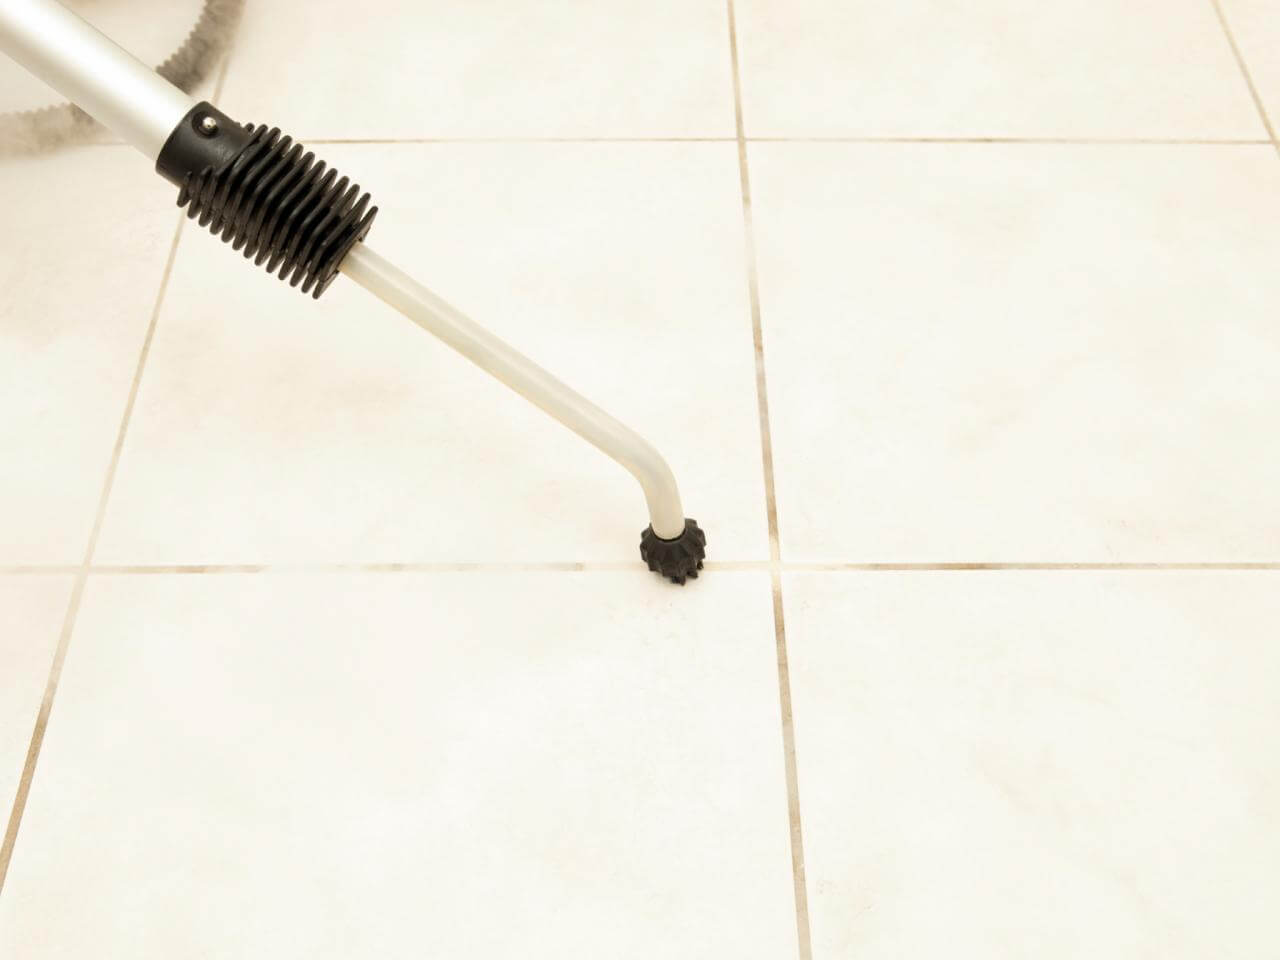
The least strenuous, time consuming, and least chemically abrasive option, particularly suitable for those who don’t want to be scrubbing tile on their hands and knees or who are concerned about chemical contact around themselves, children, or animals, is steam cleaning.

Be advised that this solution will remove any sealant on your grout so it is best used on older grout that is due to be resealed. However, as there is no chemical reaction in this cleaning process, it is ideal to use on coloured grout as there is no risk of discolouration.

If you do not wish to purchase your own steam cleaner, many hardware or home improvement stores offer rental options that may be suitable for your needs. Be sure to use the appropriate grout cleaning attachment, such as a steam hose and a small brush, for the best results.

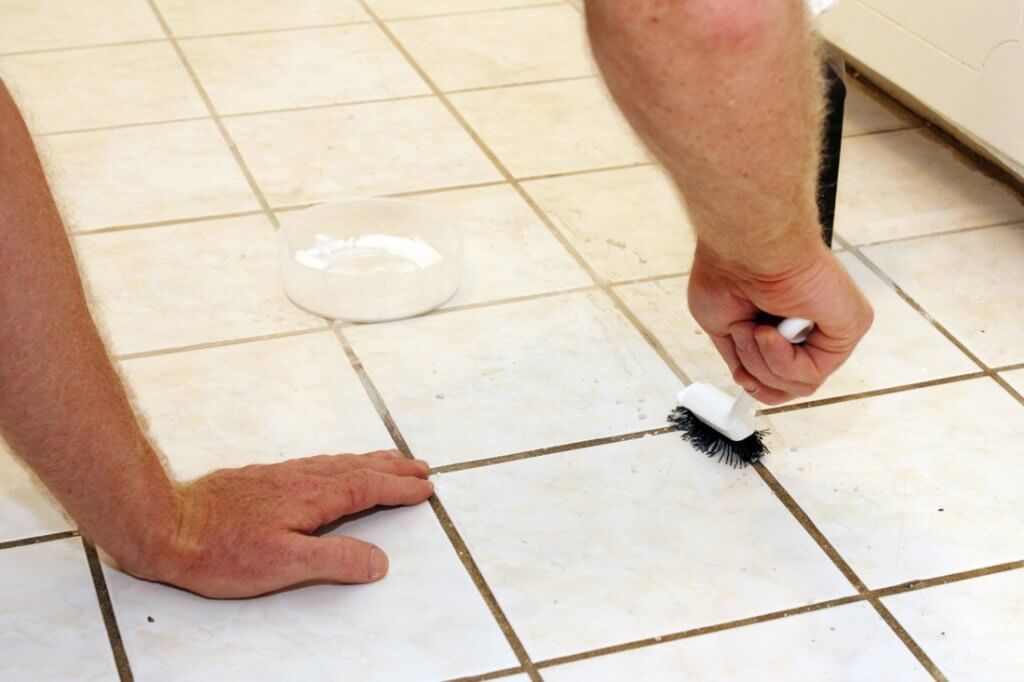
Tile Grout Cleaning

OPTION TWO: BAKING SODA AND VINEGAR SOLUTION

This option is not suitable for grout used on natural stone, as the vinegar may stain or damage natural tile, but is otherwise very convenient as the ingredients are very commonly found already within your home.

The first step is to mix a 3:1 solution of baking soda and water to produce a thick paste that can be generously applied directly on the grout lines. You should then spray a 1:1 solution of vinegar and water onto the paste which will cause the two ingredients to react by bubbling. Once the bubbling ceases, scrub away the paste then wipe or mop up any remaining residue.

OPTION THREE: BAKING SODA, DISH SOAP AND HYDROGEN PEROXIDE SOLUTION

Similar to the option above, this solution can also be made with commonly found household items. A solution of 1 tablespoon dish soap, 1/4 cup hydrogen peroxide, and 3/4 cup of baking soda creates a cleaning paste that can be applied in a similar manner to the baking soda and vinegar solution. Let the solution bubble and sit for the recommended ten to fifteen minutes then scrub, rinse, and mop.

How to Tackle Tough-to-Clean Tiles & Grout 10

OPTION FOUR: OXYGENATED BLEACH

Chemically, using bleach is the strongest cleaning option we can recommend, though not necessarily the most effective depending on the state of your grout. Mix two tablespoons of bleach thoroughly into two cups of water, and use as quickly as possible for the best results. Make sure to also use a synthetic bristle brush to prevent your tools from breaking down in reaction to the chemical agents in bleach. Apply the solution in sections to your grout, let sit, scrub, and rinse as usual.

Particularly tough to clean spots with deeper stains or more build-up can be treated with small amounts of pure bleach. It is recommended you wear gloves and use sufficient ventilation when using this treatment option to protect your skin, lungs, and eyes from the harsh chemicals found in bleach.


If you are struggling with tough to clean grout, and would like more information or a professional assessment of your cleaning needs, contact us today at our premiere tile shops in Perth to see how we can help you get your tile and grout gleaming like new.