AIzaSyCx0PM-3N_RmbMTt2SRm-GX9AD-tAsfpC8 Skip to main content
Category

Tile Installation

Large tiles or Small tiles? A guide on choosing the right tile

Large tiles or small tiles? A guide on choosing the right tile

By Tile Installation, Tile Maintenance, Tile Selection

Just like people, tiles come in many different shapes and sizes. Depending on where you’re installing your tiles as well as your personal preferences, there are different factors at play that will determine whether you should choose large or small format tiles.

Choosing the right-sized tile is much more complex than just finding a tile that will fit in the space. Different tile sizes have different visual impacts as well as different practical components that cater to the room’s requirements. If you’re choosing a tile for your shower versus choosing a tile for your dining area—each area requires different-sized tiles to improve the functionality of the space.

In this blog, we unpack everything you need to know about small and large tiles to ensure you choose the right tile for your project.

Size of the room

It might sound obvious but one of the most important factors to consider before you decide whether to install large or small tiles is the size of the room. A wide and spacious home with an open kitchen and dining area will suit large format tiles. Alternatively, a small home, unit or apartment might better accommodate small tiles. It’s important to acquire the room’s measurements to get a better understanding of how the tiles will fit into the room.

For wall tile installations, the same logic applies. Once you have measured the length and width of the surface, you can consider the dimensions of the tiles and get a better understanding of the project at hand.

Tile size and grout lines

The smaller the tile, the more grout lines you will have on your surface. The grout line is the gap between one tile to another. Grout lines are essential, allowing for dilation of the floors and natural settling due to structural movements and variations in temperatures. Although 0 grout line is impossible, there are options for those seeking a minimal aesthetic with little grout lines as possible.

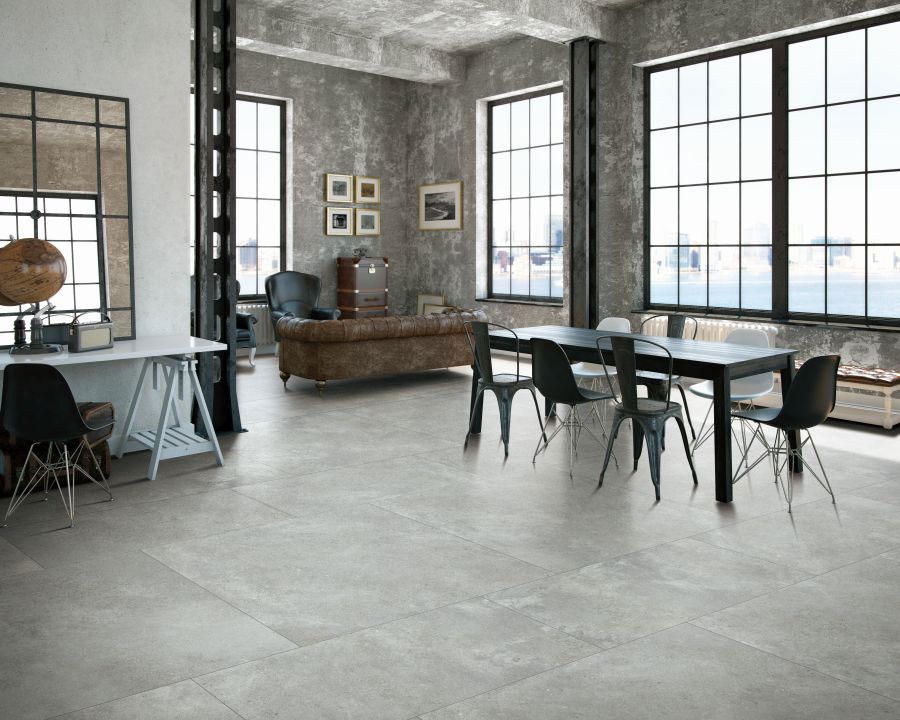
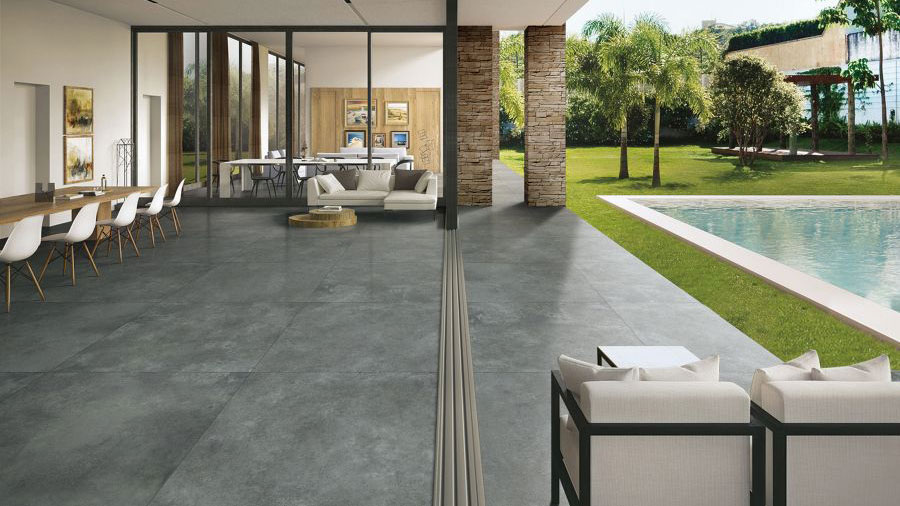
For customers who are seeking flooring with no grout lines, we would recommend large format tiles. Large format tiles have grown in popularity due to their striking appearance featuring minimal grout lines. Large format tiles are big in size varying from: 500mm x 1000mm, 1000mm x 1000mm, 1000mm x 3000mm and 1440x3200mm. The result is a surface with nearly no visible grout lines.

Tile installation

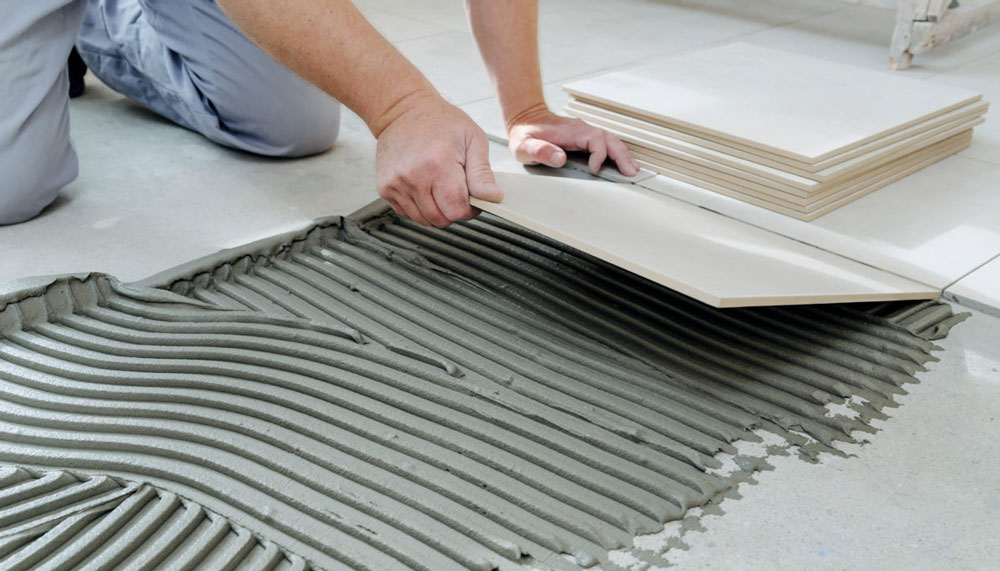
Although some people might think that large format tiles will be easier to install due to their larger size, however, this isn’t the case. Large-format tiles require different skills compared with regular tiles. This is important to keep in mind when choosing your tile installer. It’s best to choose a tile installer who has experience working with large-format tiles so that you can rest easy knowing that your project will be completed to a high standard.

Large vs. small tiles

If you have the luxury of choosing either large or small tiles, you might be struggling to make a final decision. To help with your deliberation, allow us to break down the main factors you want to keep in mind:

Aesthetics

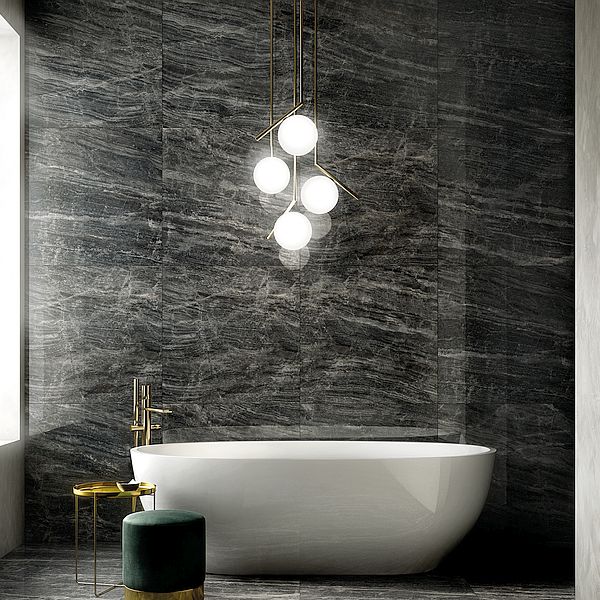
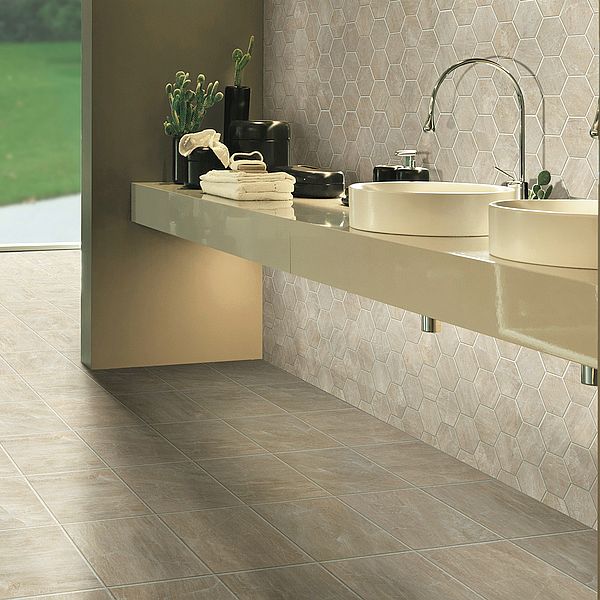
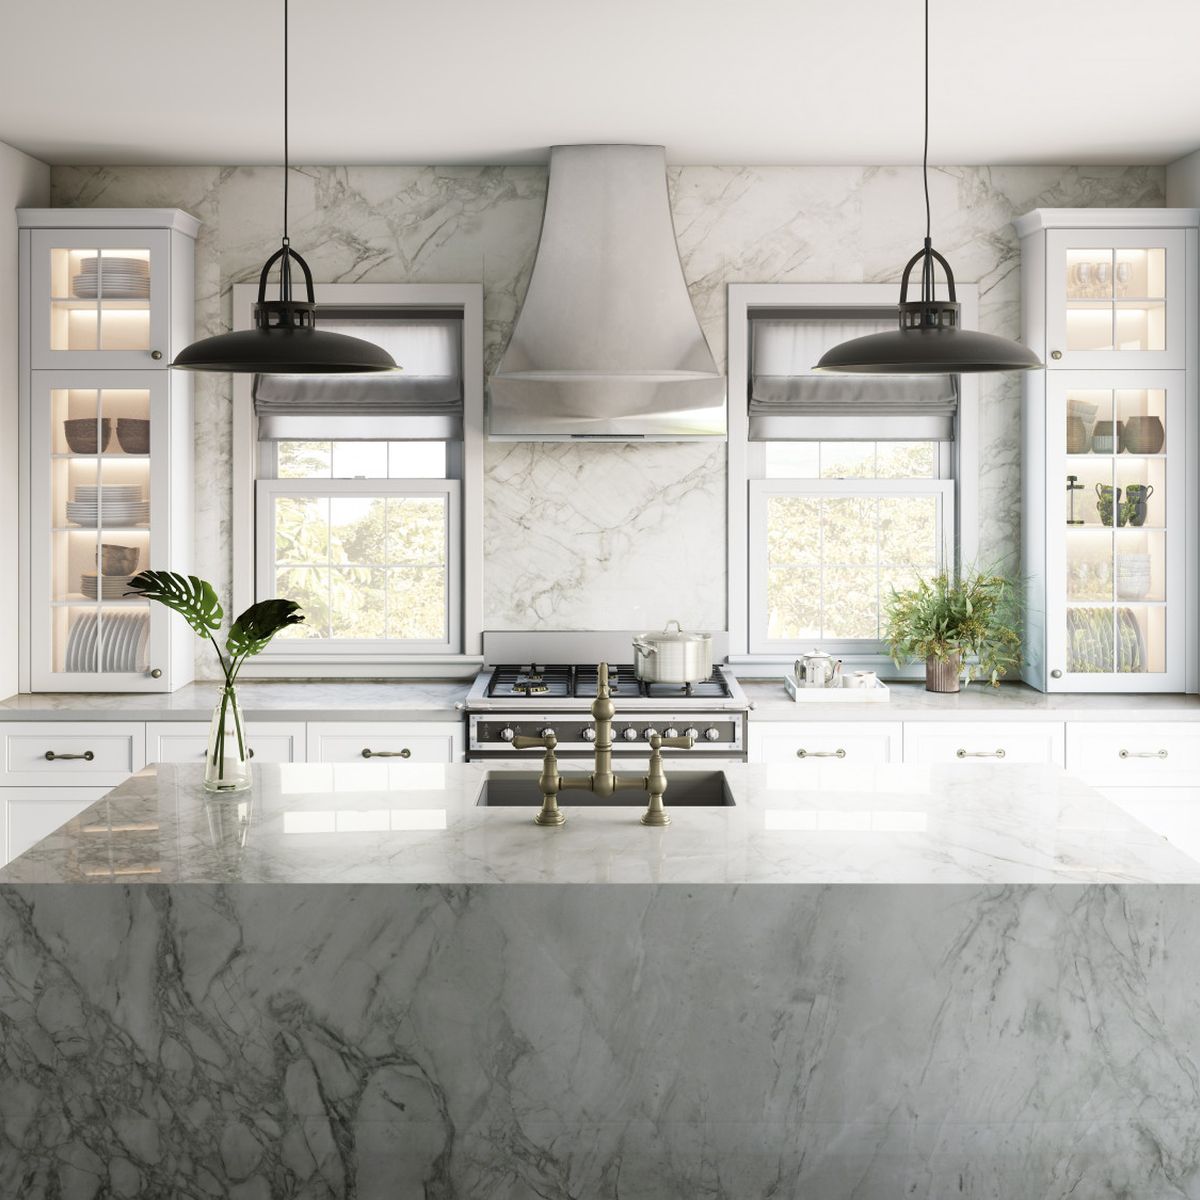
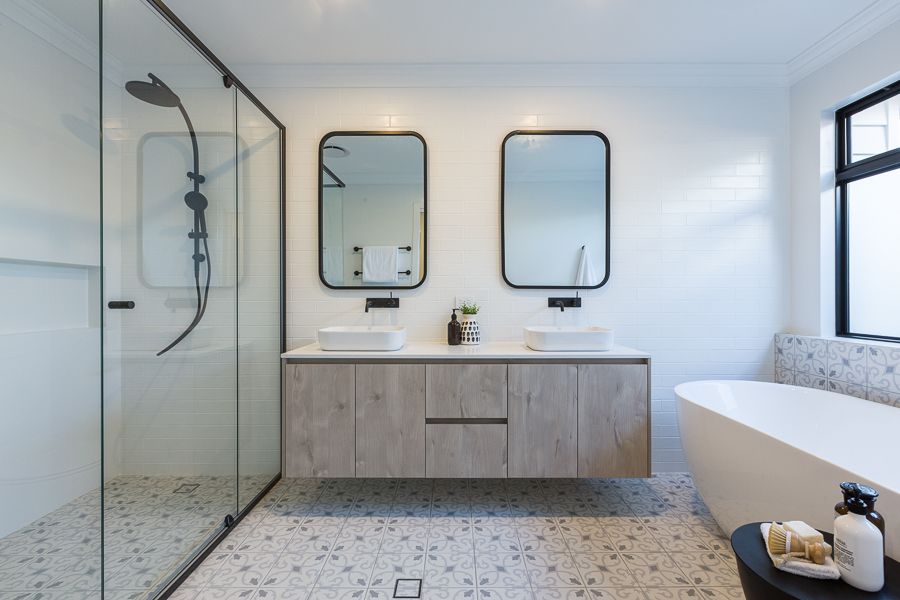
Arguably the most important factor to consider when choosing large or small tiles. Whilst large format tiles offer a seamless and chic surface that can elevate any room, small tiles can offer more creativity. Small tiles add character and charm with the option to create different patterns and play with colour. Large format tiles however are often one colour and mimic textures such as marble, cement and/or wood.

Ultimately, large format tiles will look modern, stylish and expansive. Small format tiles will offer fun, creative and interesting patterns.
Large tiles or small tiles? A guide on choosing the right tile 1
Large tiles or small tiles? A guide on choosing the right tile 2

Functionality

Both large and small format tiles can accommodate different spaces. From kitchens and bathrooms to dining areas and bedrooms—both options can accommodate a wide variety of needs.

If you’re installing tiles in your kitchen or bathroom, it’s important to consider slip resistance. For both residential and commercial settings, slip resistance is a vital feature to include in your ceramic tiles to prevent accidents from occurring. Ensure to check the tile description or consult with one of our tile experts if you need slip resistance.

Maintenance

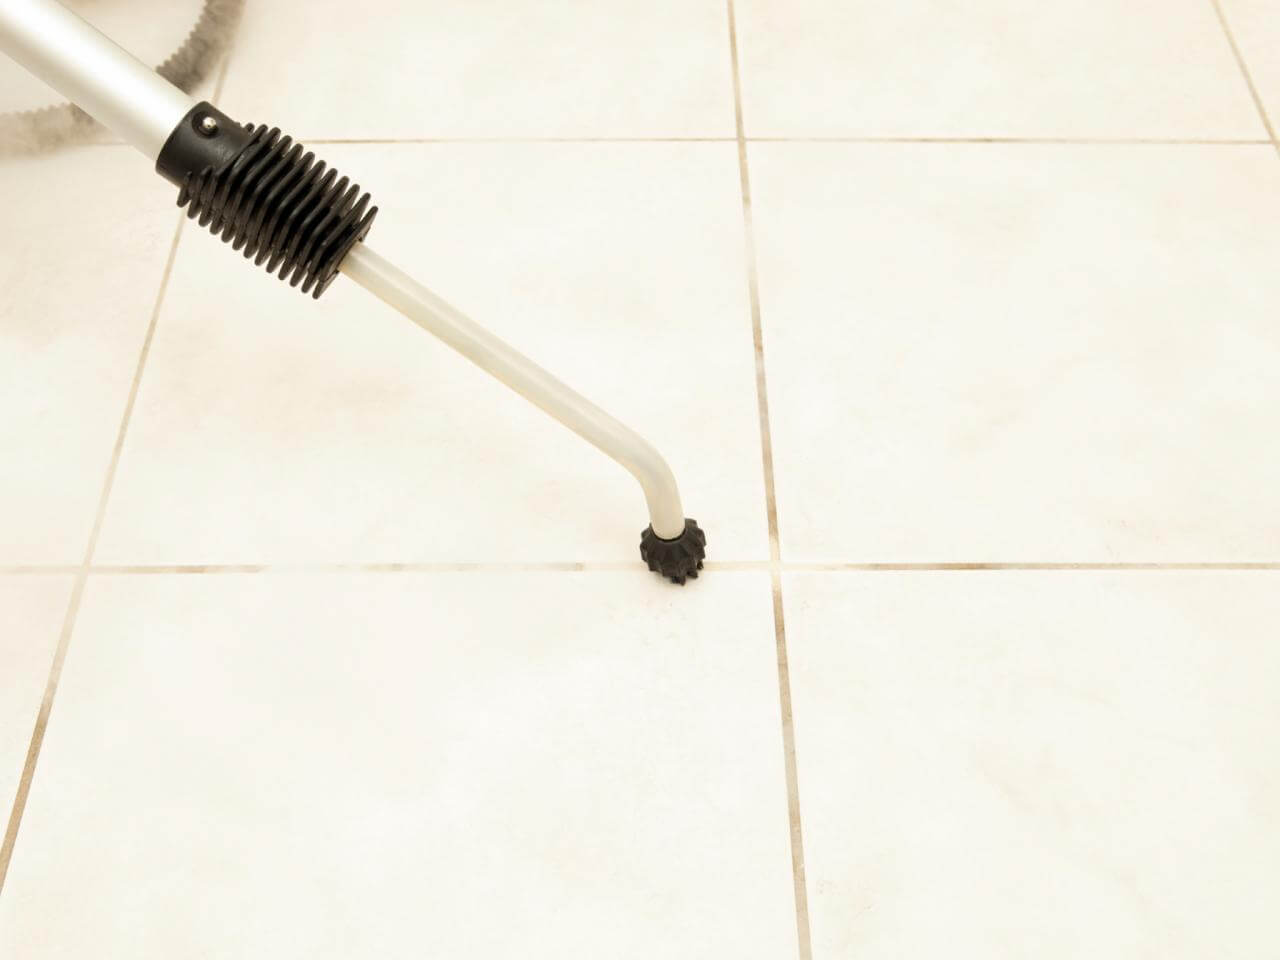
Those who choose large-format tiles will be delighted to discover that large-format tiles require less maintenance. Considering there are fewer grout lines, and in some cases no grout lines, between large format tiles, there’s less vigorous maintenance required.

Tiles with a rectified edge require less maintenance due to their straight edges allowing for less gap between tiles. Tiles with a rectified edge generally have a gap between 1-2mm rather than 2-5mm, which greatly aids the cleaning process.
Large tiles or small tiles? A guide on choosing the right tile 3

Tile questions?

If you’re still unsure about how much space you’re going to need for tiles, or how many tiles are needed for it, you can contact Ceramic Tile Supplies for more information. Our team will ensure that you’re given all the help and advice that you need so that you can get the best tiles for your home!

View our floor tiles

Rectified VS. Non-Rectified Tiles 8

Rectified VS. Non-Rectified Tiles

By General, Commercial Tiles, Tile Installation, Trends

Decisions, decisions…

When choosing ceramic or porcelain tiles, one of the first decisions you’ll need to make is whether you prefer rectified or non-rectified tiles. If you’re unfamiliar with the meaning of “rectified” and “non-rectified” let us fill you in.

Rectified tiles have a perpendicular cut and polished edges. They are often cut down from larger tiles by the manufacturer, this allows the tile edges to fit symmetrically, tightly and cleanly together creating an aesthetic uniformity and means you won’t see any grout between the tiles. Grout lines are extremely fine around 3mm or less and often disappear when looking at the space. The floor will look like one large tiled space rather than seeing breaks between the tiles. 

Non-rectified tiles, also known as molded tiles or pressed tiles are pressed into a standard sized mold and therefore reflect the curved edges of the mold once fired. Due to this, more grout is visible between the tiles, offering a more obvious break between each tile. This will mean the non-rectified tiles show more grout in their installation but can be useful when used on uneven surfaces as the curve disguises the movement underneath.

Rectified VS. Non-Rectified Tiles 9

Are rectified tiles better?

To put it simply, one option isn’t necessarily better than the other, it comes down to your personal preference. Whilst rectified tiles can look more modern with their clean refined and polished aesthetic, non-rectified tiles offer charm, creativity and difference. For example, concrete look tiles deliver an exceptional aesthetic with a thinner grout line whereas our range of subway tiles use the grout lines to create patterns, offering a classic charm to the room. 


Browse our range of rectified and non-rectified tiles to find out which one you prefer.

Installing rectified tiles

When it comes to installing tiles, it’s always best to contact a professional tile installer. Rectified and non-rectified tiles require different installation processes therefore it’s important to ensure the installer is informed on the style you’re choosing and has the knowledge to achieve what you’re striving for. There’s nothing worse than investing in high quality tiles only for them to be neglected during the installation.

Rectified VS. Non-Rectified Tiles 10
Rectified VS. Non-Rectified Tiles 11

Need assistance?

If you’re still unsure of the difference between rectified and non-rectified tiles, we’re here to help. Contact our team today with any questions you may have regarding rectified tiles or tiling in general! Our goal is to make the tile selection process as easy as possible.

View our range of tiles

The essential tools checklist for DIY tiling 19

The essential tools checklist for DIY tiling

By DIY, Tile Installation

Taking on your own DIY tiling project? Got your tile choice, adhesive and grout sorted? Next step is making sure you have all the tools for the job to achieve a professional and long-lasting result. 

While most of the equipment you need may already be in your shed, there are a few essential tools you’ll have to invest in or hire. From prepping the walls or floor, laying down your tiles with absolute precision and cleaning the tiles when the job is done, here is our definitive list of tiling tools for your DIY project.

The essential tools checklist for DIY tiling 20

Preparing your workspace

  • Pencil
  • Dust sheet (if you need to cover up furniture)
  • Tape measure
  • Spirit level
  • Stanley Knife
  • Step ladder (for wall tiling)
  • Clean rags
  • Bucket
  • Safety goggles (for cutting tiles)

Fixing your tiles

  • Tile cutter
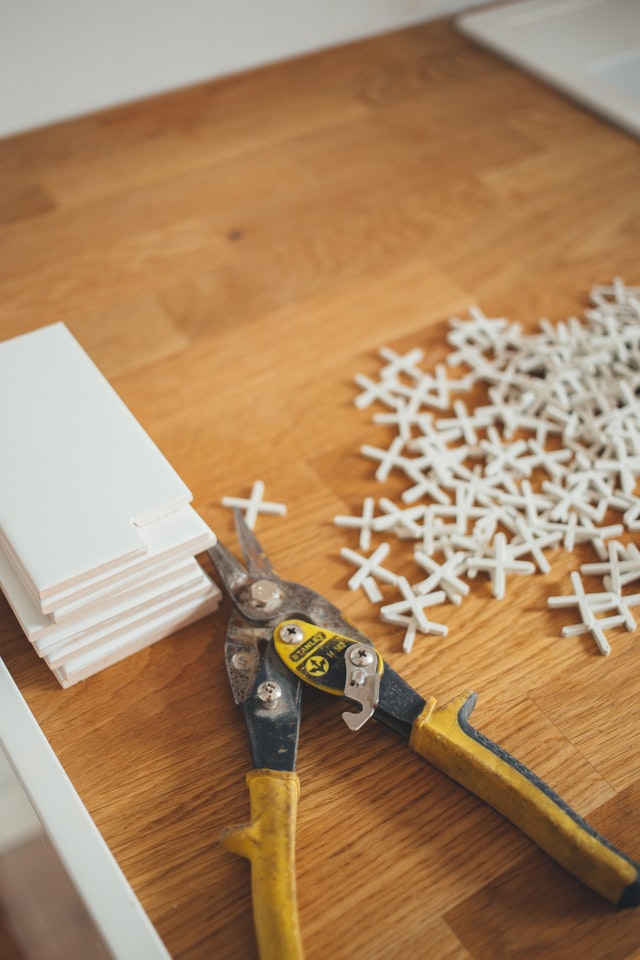
  • Tile nipper
  • Adhesive mixer (if you want to achieve the perfect mix)
  • Notched trowel
  • Rubber mallet (to gently tap the tile into place and ensure it bonds properly)
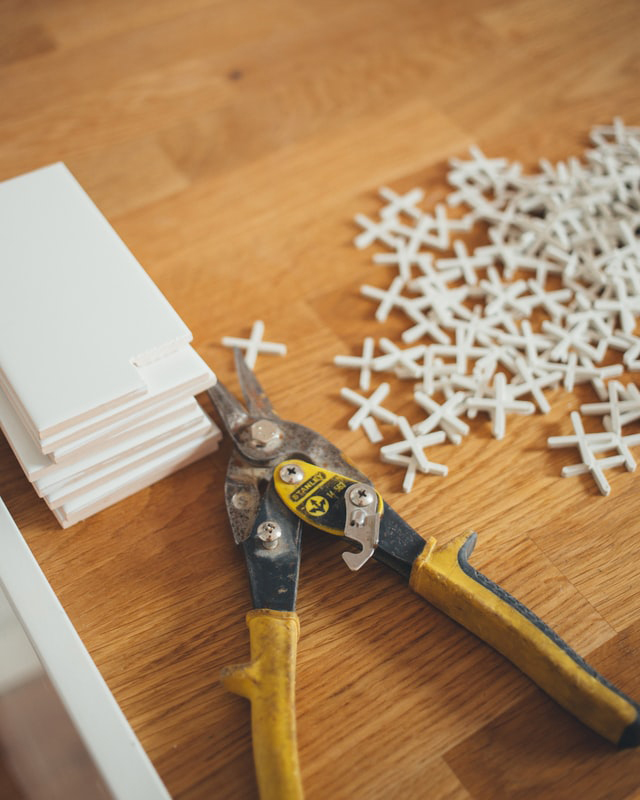
  • Tile spacers

Tile cutter

Unless your room is perfectly square, you’re going to need a tile cutter to cut your tiles to the required shape and size. There are 3 different types of tile cutters you can buy or hire:

  • Manual tile cutter – great for straight cuts in ceramic or porcelain tiles.
  • Electric wet saw – ideal for straight or angled cuts in ceramic, porcelain, glass and natural stone. Water is used to avoid the dust factor and keep the blade cool, which helps minimise chipping.
  • Angle grinder with a diamond cutting blade – an affordable and versatile cutting solution

Tile nipper

A tile nipper is great for slicing off small chunks of tile when you need to fine-tune a rounded edge or awkward spot. When using a tile nipper, make sure to file down any sharp or rough edges with a polishing pad for a perfect finish.

Notched trowel

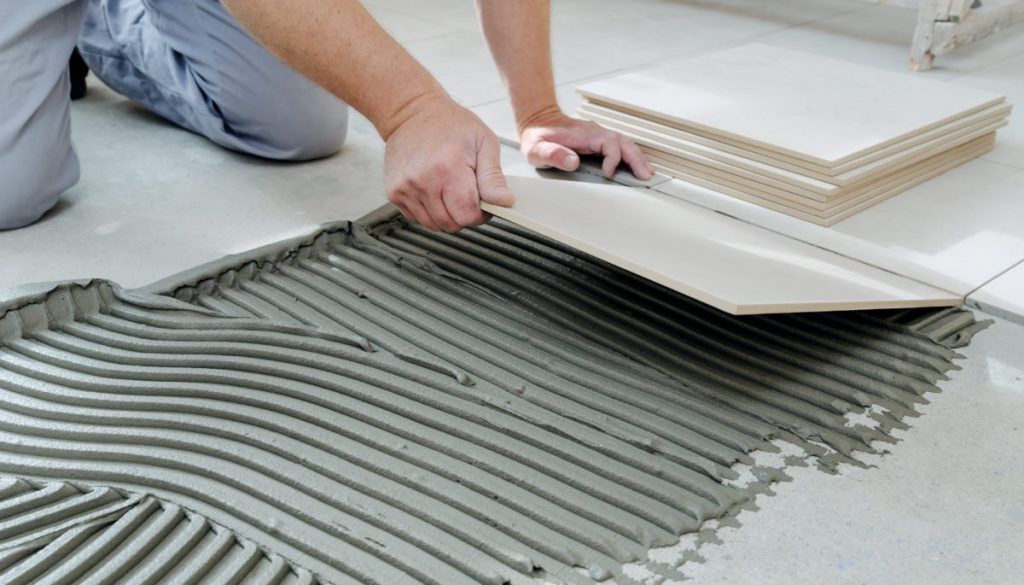
Notched trowels are used for spreading tile adhesive onto the floor or wall. The straight edge of a trowel is used to evenly spread tile adhesive onto the surface you’re tiling. This ensures even coverage and thickness. The notched edge is used to apply ridges into the adhesive to support the back of the tile. Notches come in different sizes, so make sure you choose the best size based on your tiling project.

Tile spacers

Tiles spacers are a DIY tiler’s lifesaver! These little guys work to keep the spacing between all your tiles uniform. They also help to keep your tiles in place and maintain straight grout lines while the tile adhesive dries.

The essential tools checklist for DIY tiling 21

Grouting & finishing

  • Grout float
  • Grout sponge
  • Grout finisher
  • Dustpan and brush

Grout float

A grout float is a flat trowel with a rubber base that is used to spread the grout into the joints (gaps) between the tiles. The rubber ensures an even spread.

Grout sponge

A grout sponge is used to smooth over the grout joints (after applying grout with a grout float) and cleaning excess grout from the tile faces. Always use a proper grout sponge! While you might think an ordinary household sponge will do the trick, the sharp edges have a tendency to pull the grout from the joints. Grout sponges are bigger, denser and have rounded corners. 

Final thoughts

There’s nothing worse than having to stop-start a job because you don’t have a certain piece of equipment. Making sure you’ve got the right tools from the start will ensure you’re prepared, and result in professional looking tiles for your home or business. 

Perth’s tile specialists

Be inspired by Ceramic Tile Supplies’ range of quality tiles. Browse through our extensive range of floor and wall tiles online or visit our Wangara and Myaree showrooms to see the full range of tiles in Perth.

View our range of colours

Your bathroom tiling FAQs answered 26

Your bathroom tiling FAQs answered

By Bathroom Tiles, DIY, Tile Installation

Retiling your bathroom for the first time? Whether you’re taking it on as a DIY project, or you’re having a professional tiler handle it for you, there may be some things you’re scratching your head about. 

Tiling your bathroom is a little bit different to tiling other areas of your house, so it pays to understand what’s involved. Here are some answers to common questions we receive about bathroom tiling.

Your bathroom tiling FAQs answered 27
What type of bathroom tile should I choose?

Not all tiles are suitable for the bathroom because they get exposed to condensation and moisture. Glazed ceramic or porcelain tiles are the most practical options.

Ceramic tiles are affordable and simple to look after. They aren’t as hard wearing as porcelain tiles, but as bathrooms are not high traffic areas, ceramic tiles are perfectly fine to use on your floors and exceptionally good on walls.

Porcelain tiles are denser and tougher than ceramic, and also easy to look after. They’re suitable for both floors and walls. If you’re after a natural stone look, you can achieve this with full body porcelain tiles that look almost identical to natural stone tiles.

When it comes to your bathroom floor, make sure you choose a tile that has some slip resistance to avoid any future accidents.

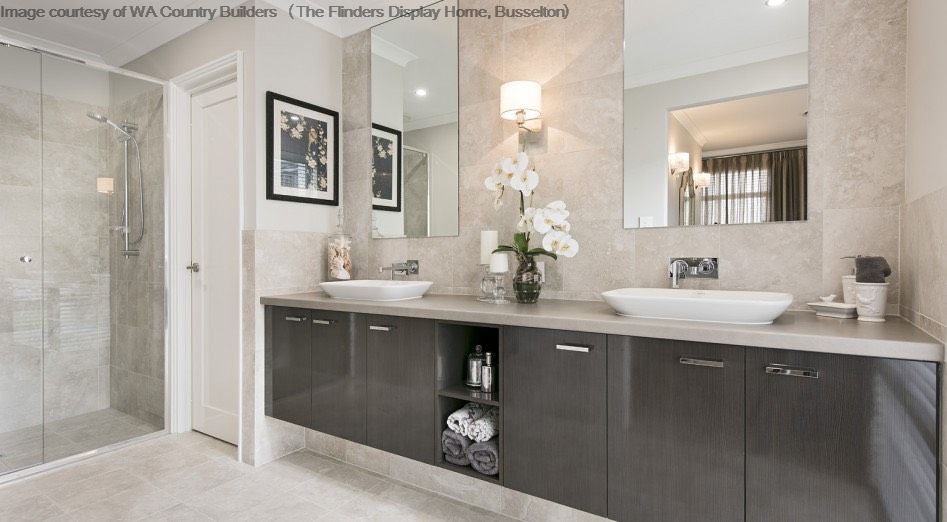
If you have a small bathroom and want to create the illusion of a bigger space, consider using plain coloured or subtle patterned tiles and stick to a single shade. Avoid too many patterns or grout lines, as this will only make your bathroom appear smaller. 

Should I do full height tiling?

It all depends on the size of your bathroom and your budget. The benefits of tiling your whole bathroom is that your painted walls don’t get exposed to the humid environment and moisture, which can lead to mould, harbour germs and require more regular maintenance.

How do I get my walls ready for tiling?

It is imperative that your walls are clean and free from dust when preparing your surfaces for tiling. If you’re laying your own tiles, make sure you, patch, prime, and waterproof your walls before spreading adhesive.

Make sure your areas are waterproofed to prevent any possible leaks in the future. If you have a professional tiler laying your tiles then you don’t need to worry about this as most include this in their quote, but cleaning your walls beforehand will save your tiler time and ensure they are prepped and ready to go.


What’s the easiest way to tile around bathroom fittings?

It’s best to remove your fittings first before you tile. This helps to prevent any damage to your fittings and will allow for a neater finish with your tiling. Also, if you need to replace any fittings later on, it’s more difficult to remove if it’s been tiled in.

If you’re starting your bathroom from scratch, your bath and shower trays should be fitted and plumbed in first, then tiled. This ensures the edges of the bath or tray and covered to help create a watertight seal.

Your bathroom tiling FAQs answered 28
Your bathroom tiling FAQs answered 29
Do I need to apply silicone on bathroom tiles?

Silicone is important because it ensures the joints are sealed making your tiles waterproof. Silicone is applied after tiling and grouting to any areas that are susceptible to movement cracks.

Is it a good idea to tile over tiles?

Tiling over tiles isn’t as straight forward as it sounds, but it is possible. It’s an effective way to save time and money on your renos, while also keeping waste out of landfill. However, if your tiles are showing signs of damage or wear, you’re better off ripping them out to avoid bigger issues down the track. The remaining tile will also need to be roughed up or scored for the new tiles to adhere to the face. This can be quite difficult with some of the quality tiles as this is something that tiles are made to withstand to some extent. 

What’s a tile trim and do I need it in the bathroom?

A tile trim is used to neatly finish the edges around your tiled area and cover up any exposed or cut edges. It can also protect the edges of the tiles from damage and cracking.

Perth’s bathroom tile specialists

Be inspired by Ceramic Tile Supplies’ extensive range of bathroom tiles. Browse our collection and photo gallery, or visit our Myaree or Wangara showrooms to view the full range of bathroom tiles on display.

Some of Our Best Selling Bathroom Tiles

glazed ceramic tiles

DIY Guide to Wall Tiling

By General, DIY, Tile InstallationNo Comments

Everyone enjoys a good DIY project in their home. Painting, crafts, and other small projects are immensely popular choices. What about something a bit larger, though?

Tiling your wall is a wonderful way to add a new flair to your living or business space. You can do intermittent tiling or go for a retro subway tiles look. Either way, there are a few steps to the process, and it requires quite a lot of patience. If you are hoping to undertake a tiling project and you are looking for tiles in Perth, our showrooms have exactly what you need!

How does one go about starting this sort of project? Here is a very brief guide to start your DIY journey with wall tiling!

Prepare the Surfaces & Yourself

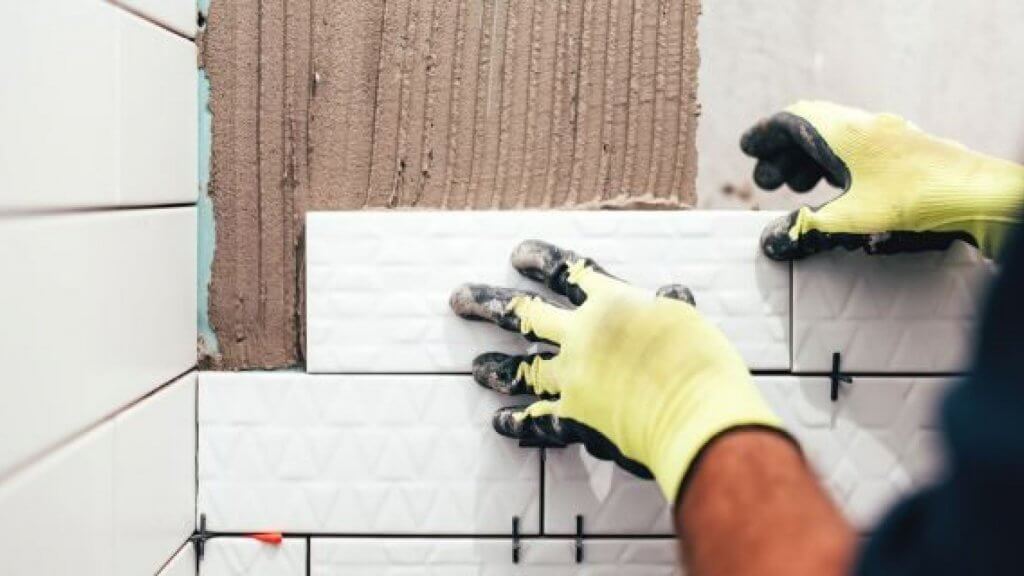
The first step is to make sure the area you will be tiling is clean and clear of obstructions. If there is already wallpaper present on the wall, strip it down to the plaster. Fill any holes or cracks before tiling. Once the space is prepared, you need to be certain you are prepared too.

Here are a few supplies that you should have to keep yourself protected during your project. Your local Bunnings should have all of this.

  • Safety goggles
  • Dust mask
  • Gloves

You will also need to get materials and tools:

  • Tile adhesive
  • Grout
  • Measuring tape
  • Level
  • Trowel
  • Masking tape
  • Cloth

Depending on the style of tiling you are looking for, you may need other supplies. Consult with our tiling experts if you have any questions about specific tile types and installation.

Determine Your Design

Once you have your supplies and tiles, you want to determine your layout.

Beginning from the middle of the tiling space, establish the vertical rows first. Measure your tiles and use a pencil to mark where the tiles will be placed. Lay down a row of tiles with a bit of space between them (depending on how much space you want). Be sure to line up the bottom of the tiles to keep them even.

If you are looking to do a more abstract pattern, take the time to lay out the tiles to set up your pattern. It may also be helpful to number the tiles so you know how many you need.


DIY Guide to Wall Tiling 37

Fixing Tiles to the Wall

Before fixing tiles in place, be certain that the surfaces are even. If any tiles are uneven from their neighbours, you may need to get rid of it or use your various tools to adjust it. If the tiles are bevelled or rounded, you will not need a corner trim.

Begin from the centre once again and tile one side all the way over to the edge. Repeat the process for the other side. Use the trowel to place adhesive on the wall.

When spacing out your tiles, you’ll find battens help to determine a starting point. Use the battens to your advantage when attaching tiles, beginning in the corner and working outwards. Use tile spacers to secure space between the patterns and to make it easier to apply grout.

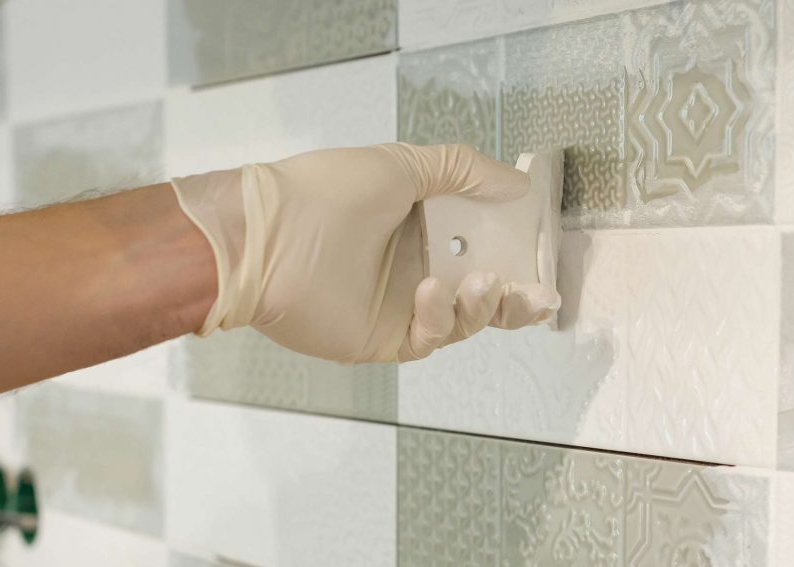
Be sure to remove extra adhesive with a damp sponge as you go. Once it dries, grout is almost impossible to clean.

Take Your Time

Tiling is a rewarding process. Once you finish, the results are beautiful and unique every time. However, taking your time is key to a secure tiled wall.

When approaching difficult spots, like corners or baseboards, use caution. It may even be necessary to search out expert opinions on these areas. There are lots of videos and helpful demonstrations for these situations. If you are uncertain, don’t power through it. Take the time to do it right, and you will enjoy the results even more.

Visit One of Our Showrooms

If you are considering this style for your wall and don’t know where to begin, visit one of our showrooms! Tiling is a great way to spice up any room, and we have plenty of options for you.


Laying Tiles for Beginners 38

Laying Tiles for Beginners

By General, DIY, Tile InstallationNo Comments

Tiles are one of the most popular flooring choices for home renovations. It’s an attractive and functional choice for kitchens and bathrooms. Plus, they’re easy to maintain. However, installing tiles in Perth can be daunting for someone who’s never laid flooring. The following is a breakdown of how you can easily lay tile as a beginner.

Keep Safety First

You want to keep yourself safe if you decide to lay your own floors. To do so, wear heavy-duty gloves and protective goggles to guard your feet and eyes against the broken shards of your old flooring.

Prepare and Purchase the Product

Before you make any purchases, you want to measure the area to account for any awkward or jutting areas. When you measure, round to the nearest whole number. This will help you figure out how many packs of tile you need to buy. Each pack covers a specific surface area.

To further prepare your floors, ensure they’re level and dry. Ideally, you’ll lay your flooring on the concrete floor.

You can lay flooring over existing quarry tiles and vinyl, but you need to make sure that that flooring is laid down firmly and properly. When you lay over vinyl tiling, ensure that you also coat the surface with a primer. If you’re laying over concrete or wood, then you should use an adhesive for your primer purposes.

Once you’ve figured out the type of flooring you’re working with, you’re ready to select your tiling. Contact your local tile shops in Perth, such as our team here at Ceramic Tile Supplies, for help on design and colour options.

Plan the Layout

The first tile you lay is your “key tile”. It determines the entire layout of your tiling, making it the utmost importance that you get the positioning right. You’ll want to ideally start somewhere near the centre of your room and work out in each direction. Since many rooms aren’t perfect squares, starting out at the edge will leave you with a huge mess.

To ensure you don’t mess up the process, dry lay a row from the centre to the wall. If you end up with a tiny slither of tile against the wall then move that entire line of tile one tile width away. Once this line is laid correctly, keep dry laying your floor in the opposite direction and move your key tile around if things are not lining up.

When you’ve found the perfect location for that first tile, mark it down with chalk. If the edge pieces are not perfectly aligned, you’ll need to mark where they meet the wall and cut it to shape.

Start Tiling

Lay down the tiling the same way you dry laid it, starting with your key tile and working out toward the walls. Keep in mind, as you choose your direction, you want to avoid stepping on your newly laid floors. If you see no way of avoiding your newly laid tile while you work, think of working in sections per day.

When you first start, spread out about a metre’s worth of adhesive in the centre of the area. To spread it evenly, use a spreader or notched trowel. A spreader leaves just the right amount of product so that the tile actually sticks. Lay your first trowel down, onto the mark you’ve placed before starting, and twist it slightly as you lay it to get rid of any air bubbles.

Work out from the key tile, using plastic spacers, toward one wall. Whenever you get done with every metre or two, check to ensure that your floor is level with a spirit measure. Once you’ve completed this row, redo these steps at right angles so that your tiles are crisscrossing the room from your centre tile. Continue this pattern in rows in one corner of the room and work in quarters.

Once you’re done, wipe down all of your flooring to ensure there is no adhesive left to ruin your perfect new floors. Don’t put your edge tiles in just yet.

Laying Tiles for Beginners 39

24 Hours Later

Once you’ve got your tile shaped by cutting it, you can fill the edges after the rest of the floor has set. Put a layer of adhesive onto the back of these cut tiles and press them into position, leaving them for 24 hours to set.

Get It Grouted

Before moving onto the grouting phase, make sure your tile is solidly set. Mix your grout well so that there are no lumps. Leave your grout sitting for 2 to 3 minutes to help break down these lumps and to release air bubbles.

If the tile you’ve laid is glazed, you can pour the grout over the flooring and spread it with a tool with a rubber edge to move it into place. For non-glazed, you have to gently place it into the cracks so that it doesn’t get on the floor’s surface and stain. As it begins to set, press the grout down with a wooden dowel to fill any air pockets or gaps. Have a damp sponge with you so that you can wipe away any excess.

The grout should harden in approximately an hour. When it is hard, you’ll want to wipe each tile with a damp cloth to make sure there are no grout stains that have escaped your attention. Be very gentle over the next 48 hours. Finish up your floors by sealing around the corners of the room with a flexible sealant the same colour as your grout.

Getting Started

Installing your own tile can be a huge job that takes a lot of time, energy, and patience. For those looking for help from tile shops in Perth, contact us today. We can give you a list of experienced and qualified professionals.

How To Lay A Timber Look Tile And Make It Look Great 40

How To Lay A Timber Look Tile And Make It Look Great

By Timber Look Tiles, DIY, Tile InstallationNo Comments

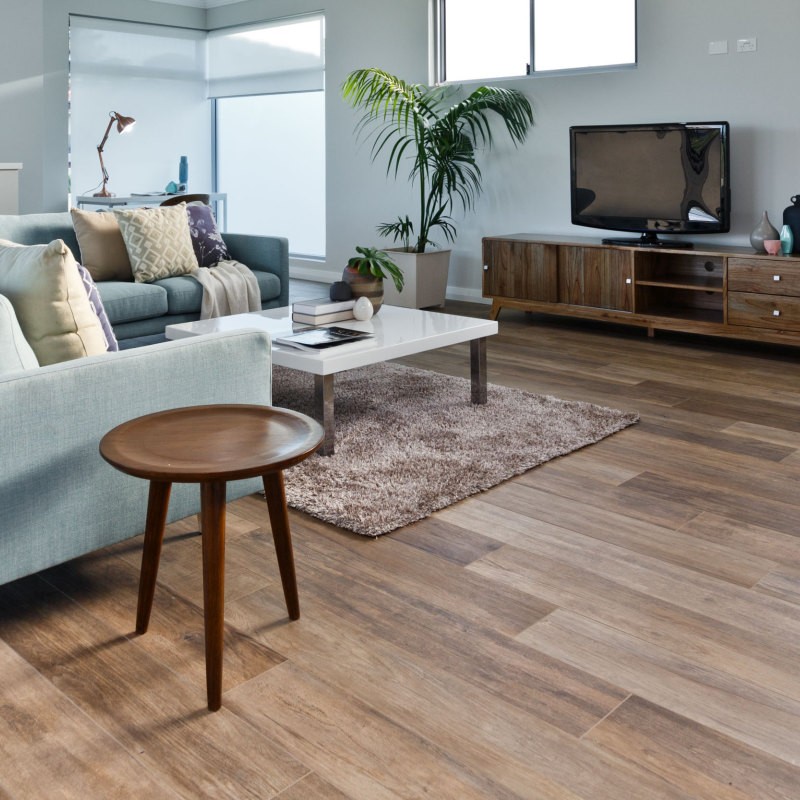
Timber look tiles have become a popular alternative to hardwood. There are a number of reasons that homeowners are making the switch to this flooring material. Wood flooring gives homes a sleek and polished look. However, they require a lot of maintenance. If the material is not refinished regularly, then it will get scratched and develop an ugly wear pattern.

Timber look tiles, on the other hand, are waterproof, don’t dent, and won’t creak. They’re not without fault though. Installing this type of flooring comes with its own set of unique challenges. While the specifics of laying this type of flooring varies depending on design and specification, the following is a general guide on how to lay timber-look tile and make it look like real timber tiles.

Reduce Lippage

One of the first things you’ll notice about wood-like material is that the tiles are not flat. When you look at them closely, you’ll realise that the centre is higher than it should be. This can often result in lippage, aka uneven flooring, if not installed correctly. So how do you avoid lippage when timber look tiles have high centres?  

  • Prepping the Floor Surface. Ensure that the floors have no more than a 1-cm deviation within 3 metres of each other.
  • Find Any Dips or Peaks. The groundwork for your flooring also has to be even. Use a chalk line to sketch out the room to see if there are any variations in the floor’s height. Mark them with tape or pencil.
  • Fix Those Dips and Peaks. Once you’ve found all the floor’s holes, cover them with a thin set. Use your trowel to spread it either. Any peaks you find should be ground down.
  • Clean the Surface Area. Clear your floor by using a water and sponge to get rid of any drywall, debris, and dirt.

Use a Tile Levelling System

Even with all dips and peaks gone, your final result may still leave your floors with some lippage. A tile levelling system can be the ultimate solution for those worried about too much lippage from their timber look tiles. These systems ensure that the surface of your floors is flat thanks to its interlocking design.

Pay Attention to the Orientation of the Tiles

Another simple way to ensure your timber look tiles are installed properly is to run the flooring material across the room first. Begin with the first two rows. Utilise an aforementioned tile levelling system to ensure that each row fits perfectly.

Once you’ve made sure that these first couple of rows are flat and aligned, continue your work by completing one row at a time. Be sure to take your time.

The Bottom Line

Laying down timber look tiles can be a very demanding process. Hopefully, the advice above can make your installation process easier. For high-quality ceramic timber look tiles in Perth, look no further than Ceramic Tile Supplies. We have been providing a variety of kitchen, bathroom, and floor tiles for over 50 years. Our tiling expertise can also help you with all your timber look tile needs.