AIzaSyCx0PM-3N_RmbMTt2SRm-GX9AD-tAsfpC8 Skip to main content
Category

DIY

interior house tiles

Kitchen splashback on a budget

By DIY, Kitchen Tiles, Tile Selection

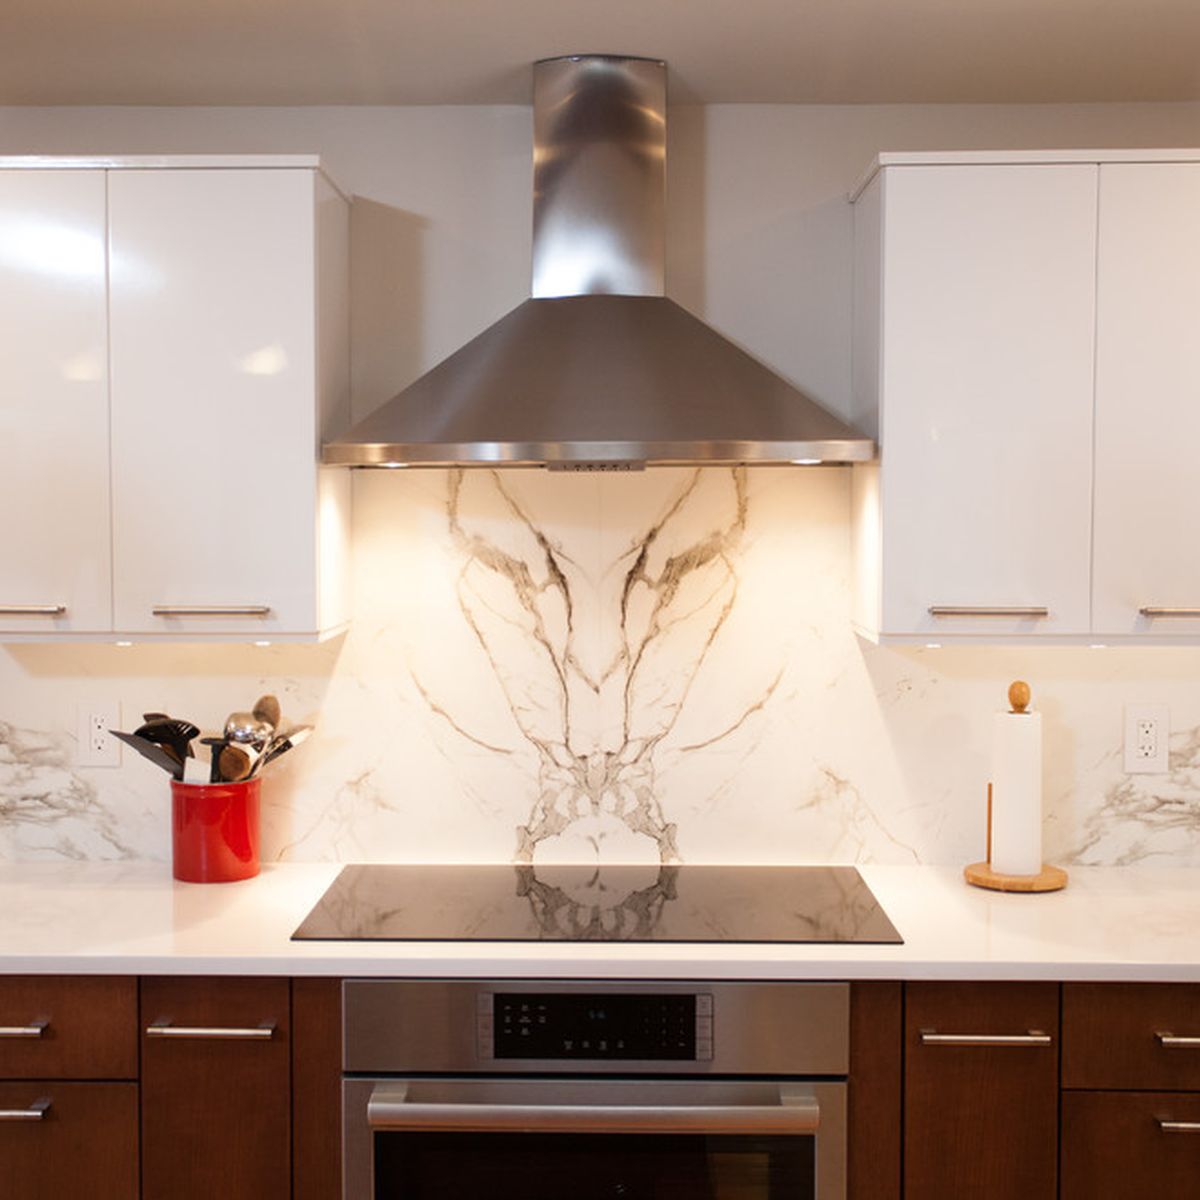
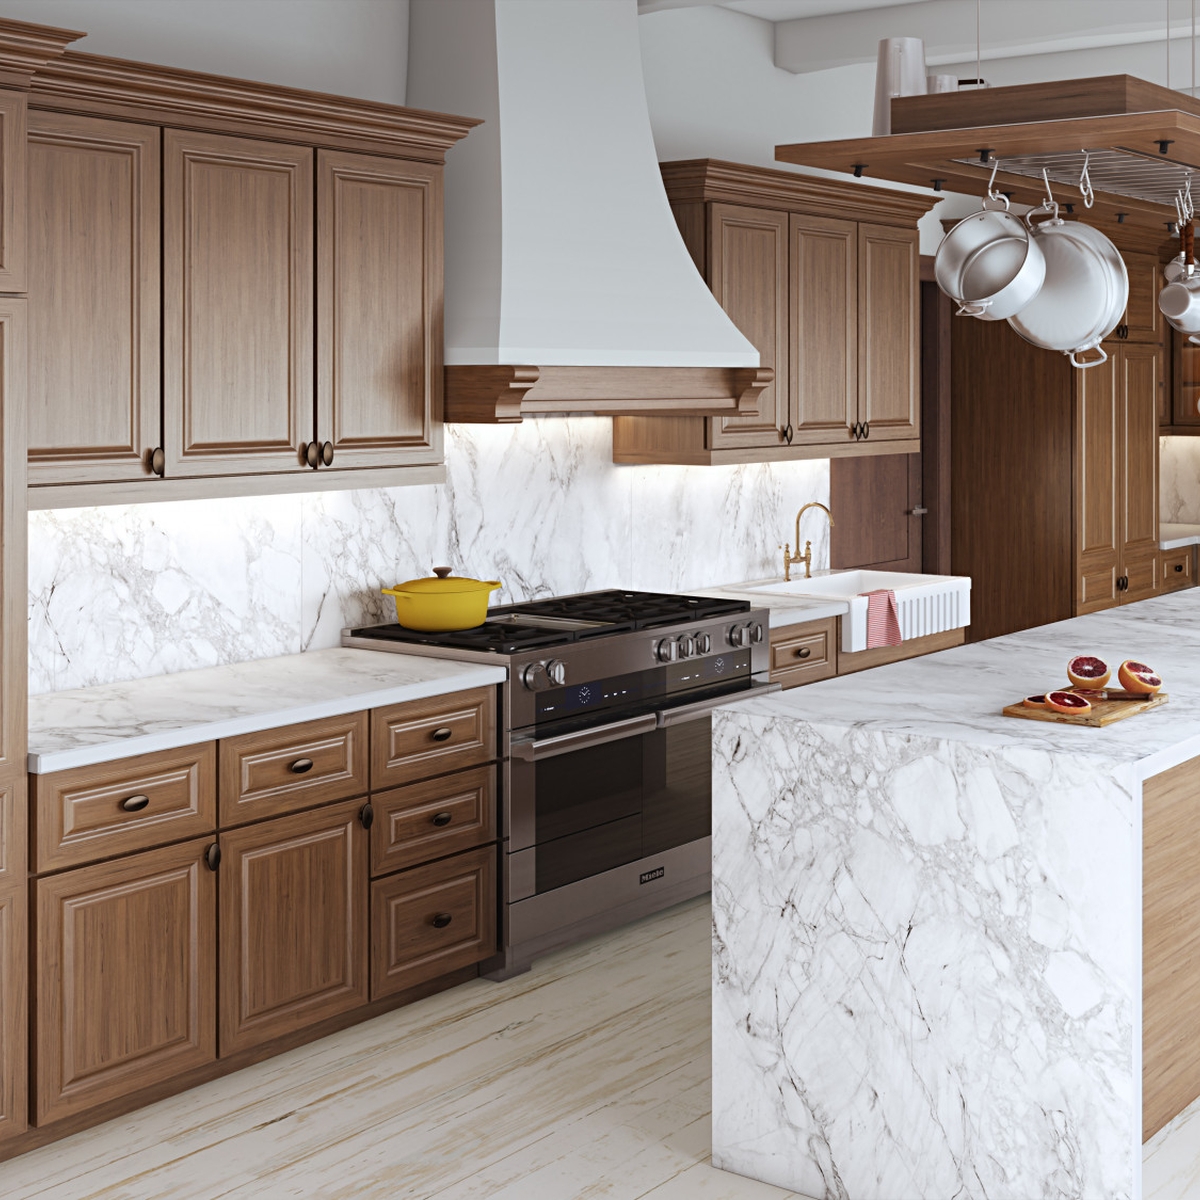
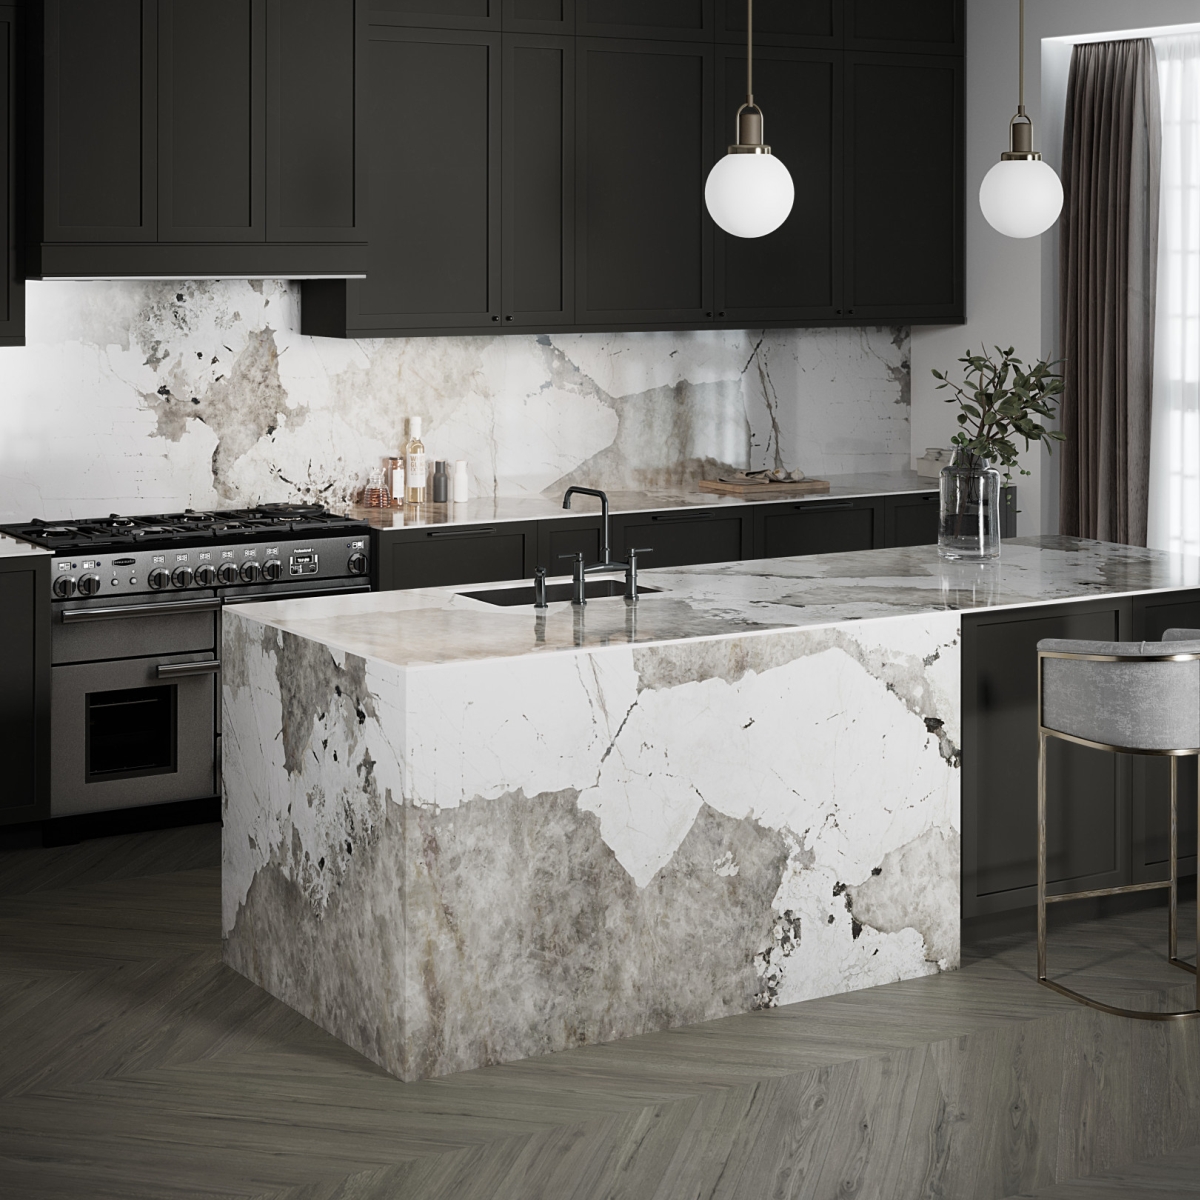
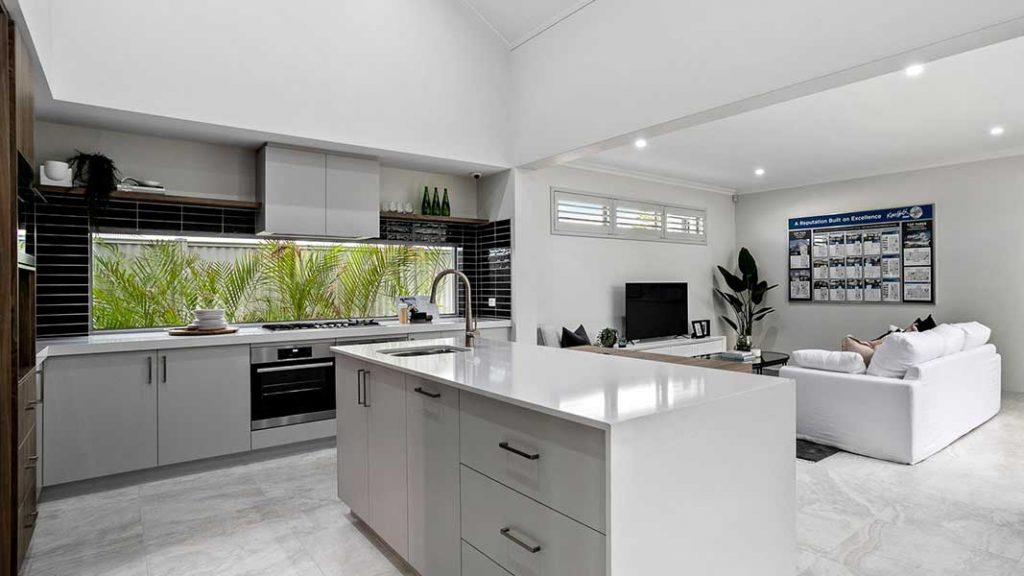
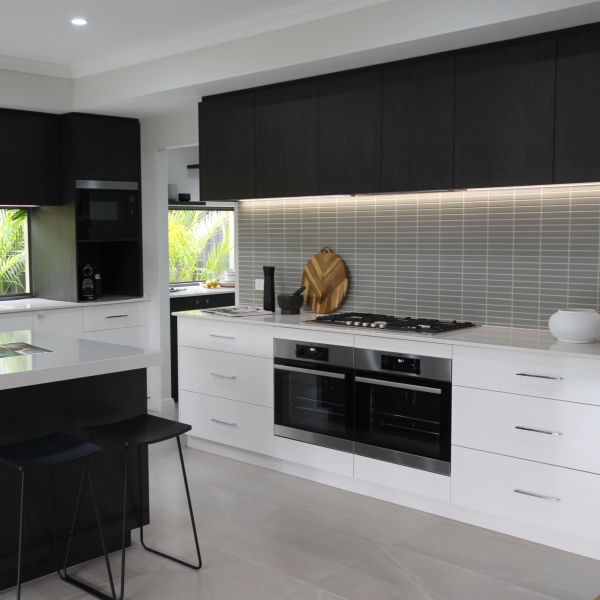
The kitchen splashback is the pièce de résistance to your kitchen interior. The kitchen splashback is not only an aesthetic essential but also a practical component to your kitchen that protects the wall’s surface. Without the splashback ceramic tiles, steam from pots, oil bursts from pans and everyday splashes fall onto the wall’s surface, damaging paint and plaster. Not to mention, if you don’t have the ceramic tiles, it completely alters the overall look and feel of your kitchen, making it look unfinished. 

We understand that when you’re building or renovating your kitchen, costs can quickly add up. It can be hard to balance meeting your budget with choosing materials and designs you’re going to enjoy in your home. It can feel as though you have to choose one or the other – sticking to budget or choosing the ceramic tiles you want. But – we have good news for you… 

In this blog, we explain how you can bring to life your dream kitchen splashback whilst ALSO staying on budget. Yes, it’s possible!

Clearance Tiles

If you’re looking to save money on your tiling project, head to the clearance section of our showroom. Many people are surprised to discover that we offer a selection of ‘end of the line’ tiles available at heavily discounted prices. With limited quantities available, our clearance tiles are great options for small-scale projects… such as a kitchen splashbacks.  

Our clearance tiles at CT Supplies although are discounted, they’re still of top quality, making for excellent additions to your kitchen interior… no one will even know they’re from the ‘sales rack’! 

We’re regularly adding ceramic tiles to the clearance section, which means you have the choice of a wide variety of different styles, colours and patterns! Choose between glazed or polished rectified porcelain, non-rectified porcelain, non-rectified stone look tiles and timber look tiles. All originally sourced and imported directly from the finest tile manufacturers in Italy, Spain, Portugal, Turkey, Japan and China. The hardest bit will be choosing which tiles to buy!

It’s always a good idea to see our selection of clearance tiles in person before you commit to a purchase not only does this help with colour selection but there are more available than what is shown online.

DIY Kitchen Splashback

Another great way to save on costs, is building the kitchen splashback yourself! 

Over the last few years, building costs have rapidly increased due to an unfortunate combination of higher energy costs, material shortages and skilled labour shortages. This means for anyone completing a building project, you’ll need to prepare yourself for a higher outlay than previous years. In fact, over the last 12 months, building costs have gone up by 10.4% – the second highest annual increase in construction costs in history. To reduce costs, complete DIY projects where possible.

If you’ve never completed a DIY project or worked with ceramic tiles before, this might be a daunting suggestion for you. However, once you have all of the necessary resources, materials and tools – you’ll discover it’s easier than you think plus, the great enjoyment you’ll get from completing a home DIY project is incredibly rewarding. 
Kitchen splashback on a budget 1

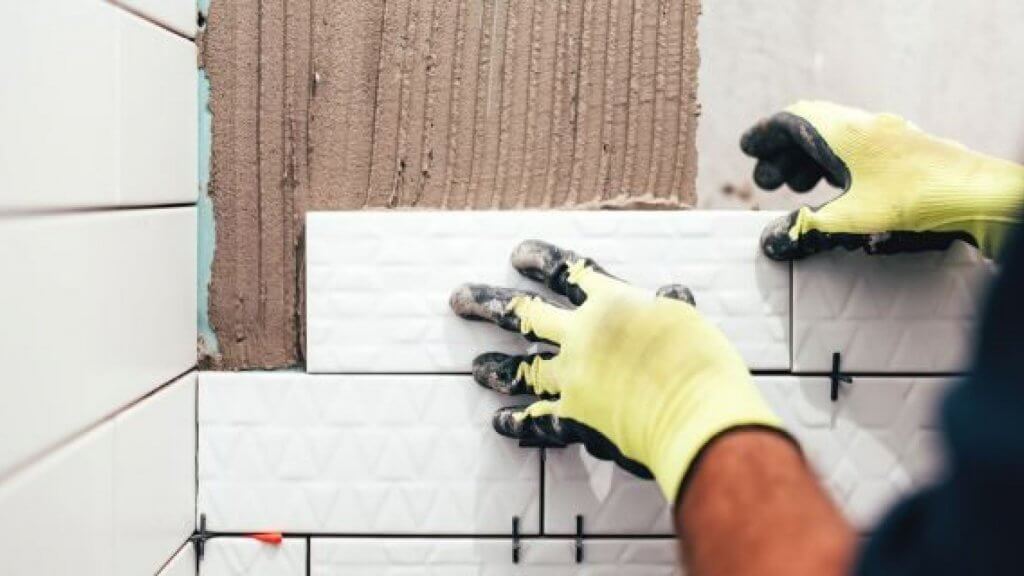
For quick rundown on how to complete your own DIY kitchen splashback follow these steps:

  1. Confirm the area you require. Measure areas (height x length) and add them all up. Consider do any of the window sills or under benchtops areas also need to be tiled? 
  2. Select your splashback tiles and grout!
  3. Collect all your tools together and all other required materials. Did you know CTS can also supply you with glue, grout, silicon, tile trim and tile spacers?
  4. Wear the recommended safety attire.
  5. Prepare the surface; remove previous splashbacks and ensure the surface will bond with your purchased glue. Often primers are suggested, this will depend on your surface. It is always good to talk to a professional if you are unsure at this stage.
  6. Mark out the extents, it is sometimes handy to draw a central alignment line to insure your staying straight. Work out where your grout lines and full tiles end up.
  7. Start laying from the bottom and work your way up. 
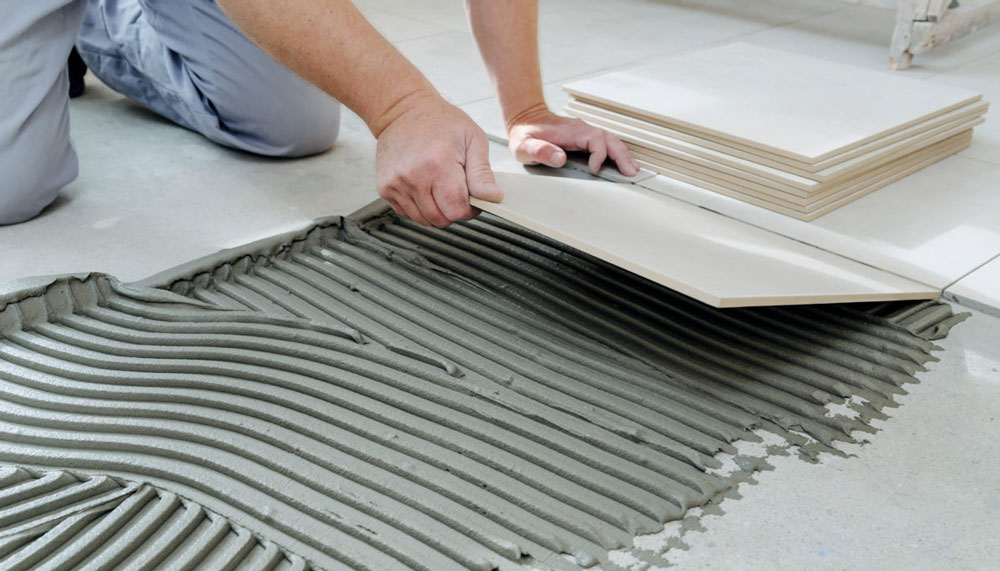
  8. Use a notched trowel to place adhesive on the wall ensure all of tile is covered by glue once attached.
  9. Stop every so often to assess symmetry. Stand back to look.
  10. Leave the splashback for a minimum of 24 hours to finish setting. The wetter the weather the longer you wait.
  11. Grout after glue is completely dry.
Kitchen splashback on a budget 2

Reconsider size

There are areas of the kitchen that require a splashback for regulation purposes. These are; behind sinks for waterproofing and behind cooktops to create a fire retardant space between wall and cooktop. All other areas can be minimal and are only really required aesthetically to make the area look complete.

If you had your eye on a particular tile design and/or you didn’t want to commit to a DIY project – try reducing the splashback area. Kitchen splashbacks don’t have to be large, keep your kitchen splashback to only essential areas to reduce costs.

Of course, reducing the size of the ceramic tile splashback comes with a drawback. Reducing the size of your kitchen splashback might compromise the design and aesthetics of your kitchen. If you’re unsure whether the smaller kitchen splashback suits your home, take a few photos and bring them into one of our Showrooms to consult with a Ceramic Tile Supplies team member. Consulting with one of our design experts will clarify any concerns or questions you may have.

Unsure where to start?

If you’re unsure where to start with your kitchen splashback, talk with our team! We’ve got years (and years!) of experience with designing and renovating different tile projects. 

Before popping by one of our Perth showrooms, measure out the area you’re hoping to install your kitchen splashback, make note of overhead cabinet heights and determine a budget you’re hoping to stick to. Take any photos of the space that might be useful to our team. Bring this information in with you on your visit and our team here at Ceramic Tile Supplies will do our best to meet your needs. 

We’re here to bring to life your dream kitchen splashback.
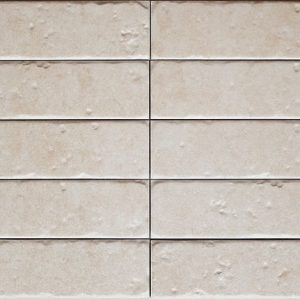
 

View our kitchen splashback tiles

NDIS Requirements - Non Slip Ceramic Tiles 3

NDIS Requirements – Non Slip Ceramic Tiles

By General, Architects & Builders, DIY, Tile Selection

An important requirement in the NDIS recommendations is installing non-slip ceramic tiles. Here at Ceramic Tile Supplies, we offer a wide selection of non-slip ceramic tiles to meet these NDIS standards. If you’re looking for non-slip tiles for an aged care center, bathroom, hospital or home – CT Supplies is here to help you provide a safer environment for your needs. 

About NDIS

The National Disability Insurance Scheme (NDIS) provides all people with disabilities essential resources, connections and services that improves their overall wellbeing. With around 4.3 million Australians with a disability, this is an important initiative that improves millions of lives in countless ways. 

Providing home modifications is an essential piece of the puzzle, with the NDIS recommending detailed guidelines for builders and designers. From small adaptations such as a grab rail, to more complex modifications such as ramp solutions for dwelling areas. To meet NDIS standards, there’s a detailed list of Complex Home Modifications (CHM) with funding accessible through the individual’s NDIS plan.  

When it comes to flooring, there are specific flooring requirements to meet for different areas/spaces. Below, we’ve outlined flooring information to keep in mind when choosing your NDIS flooring. However, always consult with a NDIS provider to confirm what will be best for your requirements.

Slip resistant tiles

Slip resistant flooring are glazed or unglazed porcelain tiles that meet the required slip resistant ratings that have been assessed by Slip Tests. When browsing through CT Supplies’ range of slip resistant tiles you will notice the Slip Ratings given alongside each tile. 

Slip resistant tiles are tested via three different methods:

  1. Oil-wet ramp test (R9 – R13)
  2. Pendulum test (P0 – P5)
  3. Wet barefoot ramp test (A/B/C)

For more information, visit our slip resistant tiles page here. 


Bathrooms

Due to the amount of water that is sprayed from taps, sinks and shower heads, it’s vital to invest in non-slip bathroom tiles to increase safety. Regardless of whether you’re seeking to meet NDIS requirements or, you’re simply building a general bathroom for your home – slip resistant tiles are essential. 

Slipping and falling is a major cause of home injuries for elderly, children and people with disabilities. By installing non-slip tiles you will greatly reduce risk and improve usability in your bathroom. 

For aged care bathrooms and ensuites the wet pendulum meets P3 with an oil/wet ramp rating of B. This means the flooring needs to be tough and negate water to prevent a slippery surface as well as appropriate substrate surface for wall tiling too. 

For toilet facilities in offices, hotels and shopping centers, the requirements are similar with the wet pendulum test requiring P3 tiles and an oil/wet ramp rating of R10.

NDIS Requirements - Non Slip Ceramic Tiles 4

Entrances/hallways

Entrances and hallways are the main point of entry, seeing a lot of foot traffic constantly. It’s vital that these areas of the building or home cater to all guests and visitors. 

Alongside providing easy access paths and walkways (offering 1000mm minimum width, or wider for wheelchair access), the flooring must be a slip resistant surface, such as concrete broom finish or wooden trowel finish. This applies to any ramps or dwelling entrances too.

Kitchens

Kitchens are another area that is prone to water spraying from taps, sinks, dishwashers etc. Ideally, slip resistant tiles would be installed in every home/building kitchen regardless of meeting NDIS requirements. This improves overall safety for all occupants. 

NDIS kitchens vary significantly depending on the design of the kitchen as well as the disability of the individual/s. A requirement that’s consistent across the board, is installing non slip tiles. It’s always useful discussing with your local NDIS provider on which flooring they would recommend for your specific job. 

Non slip tiles Perth

If you’re looking for non-slip tiles in Perth, look no further. Here at Ceramic Tile Supplies, we’ve got a wide range of ceramic tiles to suit all needs and style preferences. Visit one of our showrooms or browse our selection online. We’re only a phone call away if you have any questions. 

View our slip resistant tile range

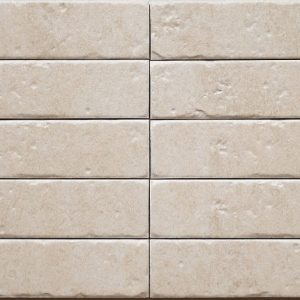
  • Granite Speckled Grey 4402 (R-10)

  • Aurelia Stone Almond

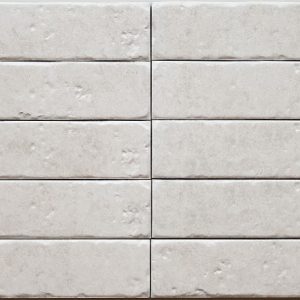
  • Aurelia Stone White

  • Graniti Grigio Media Diamond Finish (R12)

  • Sale!

    Grigio Natural Finish (R9)

    Original price was: $46.20.Current price is: $27.50.

    500 in stock

  • Bush Hammered Grey Anti-Slip (R11)

  • Bush Hammered Black Anti-Slip (R11)

  • Parkway Grey 300×300 Matt (R10)

Edimax Shade D Decorative tile 2

Ceramic Tile Trends: Inkjet Technology

By General, Architects & Builders, DIY, Tile Selection

Inkjet technology has truly transformed the potential of ceramic and porcelain tiles. When applied to ceramic and porcelain tiles, inkjet technology has allowed for some very unique and innovative products to emerge. 

Through Inkjet technology, manufacturers are not only focusing on the challenge of replicating realistic reproductions of existing surface materials (wood, stone or brick), but are also immersing themselves in the opportunity to print out different textures. The reproduction of these different materials and textures is uncanny, offering a more affordable option for high quality materials.

How inkjet technology works

Inject technology works similarly to a printer, digitally printing liquid onto a material to create patterns and images. However, where inkjet technology differs is how advanced the printing equipment is, allowing for the ability to replicate exact images as well as textures that can be felt by the hand. Where your printer is clearly producing images with ink, it’s next to impossible to differentiate inkjet’s printing from the real material. 

Digital printing

Many customers are surprised to learn that inkjet technology doesn’t actually touch the ceramic tile! All printing is done digitally, printing high resolution patterns and designs to imitate your chosen texture (marble, granite, limestone, wood etc.)

The inkjet technology works by using the heads/dispensers (6 main heads, 3 additional for detailing) each of which have millions of pixels distributing the specialty ink over the ceramic tile. Controlled by a computer, tiles are digitally printed with high-resolution 3 dimensional materials.

The options – endless!

Inkjet printers can utilise 8 or more colours, allowing for a great range of shades and tones to be printed on the tiles. Amazing detail, contrast and variations – the options are truly endless with inkjet technology. 

Designs 

Inkjet technology revolutionizes the way designers can manipulate images, opening up immense choice with styles. Renovators, interior designers and home developers now have the freedom to create hundreds of different visuals by merging or mixing several images. You can produce anything from concrete looking tiles, stone, marble, brick and even textiles. The challenge will be deciding on which style you’re after!

Materials 

Have you always wanted timber-look tiles in your bathroom but don’t want to deal with the maintenance involved? Well, now you can! 

Inkjet technology offers the best of both worlds, aesthetically matching your ideal visuals yet, also maintaining the ceramic and porcelain tile canvas allowing for little maintenance. Now you can obtain stunning aesthetics in any room of your house without having to think about the extra maintenance involved with other materials. 

Ceramic Tile Trends: Inkjet Technology 5

Cost

If you’re renovating or building your home, it can be quite the challenge sticking within budget. It only takes one meeting with the builder to realise you’ve exceeded costs in areas you weren’t anticipating. Here’s where inkjet technology always surprises and delights customers. Maintaining impressive quality yet also being cheaper than harder natural stones or wood, inkjet technology is a no-brainer for many designers. 

Plus, with inkjet technology, you don’t need to be worried about the long wait times that timber and natural stones are currently facing.  

Inkjet technology, the future!

Ceramic tiling has been re-defined with inkjet technology. High quality, affordable, endless styles and available now! See more information on our Inkjet technology here or, give us a call or email to talk with our team. 

View our tile range

glazed ceramic tiles

Unglazed VS. glazed ceramic tiles

By Bathroom Tiles, DIY, Kitchen Tiles, Tile Selection

Simply put – glazed ceramics have a smooth, glossy surface that is created by adding a liquid glass to the clay body. Unglazed ceramics (as the name suggests) aren’t glazed and instead are often solid or speckled subdued colours with no shine. 

Both unglazed ceramics and glazed ceramics hold many practical and aesthetic benefits. Whereas some people enjoy the shiny cleanness glazed ceramics offer, others enjoy the raw earthiness unglazed ceramics present. Depending on your personal preferences and requirements will determine which option will be best to choose. 

Read further to discover whether you should choose unglazed or glazed ceramics.

Unglazed VS. glazed ceramic tiles 6

Glazed Ceramics

A ceramic glaze is a thin layer of material that is applied to the surface of a porcelain and ceramic object in order to give it a protective layer.

Glazes can be made from a variety of materials, including ash, feldspathic, lead, salt or tin, and are typically applied using a brush, sprayer or are dipped carefully into the glaze depending on the ceramic itself. They can come in many finishes not only the gloss that we all know but semi gloss, matt and satin.

Glazing involves firing a piece of ceramic first, this initial firing is called the glost firing, then the overglaze decoration is applied, and then lastly it’s fired again to set the glaze.

Glazed ceramics are a more common choice of ceramic tile that can be used for a wide range of flooring and functional purposes. Glazed ceramics are also great options for outdoor areas, wet areas and commercial use due to their non porous and slip resistant surfaces that can be applied into the glaze.

Unglazed Ceramics

Unglazed ceramics are simply ceramic materials that have not been given a coating or “glaze.”

Without the glaze, this leaves the surface of the piece of ceramic the same colour as the body. Most unglazed products on the market are top grade porcelain and fired until vitrified (glass like state) making their surface almost as non porous as a glazed tile.

Unglazed ceramics are often used for commercial purposes as they can hide blemishes and chips better than glazed ceramics. Commercial tiles often face high traffic, resulting in more wear and tear of the ceramic tiles. With unglazed tiles, the body is the same as the face so it’s less noticeable if the tile faces damage or wears. Due to the discreteness of marks and blemishes on unglazed tiles, this means there’s less urgency for maintenance thus, reducing maintenance costs.

With functional pieces like bathroom sinks or vanity sets, these are commonly sold as glazed; however, there are unglazed ceramic tiles available for such purposes. Unglazed ceramic tiles for vanity sets require vitrified qualities or a similar mixture/make up that would allow the tiles to perform the same or better than glazed ceramic tiles for a sink.

ceramic floors
bathroom floors

Bathrooms

If you’re tossing up between glazed or unglazed ceramic tiles for your bathroom, it’s important to consider the practicality of each option. 

Glazed ceramic tiles are the most popular choice amongst customers. Great to use on the walls and floors because they’re tough, easy to clean and have a great range of images. 

These days manufacturers  have the ability to print images onto the glazed ceramic tiles, offering a great variety of patterns and bright colours. Inkjet is an impressive piece of technology which gives us the ability to digitally print high-resolution patterns and designs. Many choose to use Inkjet to mimic many different kinds of textures such as marble, granite and limestone. The result is impressive, almost impossible to distinguish from the real-life material.

It’s important to note that the Australian NDIS requires a non-slip standard to all of their bathroom floors to ensure the safety of the carer and client. Non glazed ceramics are often used because of the bigger range of non-slip options. 

Although non-glazed ceramic tiles have long relied on their non-slip qualities, glazed tiles are now taking over the non-slip category. Previously non-slip was made by adding sand to the glaze and the result was not a nice finish, imagine sandpaper. Now, with multi layered glazing techniques and new glaze chemistry, the glazed tile can be certified for many of the non-slip requirements. 

However, not all glazed ceramics meet the standards. The higher slip ratings  are still only available in un-glazed due to the relief patterns on the tiles to create the higher anti slip ceramic tiles (i.e. diamond and rock finish).

For bathrooms (whether it be for commercial or residential purposes) it’s always a good idea to double check the slip resistant rating required for the space. From here, you can then select the best tile to match your requirements. If unsure, speak with our team for assistance. 

Kitchens

Similarly to bathrooms, when choosing your kitchen tiles it’s important to consider the slip ratings required for the space. Depending on whether it’s for a commercial setting or for your home kitchen, will change the slip rating requirements. 

For commercial kitchen floors, one of the most common and best choices are unglazed vitrified porcelain tiles that have high slip ratings. These tiles often come in ‘matching coving’ which means that the Australian standards are met across the board. These tiles are often specialised to have a relief pattern to allow for users to be raised slightly above the grease or water that may be on the floor causing the slip hazard. 

For home kitchen ceramic tiles, unglazed vitrified tiles is an extreme option and unnecessary in most cases. For residential purposes, glazed tiles are most likely to be used. The glazed tiles on the market are more cost effective and have a wider range available – which is very appealing for home owners.

Most residential projects prioritise image clarity, variation and colour brightness. Aesthetics  are put at the forefront for most home projects, making the glazed ceramic tiles a very attractive choice. In fact, many instantly shy away from the commercial grade unglazed vitrified ceramics due to their less refined appearance.

kitchen floors
Unglazed VS. glazed ceramic tiles 7

CT Supplies Unglazed Ceramic Tiles

If you’re on the hunt for high quality unglazed ceramic tiles, look no further than our TopCer and Marazzi (Tracks and Graniti) non-slip options.

The Topcer range comes in many colours and is liked by the commercial builders, designers and architects for its soft solid colours that can be mixed into a pattern or paired with the matching corner edge coving. You’ll often spot the Topcer range in commercial kitchens, cafes, restaurants, schools and sports facilities. Where durability meets aesthetics, Topcer is an excellent choice.

The Murazzi range has a larger format option in the high slip ratings that is often used on commercial balconies and entry areas.

In conclusion – which wins?

The question of glazed VS. unglazed was more of an issue about 30 years ago when glazing techniques were still being refined. Back then there were different levels of glazing and many would be only suitable for residential low traffic areas and only a limited range was suitable for commercial purposes. 

Glazed porcelain tiles are now made strong and tough enough to withstand even high traffic commercial applications. Therefore high quality glazed porcelains are not only the more common product on the market now but are the best option for most uses.

Often, it can come down to budgets and aesthetics when choosing between unglazed and glazed ceramic tiles. The best approach is defining your budget first and then seeing what your options are. If you’re installing ceramic tiles in a sensitive area such as a commercial kitchen or NDIS bathroom – ensure the non-slip requirements are met.

When in doubt, chat with our CT Supplies team!

Choosing the ceramic tiles for your home or business is a big decision. It’s often the first component of the interior people see when walking into a space. It makes sense that you take the time in deciding which ceramic tiles to install and ask any questions that pop up along the way. 

We recommend popping into one of our showrooms (Myaree or Wangara) and seeing the tiles in person. We have a wide range of glazed and unglazed ceramics to choose from that are always best seen in real life rather than over a screen. 

Check out our opening times, and we look forward to having you down here soon!

Explore our range of tiles

Rectified VS. Non-Rectified Tiles 8

Rectified VS. Non-Rectified Tiles

By General, Commercial Tiles, Tile Installation, Trends

Decisions, decisions…

When choosing ceramic or porcelain tiles, one of the first decisions you’ll need to make is whether you prefer rectified or non-rectified tiles. If you’re unfamiliar with the meaning of “rectified” and “non-rectified” let us fill you in.

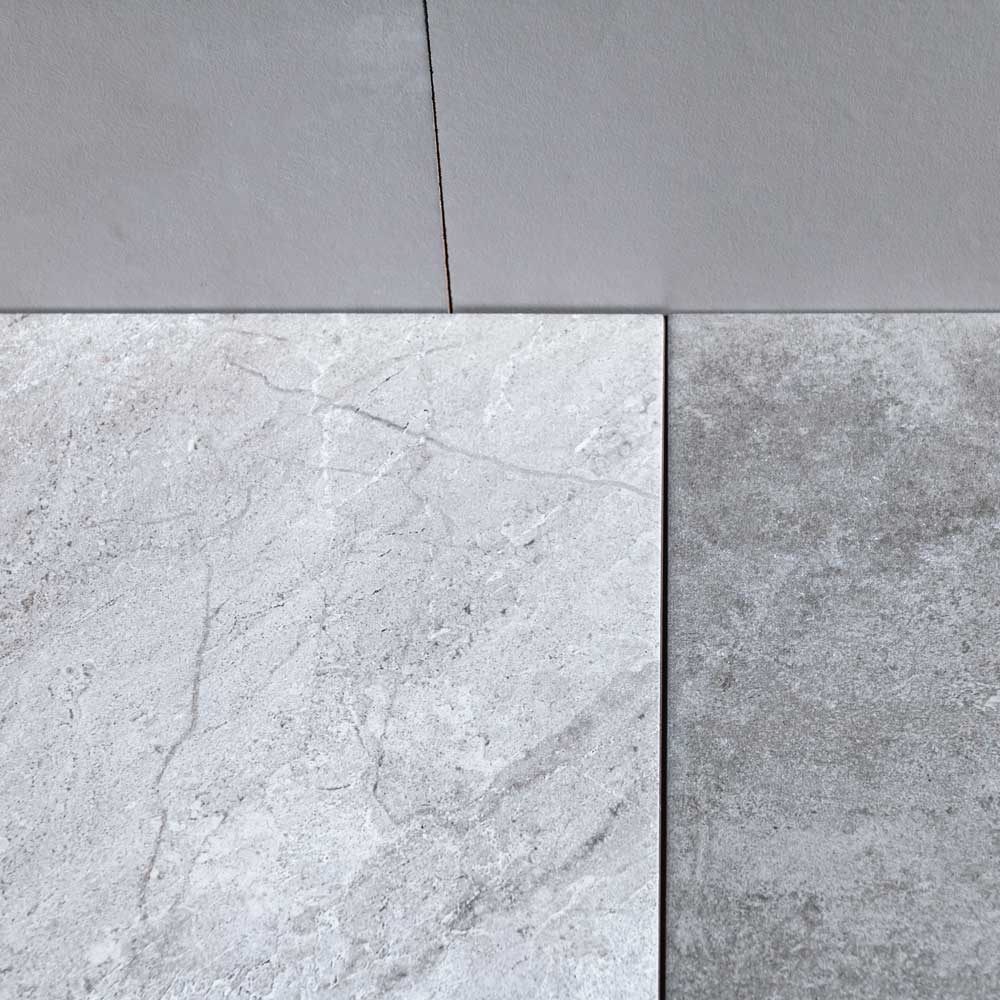
Rectified tiles have a perpendicular cut and polished edges. They are often cut down from larger tiles by the manufacturer, this allows the tile edges to fit symmetrically, tightly and cleanly together creating an aesthetic uniformity and means you won’t see any grout between the tiles. Grout lines are extremely fine around 3mm or less and often disappear when looking at the space. The floor will look like one large tiled space rather than seeing breaks between the tiles. 

Non-rectified tiles, also known as molded tiles or pressed tiles are pressed into a standard sized mold and therefore reflect the curved edges of the mold once fired. Due to this, more grout is visible between the tiles, offering a more obvious break between each tile. This will mean the non-rectified tiles show more grout in their installation but can be useful when used on uneven surfaces as the curve disguises the movement underneath.

Rectified VS. Non-Rectified Tiles 9

Are rectified tiles better?

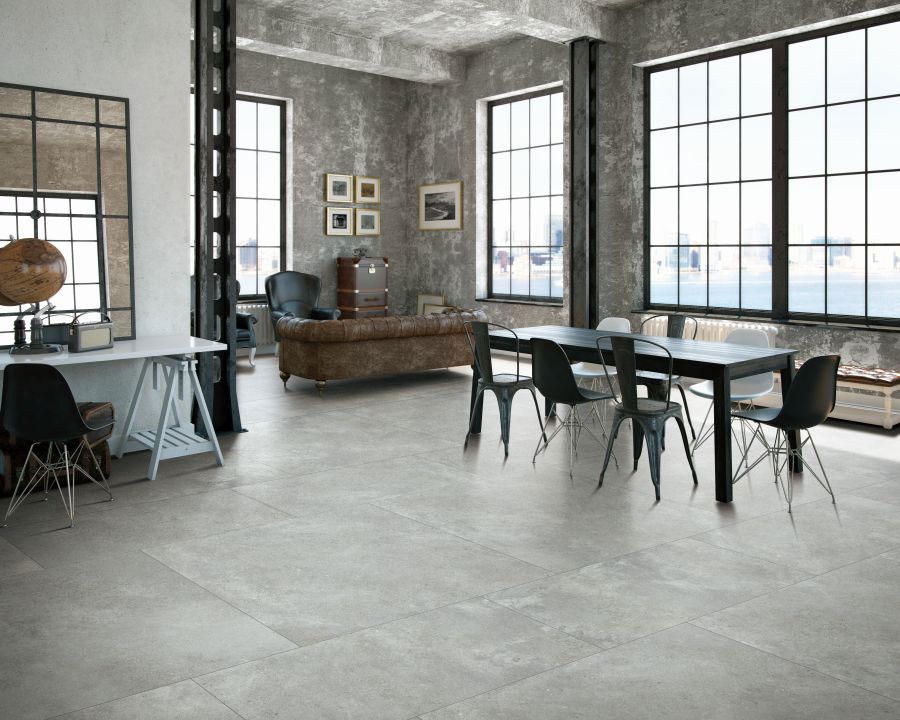
To put it simply, one option isn’t necessarily better than the other, it comes down to your personal preference. Whilst rectified tiles can look more modern with their clean refined and polished aesthetic, non-rectified tiles offer charm, creativity and difference. For example, concrete look tiles deliver an exceptional aesthetic with a thinner grout line whereas our range of subway tiles use the grout lines to create patterns, offering a classic charm to the room. 


Browse our range of rectified and non-rectified tiles to find out which one you prefer.

Installing rectified tiles

When it comes to installing tiles, it’s always best to contact a professional tile installer. Rectified and non-rectified tiles require different installation processes therefore it’s important to ensure the installer is informed on the style you’re choosing and has the knowledge to achieve what you’re striving for. There’s nothing worse than investing in high quality tiles only for them to be neglected during the installation.

Rectified VS. Non-Rectified Tiles 10
Rectified VS. Non-Rectified Tiles 11

Need assistance?

If you’re still unsure of the difference between rectified and non-rectified tiles, we’re here to help. Contact our team today with any questions you may have regarding rectified tiles or tiling in general! Our goal is to make the tile selection process as easy as possible.

View our range of tiles

Tile Trends: Subway Tiles 12

Tile Trends: Subway Tiles

By General, Architects & Builders, Bathroom Tiles, DIY, Kitchen Tiles, Subway Tiles, Trends

If you’re currently renovating your Perth kitchen, redesigning your bathroom or, you’re simply a lover of interior design – you would have stumbled across subway tiles. Subway tiles are growing in popularity, and taking platforms such as Pinterest and Instagram by storm. Once you discover the sheer class and sophistication of subway tiles, you can understand why they’re becoming a must-have for every Perth home.

Tile Trends: Subway Tiles 13

What are subway tiles?

Subway tiles have obtained their name from the iconic walls of the New York subway system.

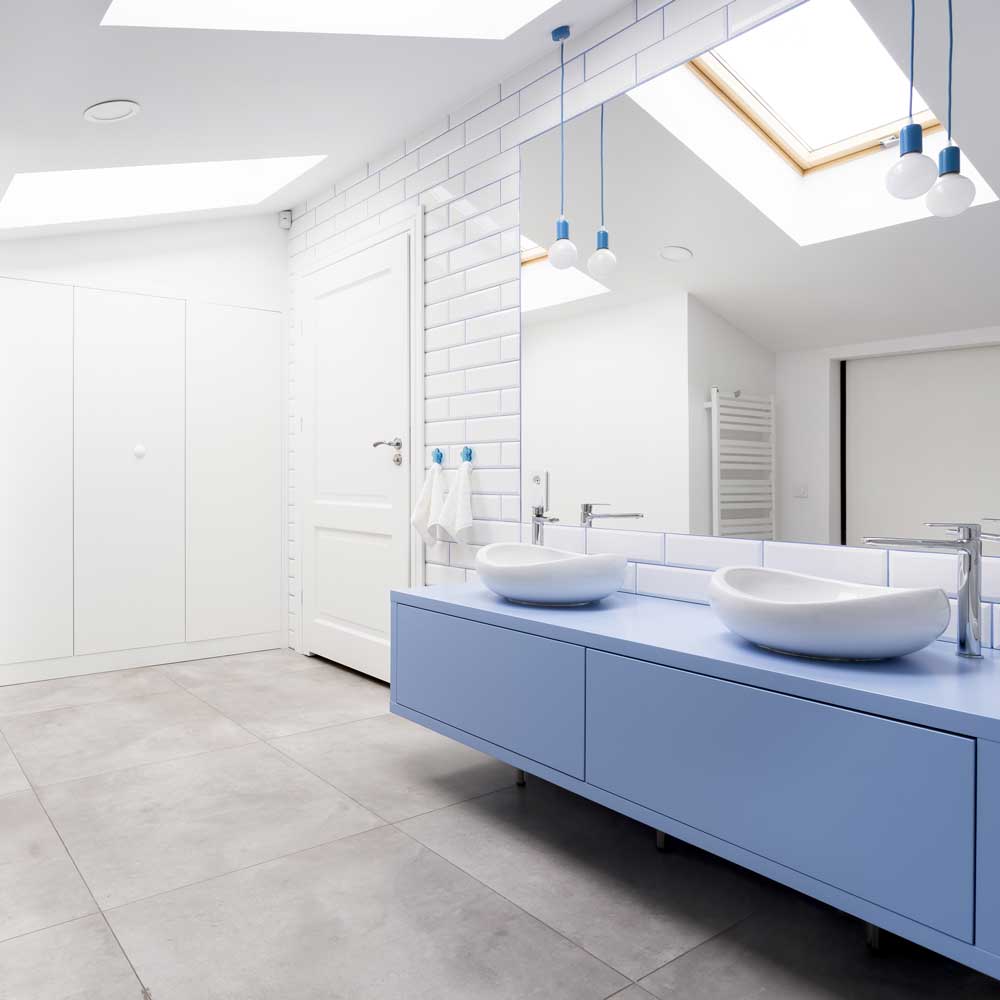
Although at first the idea of “subway tiles” might suggest negative connotations (stifling underground train station perhaps?), you best cast those thoughts aside as subway tiles embody a classic vintage aesthetic that is incomparable. Generally, subway tiles are rectangle ceramic tiles laid horizontally with a 50% offset. However, over time, subway tiles have been modernised and experimented with to offer a great variety of design options for homes.

Explore more about subway tiles below.

How to include subway tiles in your Perth home

Extremely versatile, subway tiles can be incorporated in your home in countless ways. Our favourite ways to add subway tiles to your home… 

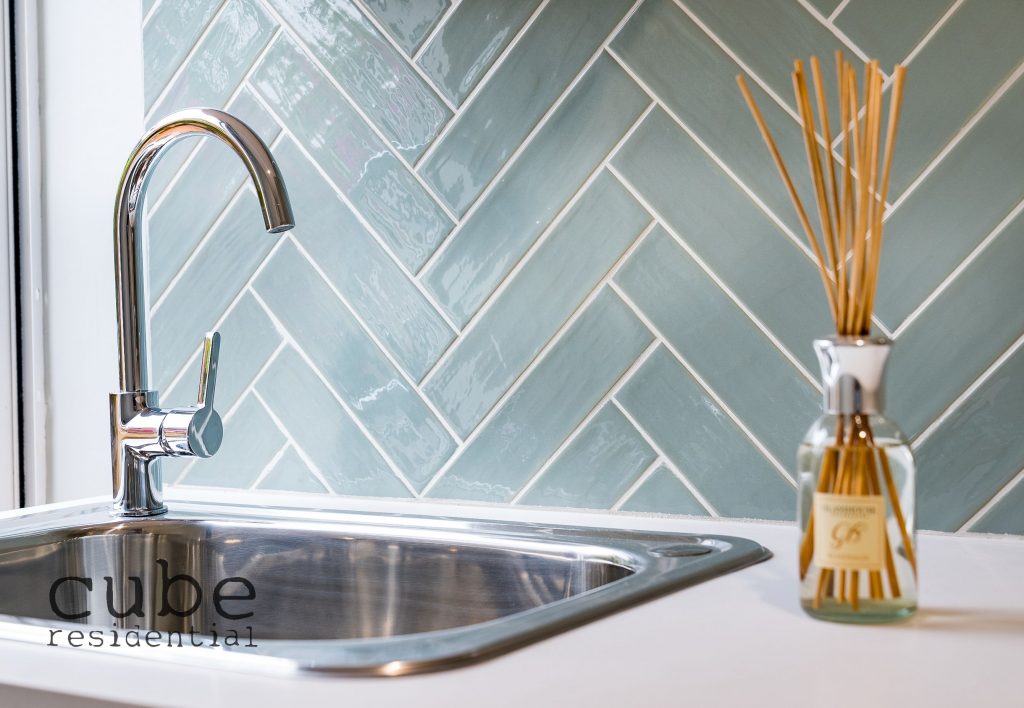
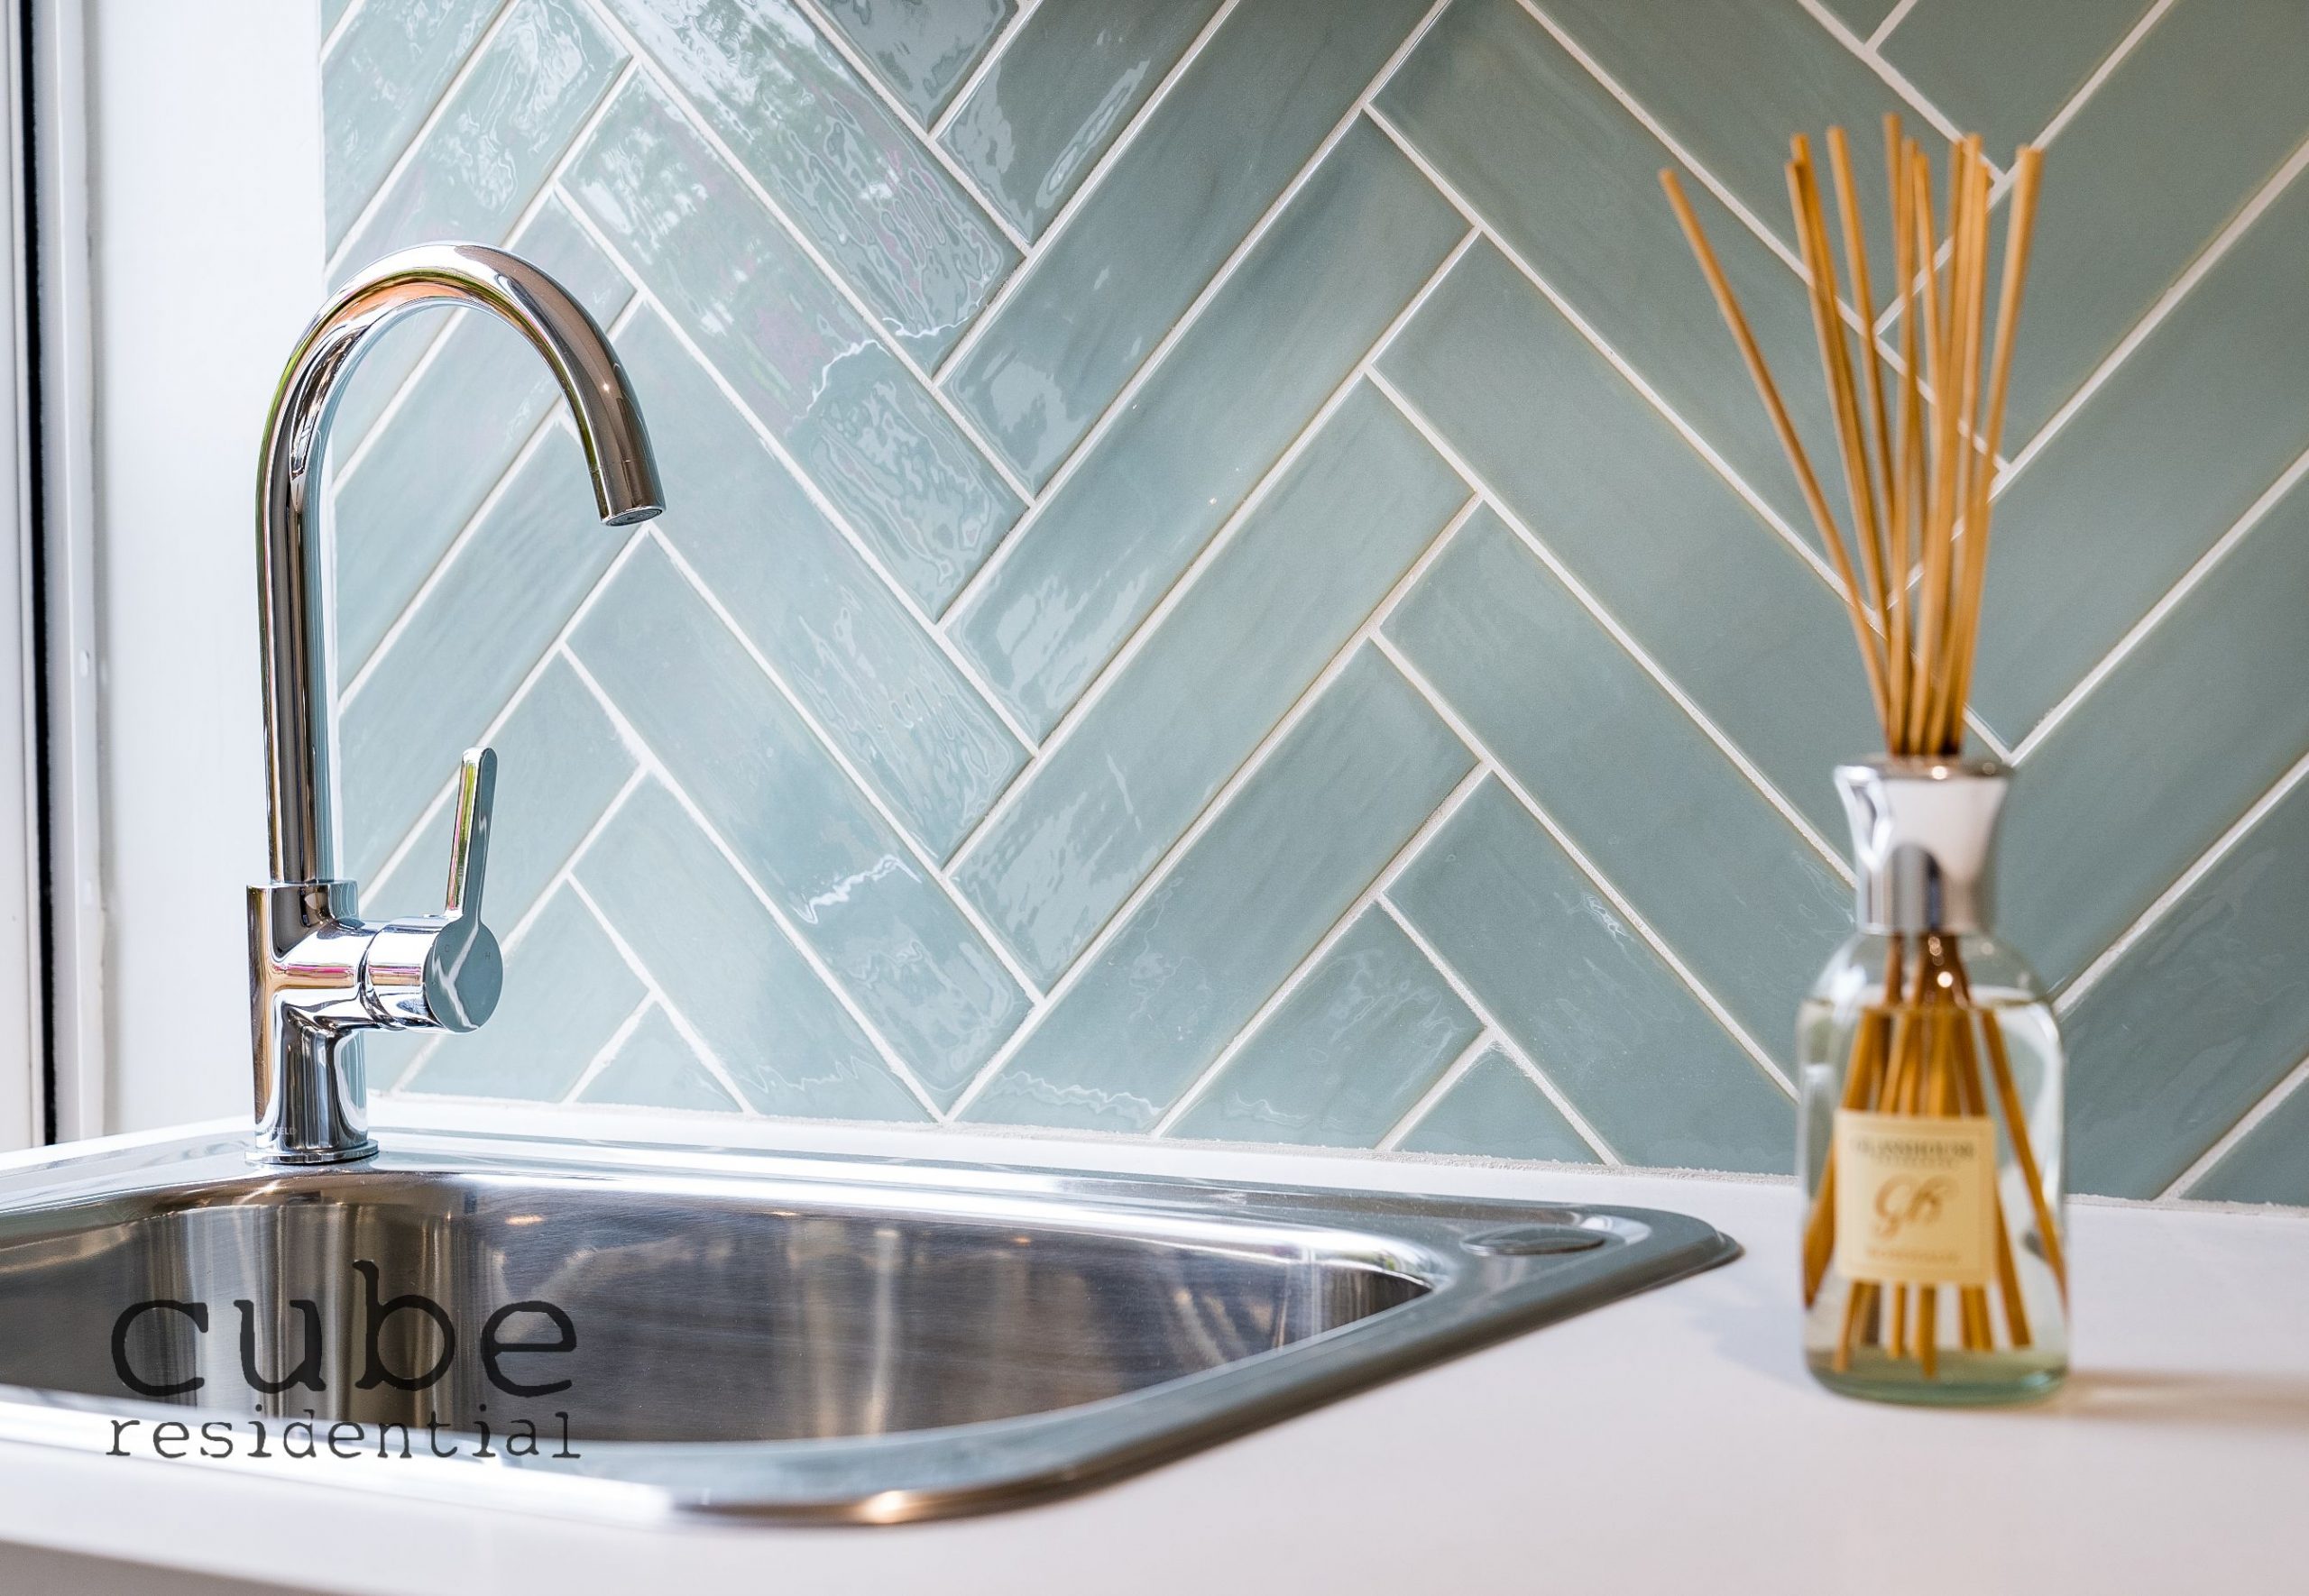
1, Kitchen splashback. A lot of time is spent in the kitchen – cooking, hosting and spending time with the family. You want to make sure your kitchen embodies just as much class and character as the rest of your home. Including subway tiles in your kitchen splashback makes for an eye-catching and impressive feature, making you feel confident hosting your next event.

2. Bathroom feature. The bathroom has been dubbed as one of the most important rooms of the house when it comes to design. It makes sense when you consider that every person that visits your home, is going to at one point or another, visit your bathroom. That’s why subway tiles are becoming an increasingly popular design feature for Perth home renovations.

Benefits of subway tiles

Subway tiles have a long list of benefits varying from their visually grabbing design to their easy installation. 

  • Subway tiles are available in many shapes, sizes, textures and colours. With such a great variety, you can create a unique subway tile feature that fits your home aesthetic.
  • Stain-resistant and easy to clean, you can use a white vinegar cleaning treatment or even spray and wipe to clean your subway tiles. Due to their easy-to-clean design, this makes subway tiles even more of an excellent choice for kitchens and bathrooms. 
  • Affordable addition to your home interior. If you’re currently acquiring quotes for your home renovations, you will know how easy it is to exceed your budget. Subway tiles are fantastic as they’re not only high quality but also affordable.
  • Timeless design that never goes out of fashion. When making aesthetic choices for your home renovations, you want to make design decisions that last a life-time. Considering how quickly fashion trends change, this can be very difficult. One of the great benefits of subway tiles is that they never go out of style and always offer a classic feature to your home. 
  • Easy installation. Renowned for their stunning pattern, depending on the subway tile design you’re after they’re surprisingly easy to install. When it comes to installing ceramic tiles we always recommend hiring professional tilers. The last thing you want is your new tile design breaking or deteriorating due to poor workmanship. Invest in the installation and it will pay off in the long run.
Tile Trends: Subway Tiles 14
Tile Trends: Subway Tiles 15

Creative subway tile ideas

Since subway tiles were first installed in the New York subway, interior designers world-wide have played with the classic design. With a great selection of different patterns, you never have to worry about having the same design as your neighbour. Other variations of the subway tile include:

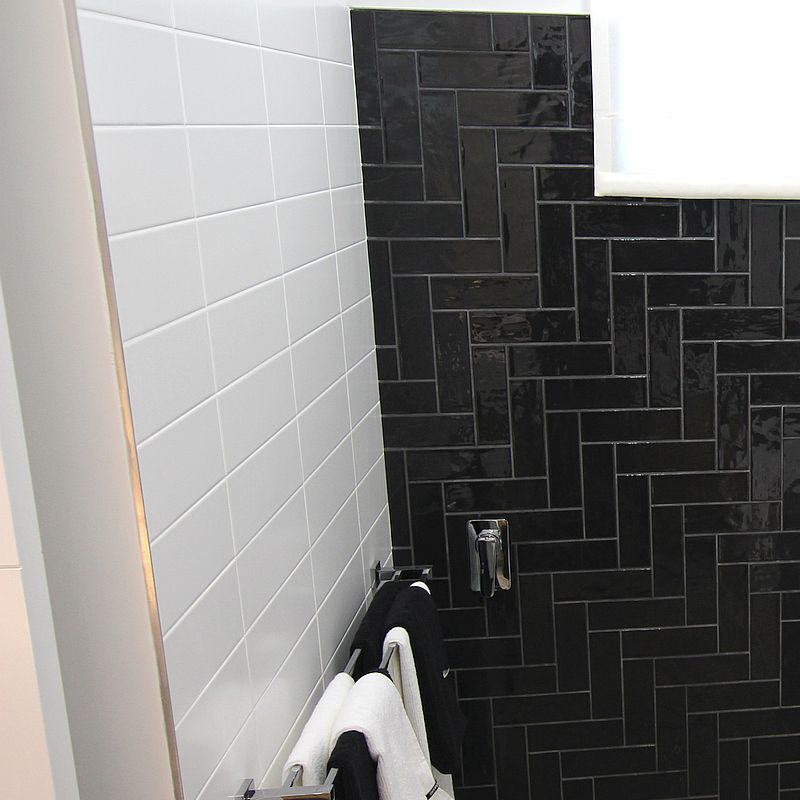
  • Herringbone
  • Double Herringbone
  • Chevron
  • Stackbond
  • Mosaic
  • Diagonal Herringbone
  • Vertical

Alongside choosing your subway tile pattern, you can also play with the colours and textures of the tiles. You can keep your design minimalist and classy with white or, you can add a splash of colour to match the interior of your home. Many people choose to mix and match colours, choosing different hues of blue or selecting two complimentary colours to add a pop to your room. The options are truly endless, browse our offerings and find your dream design.

How we can help!

Talk with our Ceramic Tile Supplies team today for expert advice and help for your tile needs. We’re only a phone call away and are always happy to answer any and every question.

View our range of tiles

The essential tools checklist for DIY tiling 16

The essential tools checklist for DIY tiling

By DIY, Tile Installation

Taking on your own DIY tiling project? Got your tile choice, adhesive and grout sorted? Next step is making sure you have all the tools for the job to achieve a professional and long-lasting result. 

While most of the equipment you need may already be in your shed, there are a few essential tools you’ll have to invest in or hire. From prepping the walls or floor, laying down your tiles with absolute precision and cleaning the tiles when the job is done, here is our definitive list of tiling tools for your DIY project.

The essential tools checklist for DIY tiling 17

Preparing your workspace

  • Pencil
  • Dust sheet (if you need to cover up furniture)
  • Tape measure
  • Spirit level
  • Stanley Knife
  • Step ladder (for wall tiling)
  • Clean rags
  • Bucket
  • Safety goggles (for cutting tiles)

Fixing your tiles

  • Tile cutter
  • Tile nipper
  • Adhesive mixer (if you want to achieve the perfect mix)
  • Notched trowel
  • Rubber mallet (to gently tap the tile into place and ensure it bonds properly)
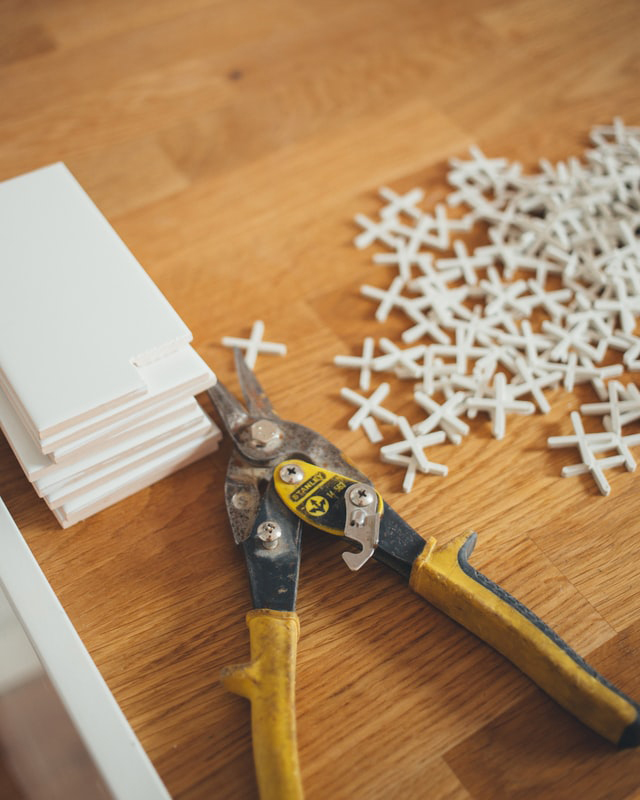
  • Tile spacers

Tile cutter

Unless your room is perfectly square, you’re going to need a tile cutter to cut your tiles to the required shape and size. There are 3 different types of tile cutters you can buy or hire:

  • Manual tile cutter – great for straight cuts in ceramic or porcelain tiles.
  • Electric wet saw – ideal for straight or angled cuts in ceramic, porcelain, glass and natural stone. Water is used to avoid the dust factor and keep the blade cool, which helps minimise chipping.
  • Angle grinder with a diamond cutting blade – an affordable and versatile cutting solution

Tile nipper

A tile nipper is great for slicing off small chunks of tile when you need to fine-tune a rounded edge or awkward spot. When using a tile nipper, make sure to file down any sharp or rough edges with a polishing pad for a perfect finish.

Notched trowel

Notched trowels are used for spreading tile adhesive onto the floor or wall. The straight edge of a trowel is used to evenly spread tile adhesive onto the surface you’re tiling. This ensures even coverage and thickness. The notched edge is used to apply ridges into the adhesive to support the back of the tile. Notches come in different sizes, so make sure you choose the best size based on your tiling project.

Tile spacers

Tiles spacers are a DIY tiler’s lifesaver! These little guys work to keep the spacing between all your tiles uniform. They also help to keep your tiles in place and maintain straight grout lines while the tile adhesive dries.

The essential tools checklist for DIY tiling 18

Grouting & finishing

  • Grout float
  • Grout sponge
  • Grout finisher
  • Dustpan and brush

Grout float

A grout float is a flat trowel with a rubber base that is used to spread the grout into the joints (gaps) between the tiles. The rubber ensures an even spread.

Grout sponge

A grout sponge is used to smooth over the grout joints (after applying grout with a grout float) and cleaning excess grout from the tile faces. Always use a proper grout sponge! While you might think an ordinary household sponge will do the trick, the sharp edges have a tendency to pull the grout from the joints. Grout sponges are bigger, denser and have rounded corners. 

Final thoughts

There’s nothing worse than having to stop-start a job because you don’t have a certain piece of equipment. Making sure you’ve got the right tools from the start will ensure you’re prepared, and result in professional looking tiles for your home or business. 

Perth’s tile specialists

Be inspired by Ceramic Tile Supplies’ range of quality tiles. Browse through our extensive range of floor and wall tiles online or visit our Wangara and Myaree showrooms to see the full range of tiles in Perth.

View our range of colours

Tiled floors vs timber flooring – which is better? 19

Tiled floors vs timber flooring – which is better?

By DIY, Tile Selection, Timber Look Tiles

You’ve narrowed down your flooring options to tiles or floorboards. But how do you choose between the two? When building or renovating, selecting the right floor can be quite the challenge, as what you decide will have an enormous impact on the overall look and feel of your home interiors.

Some of the factors you should consider include how well the floor type will hold up in high traffic areas, do you want your wet areas to be consistent with the rest of the house and how much of a statement do you want to make?

Let’s take a look at the pros and cons of tiled floors and timber flooring to help you choose the right floor that suits your style and, in the end make you feel at home.

Tiled floors vs timber flooring – which is better? 20
Why you might consider timber flooring

Timber flooring is renowned for its aesthetic appeal. It adds warmth and character to a space not to mention:

  • It’s a tough and durable material
  • Timber is easy to clean and maintain
  • It’s a great insulator and comfortable underfoot
  • Unlike carpet, timber can’t trap dust or pollen
  • Timber comes in a variety of colours, finishes and styles
Disadvantages of installing natural timber flooring

A well maintained timber floor can last for decades, but it’s highly prone to scratches, dents and water damage – especially in the kitchen. Other factors to consider include:

  • Natural wooden floors are expensive compared to tiles and other flooring materials
  • It’s not recommended for wet areas – liquid spills can leave unwanted stains if not cleaned up immediately
  • Regular maintenance is required to prevent damage, this may include sanding, staining, waxing and polishing.
  • Can fade
  • Can be slippery
Why tiled floors are a great idea in your home

It’s hard to beat the natural beauty of timber flooring, and if you have your heart set on a timber floor, you can achieve the same look for less with timber look tiles. With the latest in inkjet technology, you can have a tiled floor that looks and feel like real wood – minus the scratches, staining and fading. By opting for timber look tiles, you get the look of real timber with the benefits of ceramic and porcelain tiles.

Other reasons why tiled floors work well in the home include:

  • Tile flooring options are endless – choose from ceramic, porcelain, granite, marble, slate or timber look in a variety of styles, colours, shapes and sizes
  • They are a strong material making them a great choice for family homes
  • Tiles are moisture and stain resistant therefore ideal for wet areas such as bathrooms, kitchens and in the laundry
  • Most types of tile are eco-friendly
  • Tiles are easy to lay and can be made to fit any space
  • Tiles are an affordable flooring solution
Tiled floors vs timber flooring – which is better? 21
Tiled floors vs timber flooring – which is better? 22
The drawbacks to having tiled floors

With any type of flooring you choose, there will always be a downside or two, but in the case of tiles you can easily overcome them.

Tiles are great underfoot in summer, but they can feel cold during winter – nothing a pair of uggies or a rug can’t fix! Wooden floors in general can be slippery, as can some types of tiles when they get wet. To combat this, make sure you choose a tile with an appropriate slip rating.

The grout between tiles can discolour over time, but the maintenance is minimal when compared to looking after natural timber flooring.

Final thoughts on flooring

To make a decision that’s right for you, make sure you consider your space and how it will be used, and if you need expert advice, our team is just a phone call or short drive away.

Get the best floor tiles in Perth at Ceramic Tile Supplies

Convinced that tiled floors are the right choice for you? Browse through our extensive range of floor tiles online or see the full range of tiles in Perth at our Wangara and Myaree showrooms.

View our range of Floor Tiles

5 tips for buying quality clearance tiles 23

5 tips for buying quality clearance tiles

By DIY, Tile Selection

If you’ve browsed through a tile store, you’ll know the selection of beautiful floor and wall tiles are never ending. But if you’re on a tight budget, it’s inevitable that the cost will be a deciding factor and limit your tile options.

However, if you know what to look out for, you can get a great deal on quality tiles to make your place look good, while still staying within your budget.

Clearance tiles are a great way to save on your tile project, but the key is not to jump straight in and buy the cheapest tile you see first, as there are many poorly manufactured tiles out there. Low quality tiles may not stick to the adhesive well, or they might crack easily, which will end up costing you even more down the track.

Here are 5 tips for finding high quality clearance tiles in Perth.

5 tips for buying quality clearance tiles 24
Tip 1: Find a reputable Perth tile supplier

As mentioned, cheapest isn’t always the best. Do some research and find out which tiles are high quality, best for your use and then find a tile supplier in Perth who stocks a good variety of that style.

Tile suppliers that sell high quality tiles, will often have to make way for new stock. This is when they put their end of line tiles on sale, and when you can get your hands on high quality clearance tiles at a fraction of the original price.

Tip 2: Get your measurements right

Before you even start looking at tile options, do your homework and measure out your space so you know exactly how much you’ll need. This will avoid setting your heart on a product there isn’t enough of or opens up options you didn’t think you could consider.

Tip 3: Know which tile to choose

Which tile will give you the most bang for your buck? For the budget conscious, the type of tile material you choose will make a huge difference to the overall cost. In general, ceramic tiles are the most affordable, but you can find clearance tiles in all sorts of formats if you time it right. Of course, you still want to make sure you’re choosing the right tile for the space you’re working with. If in doubt, seek expert advice.

Tip 4: Shop around

To find the best deals on clearance tiles, you should do some comparison shopping. The best place to start is to search online, but then make sure you head out to visit the store or warehouse, as often you won’t see the full range of clearance tiles available.

5 tips for buying quality clearance tiles 25
5 tips for buying quality clearance tiles 26
Tip 5: Save more by going DIY

Another way you can save on your tile project is by laying your own tiles. If you’ve never done this before, it pays to speak to a professional first. Although installing tiles is a fairly simple process, there are things you need to know to help ensure your project doesn’t end up in jeopardy.

Take a look at our range of high quality clearance tiles in Perth

We’re constantly sourcing the latest and innovative tile products on the market. To make way for new stock, we have a limited supply of end of the line tiles available at heavily discounted prices. Browse some of our clearance tiles or check out our range of clearance tiles in Perth at our Wangara showroom and now available to view at our Myaree showroom.

View our range of Clearance Tiles

Everything you need to know about kitchen splashback tiles 27

Everything you need to know about kitchen splashback tiles

By DIY, Kitchen Tiles, Tile Selection

The kitchen is one of the biggest investments you’ll make when building or renovating your home, so you want to make sure you get things right – tile selection included!

One of the key areas to think about is your kitchen splashback. For a while, glass and acrylic splashbacks stole the show, but kitchen splashback tiles are making a resurgence. They’re more affordable and the design possibilities are endless, with so many different materials, colours, sizes and shape of tiles to choose from.
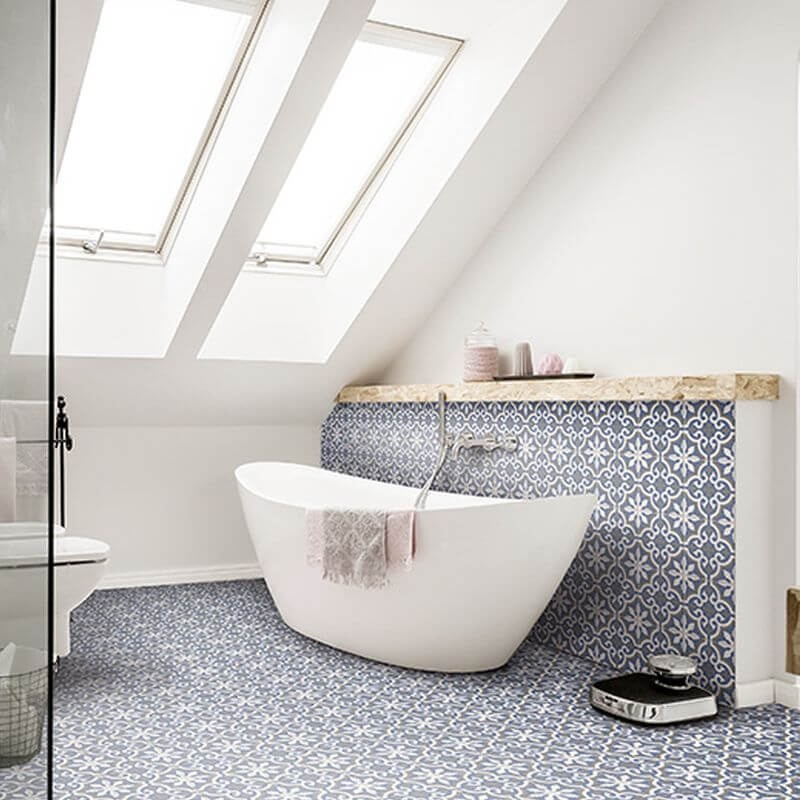
To help steer you in the right direction, here’s our mini guide to choosing the right kitchen splashback tiles in Perth.

Everything you need to know about kitchen splashback tiles 28
What’s your style?

Are you going for a contemporary minimalist look or maybe you prefer a more traditional country style? If you’re not sure on the style of your kitchen, then a good place to start is by looking for inspiration. Pinterest and Instagram, design blogs, visiting Perth display homes, cafes or restaurants are full of ideas to help you visualise and lock in the style you like, and then put your own spin on it.

What’s your budget?

You may find you’ve decided on the style, only to get the quotes and discover it’s completely out of reach. Do your sums so you know what you’re up against, and what’s going to work with your budget to achieve the look you want.

Kitchen tile colours 

Do you want your kitchen splashback tiles to stand out as a feature or blend into the background, while another element – such as your benchtop takes the limelight? To create a pop of colour and aesthetic appeal, choose a tile colour or pattern that contrasts with the rest of the kitchen. Alternatively, select a similar tone to the other elements to  create a more subtle and consistent look.

Tile size

The smaller the tile, the more grout lines you’ll have, which inevitably will require more maintenance down the track. Sealing the tile grout will help to protect it from food stains, but if you’re after a no fuss solution, then consider a larger format tile. Not only are they easier to maintain, but they’re also quick and easy to install.

Types of kitchen splashback tiles

Ceramic and porcelain are the most common options for kitchen splashback tiles. Ceramic tiles are readily available and affordable. They’re made from a mixture of clays baked at high temperatures, then glazed so they become hard and resistant to water. 

Porcelain tiles are similar to ceramic tiles but they’re fired at even greater temperatures. This makes them practically non-porous and much tougher than ceramic tiles, which is why they do tend to carry a higher price tag.

Don’t be afraid to try one of these popular tile styles for your kitchen splashback design.

Subway tiles

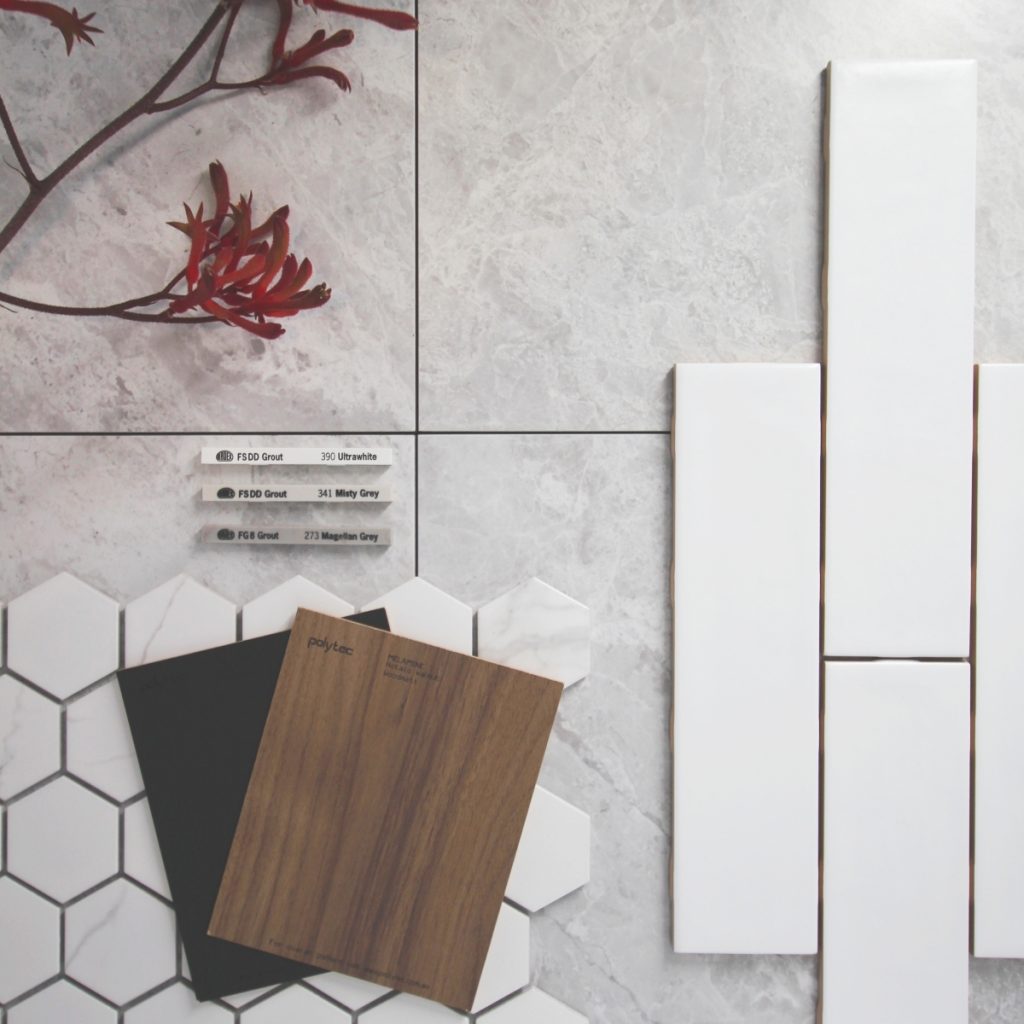
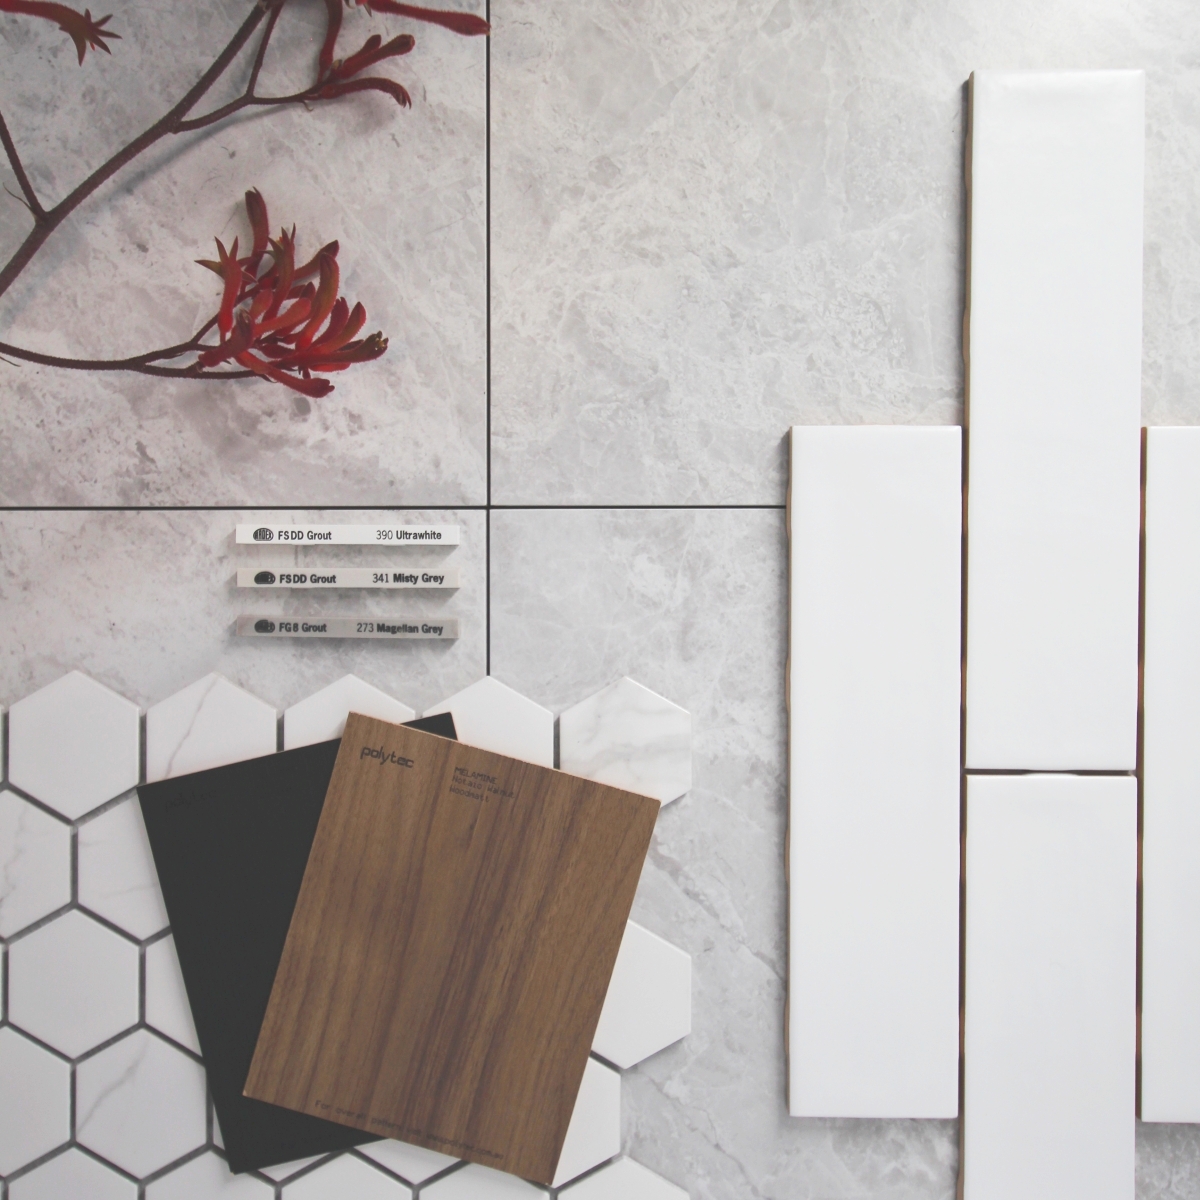
Subway tiles are hands down the most popular choice for kitchen splashbacks. For a timeless classic look, you can’t go past the white subway tile stacked horizontally to give your décor versatility. Try going for a black grout for an edgy look or choose a black subway tile for understated elegance. If you want to make your splashback a feature, opt for a coloured Subway tile. 

Geometric tiles

Black and white geometric designs for splashbacks are very eye catching and are great if you’re going for a contemporary minimalistic style. While a colourful geometric patterned splashback will add vibrancy to your kitchen.

Mosaic tiles

Mosaic tiles come in so many different shapes and vibrant colours. A mosaic tile splashback can really bring your kitchen to life. Kitkat mosaics – otherwise known as finger tiles are one of the most popular mosaic tiles right now that can suit a range of styles.

Everything you need to know about kitchen splashback tiles 29
Everything you need to know about kitchen splashback tiles 30
Glass splashback tiles

Glass tiles and mirrored glass tiles give off an amazing luminous effect and have the ability to bounce light around the room. They’re naturally non-porous, stain-resistant and a great alternative to conventional glass splashbacks. 

Metallic Tiles

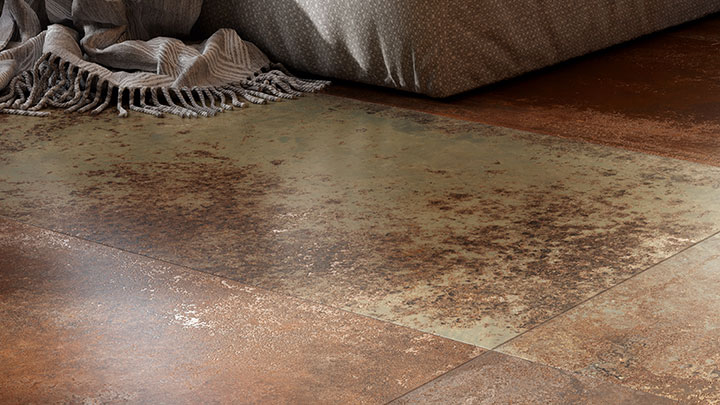
Metal look tiles create a dramatic looking splashback. Great to make that kitchen style lean towards the industrial or minimalist style design. For example rusty metal look tiles can really make your kitchen pop when complimented with copper, brass or black matt tapware and accessories. 
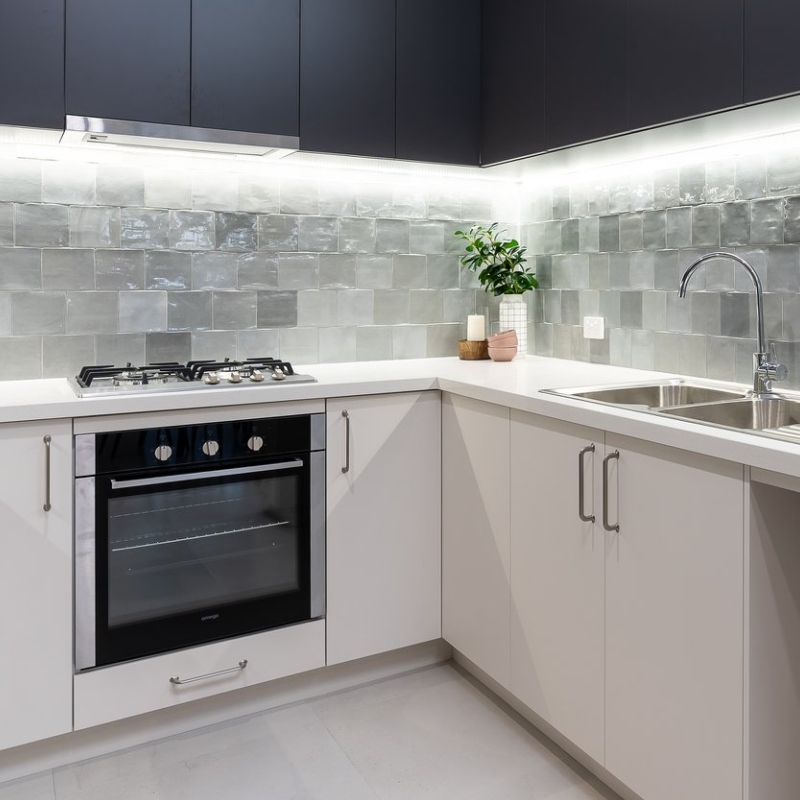
Marble look tiles

Nothing exudes luxury and opulence more than marble, and you can recreate this modern interior design trend for less on your kitchen splashback with marble look tiles.

There are many other tile materials you can use for kitchen splashback tiles, including travertine, natural stone and cement. If you choose a porous material, such as cement or marble, make sure the tiles are sealed to protect them.

Done properly, your splashback can make quite the statement in your kitchen. Retrofitting a kitchen splashback though isn’t much fun, so make sure you choose something that won’t date too quickly. It can be costly and difficult to change, so it pays to do a little research before you dive right in.

Speak to the kitchen tile experts in Perth

No matter what style you’re after, you can choose from a wide range of kitchen splashback tiles at Ceramic Tile Supplies. Browse online for inspiration, or discover the full range of kitchen tiles in Perth at our Wangara and Myaree showrooms.

View our range of Kitchen Tiles

Your complete rundown to choosing kitchen floor tiles 31

Your complete rundown to choosing kitchen floor tiles

By DIY, Kitchen Tiles, Tile Selection

Finding the right flooring for your home – especially the kitchen, is one of the most critical design choices you’ll need to make when building or renovating. 

Flooring can influence how your space looks and functions, and it impacts the overall flow of your home. Many Perth flooring experts and interior designers will tell you it’s best to start from the bottom, then work your way up when fitting out your house. 

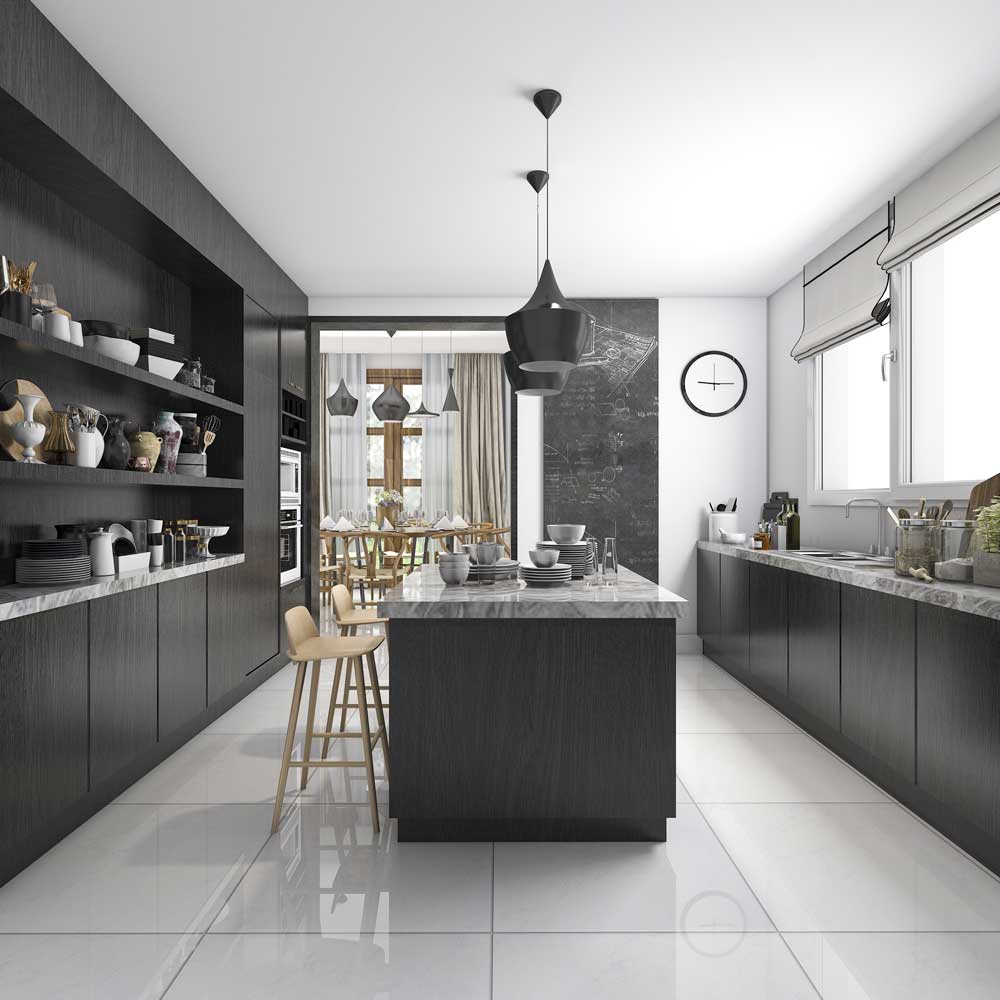
Tile floors are a natural choice for kitchens over carpet or timber. They’re hard and durable, water-resistant and virtually stain proof. Kitchen floor tiles can withstand heavy foot traffic and everyday wear and tear, and with so many options on offer, you’re sure to find a tile to match your interior style.

So, what are some of the key things to consider when selecting a kitchen floor tile to ensure it will do its job for years to come? Let’s take a look at some expert tips from our Perth tiles team.

Your complete rundown to choosing kitchen floor tiles 32

The type of kitchen floor tile you choose matters

The 3 main types of tiles are porcelain, ceramic and stone. Ceramic and porcelain tiles are similar, which is often where the confusion lies for many Perth homeowners.

Both are made from clay mixtures fired at high temperatures to produce a hard and durable tile, but ceramic tiles tend to be softer than porcelain. People make the mistake of choosing ceramic tiles for kitchen floors because they’re cost effective, but the ugly truth is they aren’t hard enough to withstand the heavy use your family dishes out.

Porcelain floor tiles on the other hand are a mixture of clay and sand. They’re made using heat and pressure to produce a tile that’s harder, denser and less porous than your regular ceramic tile, making it a perfect choice for kitchen floor tiles.

Whether you choose a porcelain, stone or ceramic kitchen floor tile, here’s what you need to think about:

Durable kitchen floor tiles

Is your tile choice going to be tough enough to withstand everyday wear and tear? Check with your tile supplier that the tile has a high resistant glazing and will not wear off over time or easily chip.

What about texture?

Slip resistant tiles naturally make a floor less slippery, but they can be harder to clean and are usually reserved for commercial kitchens. Consider matt or lappato (semi gloss) tiles that you like the feel of or add mats in key areas such as the front of the sink.
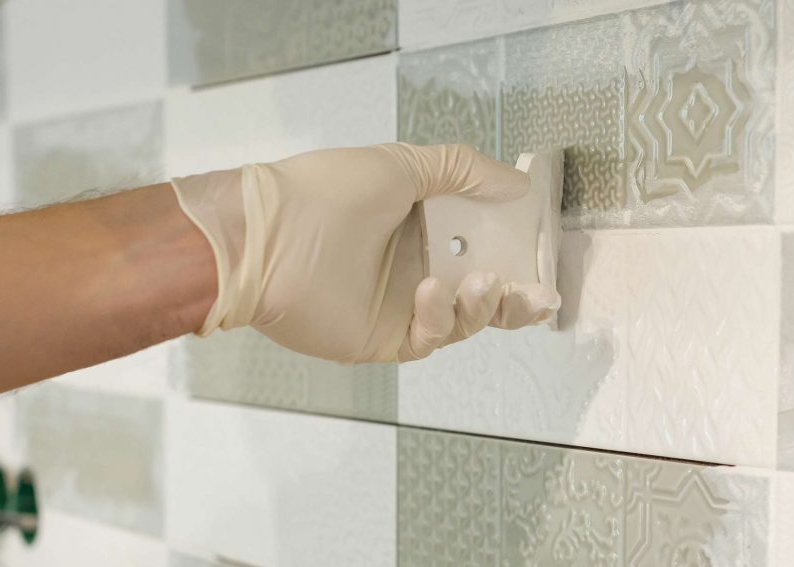

How much maintenance is required?

Many Perth homeowners choose tile kitchen flooring because it’s easy to clean. As the space where you prepare and cook your meals cleanliness should always be top of mind. Ask us about which tiles are easy to clean and won’t stain or crack immediately upon impact.

Kitchen floor tiles that complements your space

It pays to plan ahead with your cabinetry selections to ensure your tile choice blends in seamlessly with the design of your kitchen. The cabinet finish can help determine your kitchen floor tile choice as together they create the right feel for your kitchen. You can play with cabinet samples in our Wangara or Myaree showroom when you are looking at the tiles to ease your selection process.


The right tile choice will enhance your kitchen floor and look great for years to come.

Your complete rundown to choosing kitchen floor tiles 33
Your complete rundown to choosing kitchen floor tiles 34

Kitchen floor tile experts in Perth

Need a hand with selecting the right tile for your kitchen floor? We have a wide range of kitchen floor tiles to suit your home. Explore our full range of tiles, visit one of our Perth showrooms, or get in touch for expert advice on your kitchen floor tiles.

View our range of Kitchen Tiles

5 bathroom tile makeover ideas trending right now 35

5 bathroom tile makeover ideas trending right now

By Bathroom Tiles, DIY, Tile Selection

Stuck on how to take your bathroom design to the next level? The answer lies in your bathroom tiles ideas! In 2021, it’s all about trending feature wall styles—specifically, statement tiles that transform your space into something fresh and unique.

Looking beyond the functional benefits, adding a stylish feature wall is one of the most creative bathroom tile designs you can use to highlight key elements like your vanity, shower wall, or a freestanding bathtub.

To give you some design inspiration, here are our top 5 bathroom tile ideas for feature walls trending in Perth homes.

5 bathroom tile makeover ideas trending right now 36

Timber look tiles

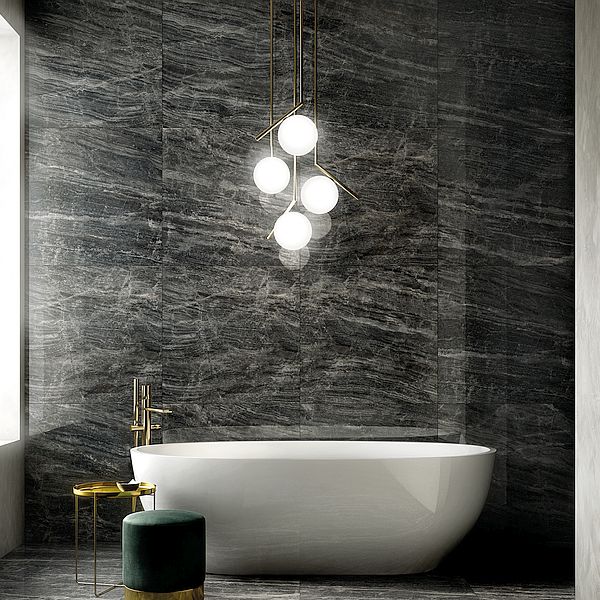
You’re probably used to seeing timber look tiles on floors, but they’re also perfect for bathroom feature walls. Creating a natural style in bathrooms is all the rage right now, and the rich earthy tones of timber tiles do it justice. Stone look tiles are also growing in popularity and provide another versatile option for modern bathroom tile designs.

Matt finish bathroom tile

For a soft yet striking look, you can’t go past a matte finish as the bathroom tile of choice for your feature wall. Many Perth homeowners are opting for this trend, as it balances elegance with practicality. A matte finish is one of the most stylish bathroom tiles ideas for achieving a contemporary and easy-to-maintain bathroom design.

Patterned bathroom tiles

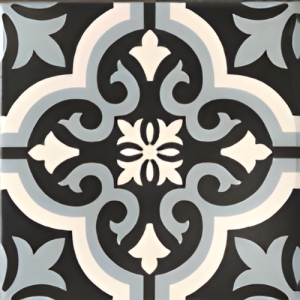
Patterned or decorative tiles proved quite popular in 2020, and we predict this trend will follow through for months to come. Whether you’re going for an urban look, boho style, art deco or vintage feel in your bathroom, the wide choice of patterned tiles available makes it easy to create that wow factor for virtually any interior style. To ensure they really stand out in your bathroom, only apply them to a single wall, or for something different you can also consider laying them on your floor. Using patterned tiles is one of the boldest trending bathroom tiles ideas, and the end result? Nothing but impressive.

For those who love hands-on projects, trying a DIY bathroom tile makeover with patterns is a creative way to refresh the space without a full renovation.

Bathroom mosaic tiles

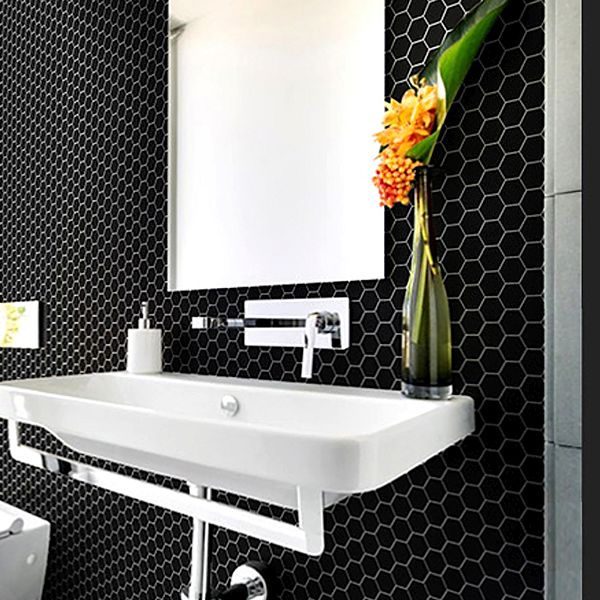
Want to make a real statement in your bathroom? There are so many different ways you can add interest to your bathroom feature wall when using mosaic tiles. Firstly, they are available in different materials such as natural stones, porcelain, metallic and glass. To make your decision even harder, mosaic tiles come in a wide variety of stylish shapes, colours and patterns including hexagon, fishscale (fan), herringbone, penny round, chevron and lantern. You can create interesting effects depending on how you lay them. 

Of course, installing mosaic bathroom tiles as a feature wall will take a bigger chunk out of your budget, but it’s well worth it when you see the finished product. Mosaic tiles are one of the most creative bathroom tile ideas to try in 2021.

mosaic tiles perth
5 bathroom tile makeover ideas trending right now 37

Metallic look bathroom tiles

Add a touch of luxury and glamour to your bathroom with a metallic tiled feature wall. Metallic look bathroom tiles draw the eye in with its mirrored motif, rich tones and decorative appeal, making it ideal as a standout feature wall. Want next level? Try 3D shaped metallic tiles for extra dramatic effect.

Perth’s bathroom tile experts

Whether you’re after a natural, traditional or contemporary style, you can choose from hundreds of bathroom feature tiles at Ceramic Tile Supplies. Browse online, drop us a line or check out the full range of bathroom tile designs in Perth at our Wangara and Myaree showrooms. You’ll find plenty of inspiration and discover how easy it is to bring your favourite bathroom tiles ideas to life.

View our range of Bathroom Tiles