AIzaSyCx0PM-3N_RmbMTt2SRm-GX9AD-tAsfpC8 Skip to main content
Category

DIY

What are thin format porcelain tiles? 1

What are thin format porcelain tiles?

By Porcelain Tiles, DIY, Tile Selection

A few years ago, a new tile design started emerging in tile showrooms – thin format porcelain tiles. Today they are trending and more popular than ever.

So, what are thin porcelain tiles and why are they such a great choice for your home or business? Let’s learn a little bit more about them.

What are thin format porcelain tiles? 2
What is a thin porcelain tile (TPT)?

Thin format porcelain tiles or sheets are characterised by their minimal thickness of anywhere between 3mm to 8 mm and often range from 750mm to 1000mm wide and up to 3 meters in length.

Previously, tiles needed to be 10mm to 12mm thick to even be considered for floor tiling, but not anymore.

How are thin format porcelain tiles produced?

Thin porcelain sheets are made out of natural materials such as clays, feldspar, silica and minerals. The tiles are manufactured by placing the natural raw materials and minerals in a kiln exposed to high pressure and temperatures reaching 1,500°C. 

The process itself is called sintering and involves compacting and forming a solid mass of material by heat or pressure, without melting it to the point of liquefaction.

Compaction occurs using two stiff motor-driven belts. The materials are deposited on the lower belt and carried inside the machine, where the combined action of the two belts and compaction rollers allows the material to form. 

What makes this process so effective is that different raw materials and colours can be combined to achieve various looks.

Where are thin porcelain tiles best suited?

Thin porcelain tiles (TPT) can be installed for both indoor and outdoor applications. Because the tiles are so thin, they are easy to cut and shape to fit your intended design.

It’s always best to ask a tile expert to determine the ideal thickness for your application, but in general we often see thin format porcelain tiles used in the home for:

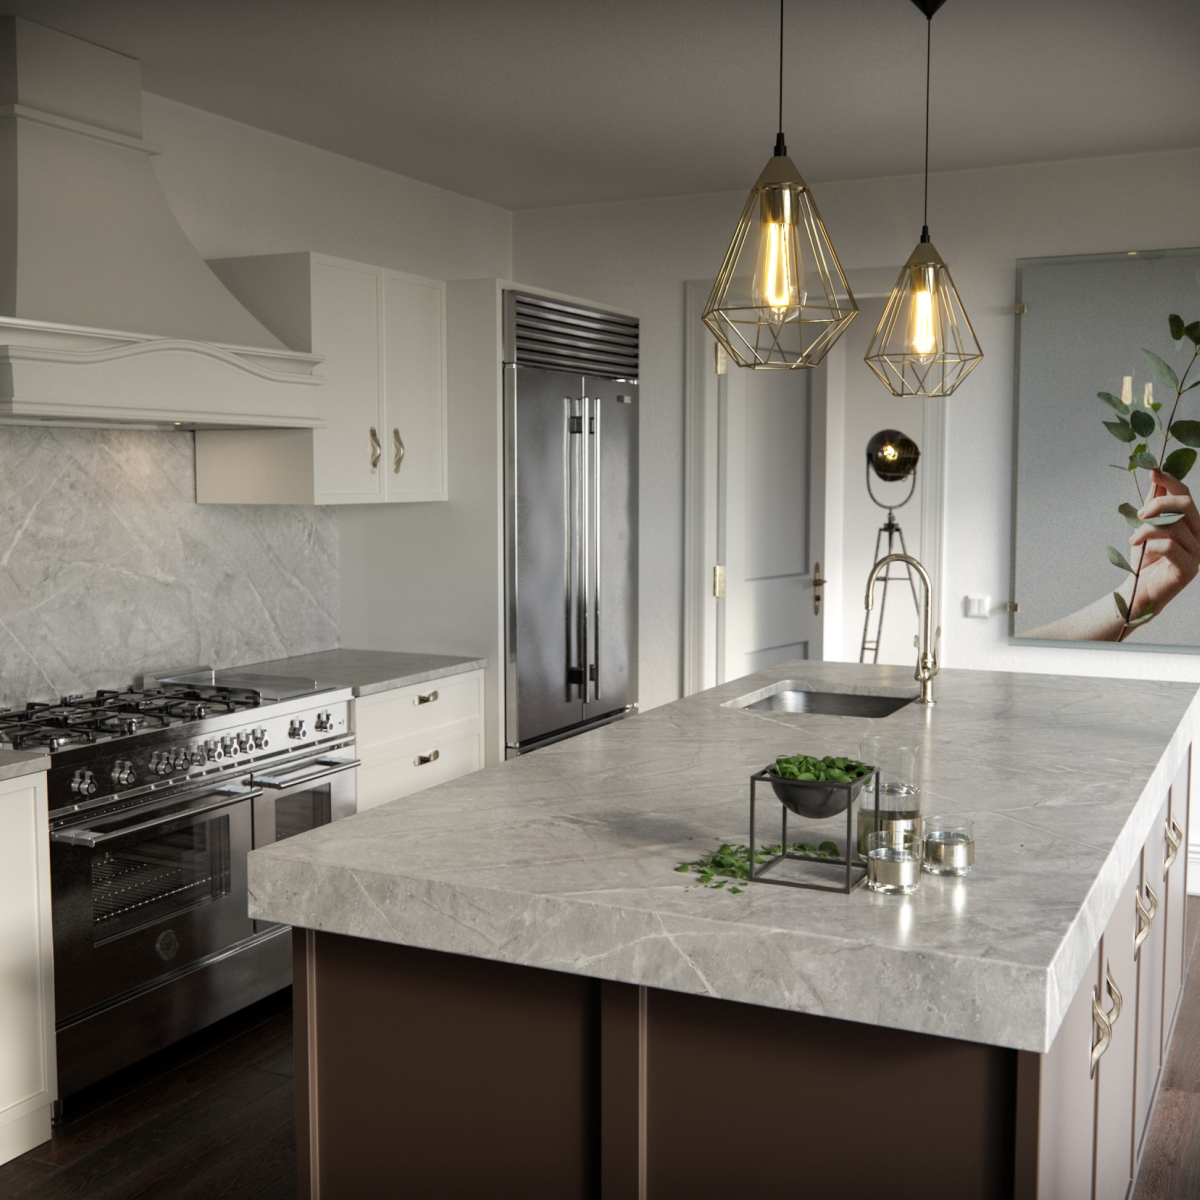
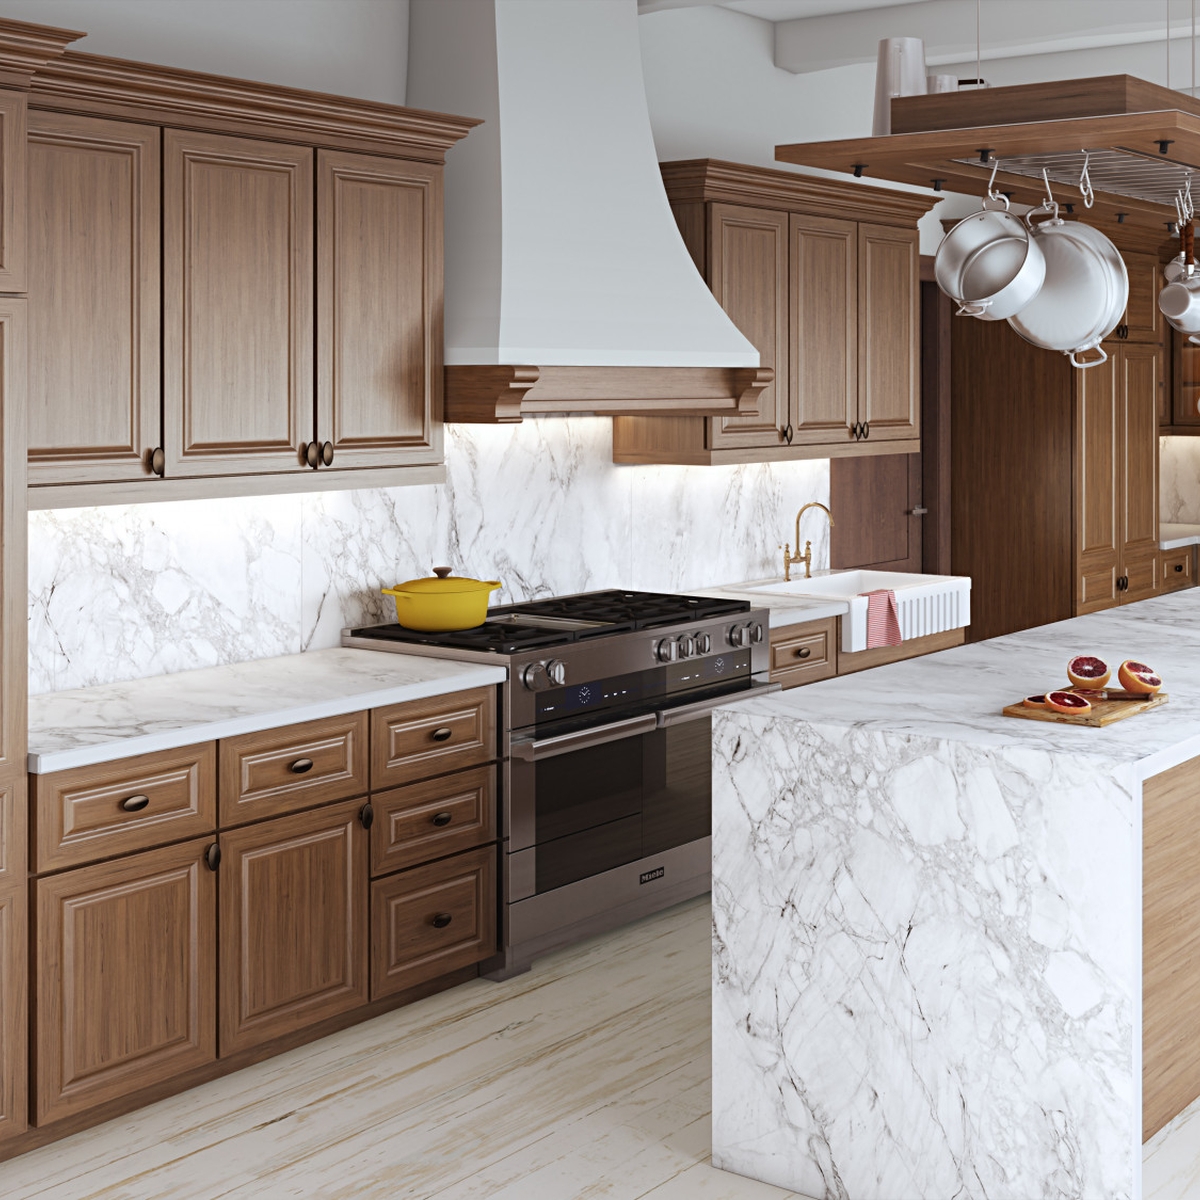
  • Kitchen countertops and backsplashes
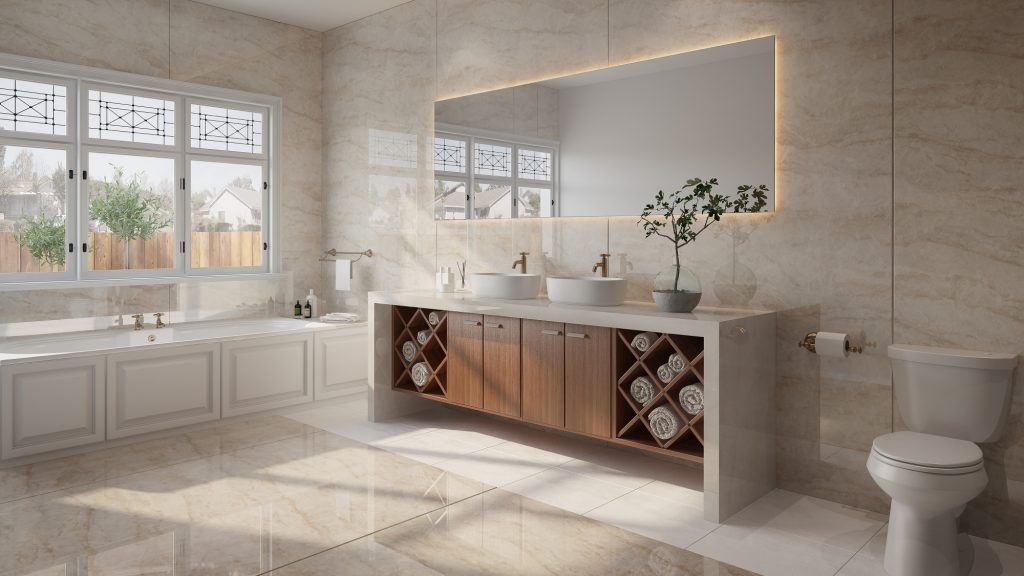
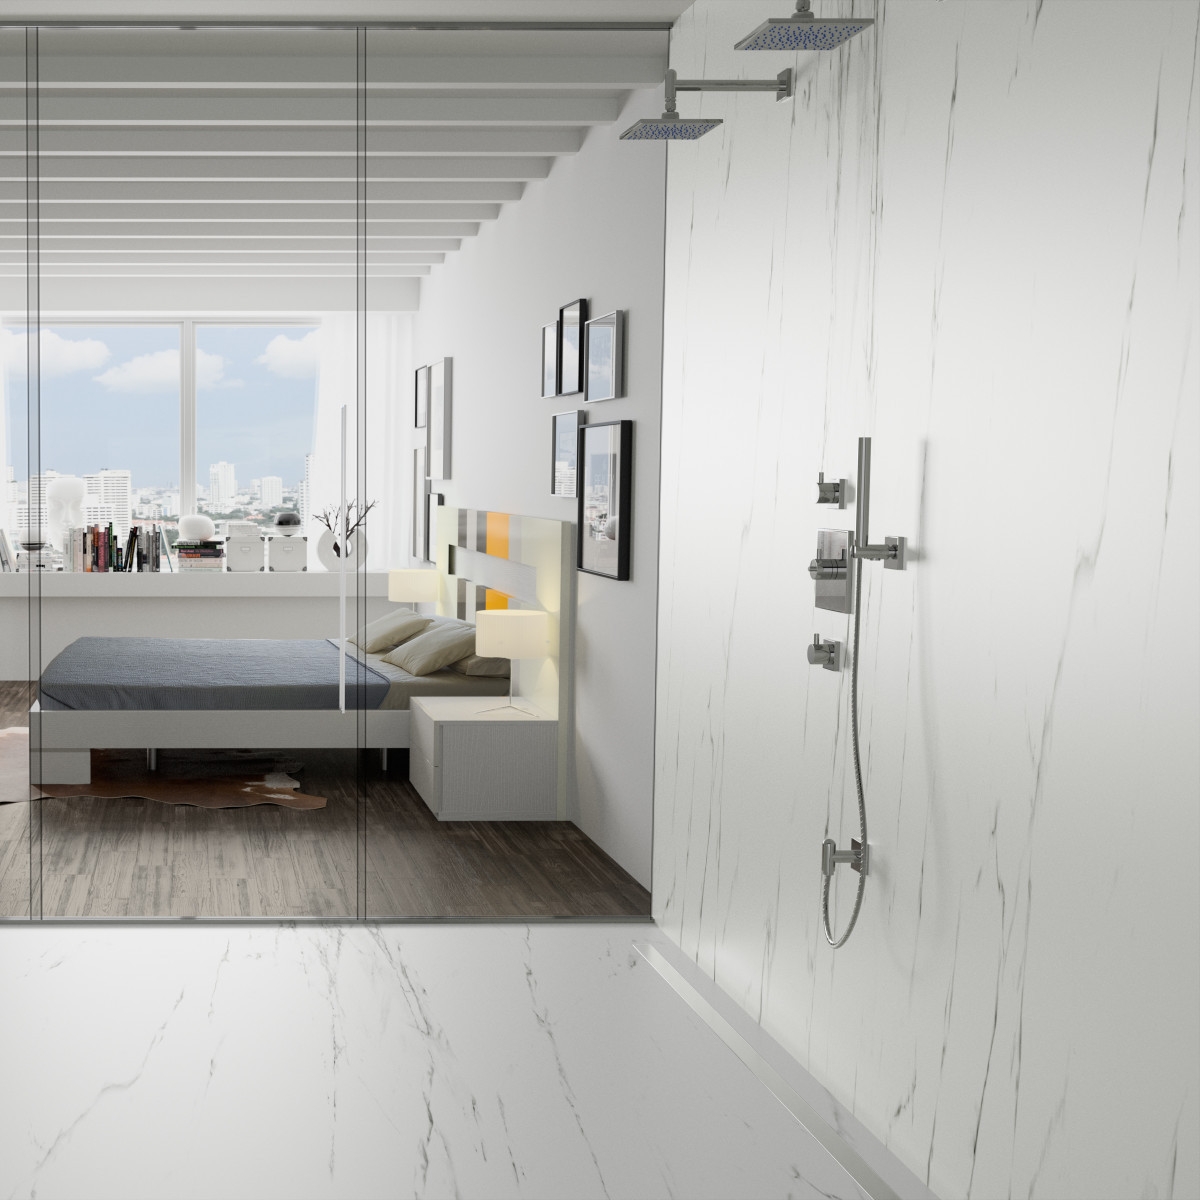
  • Bathroom walls and floors
  • Feature walls
  • Fireplaces
  • Exterior cladding
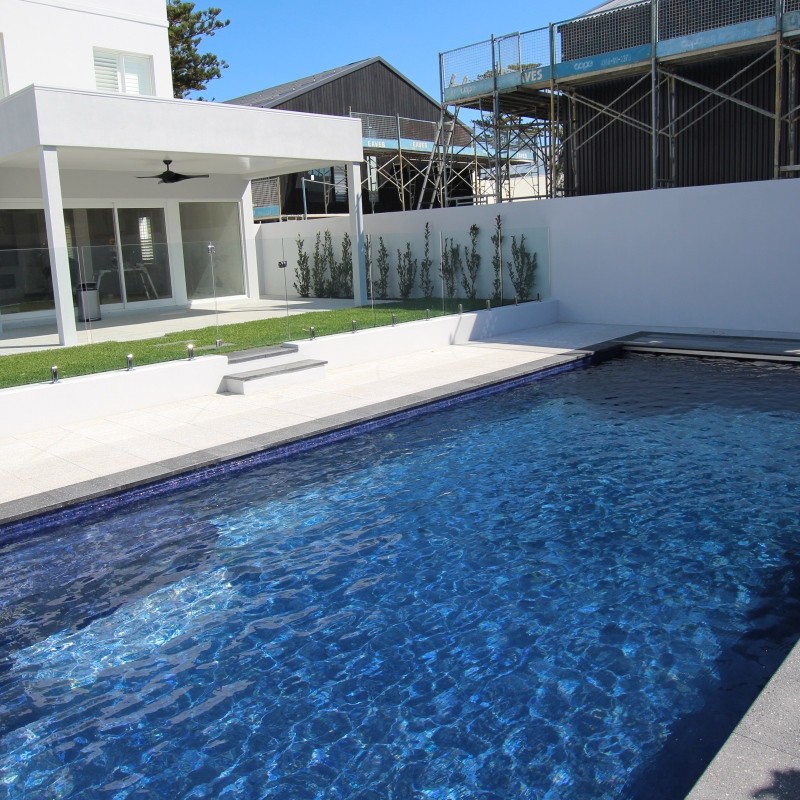
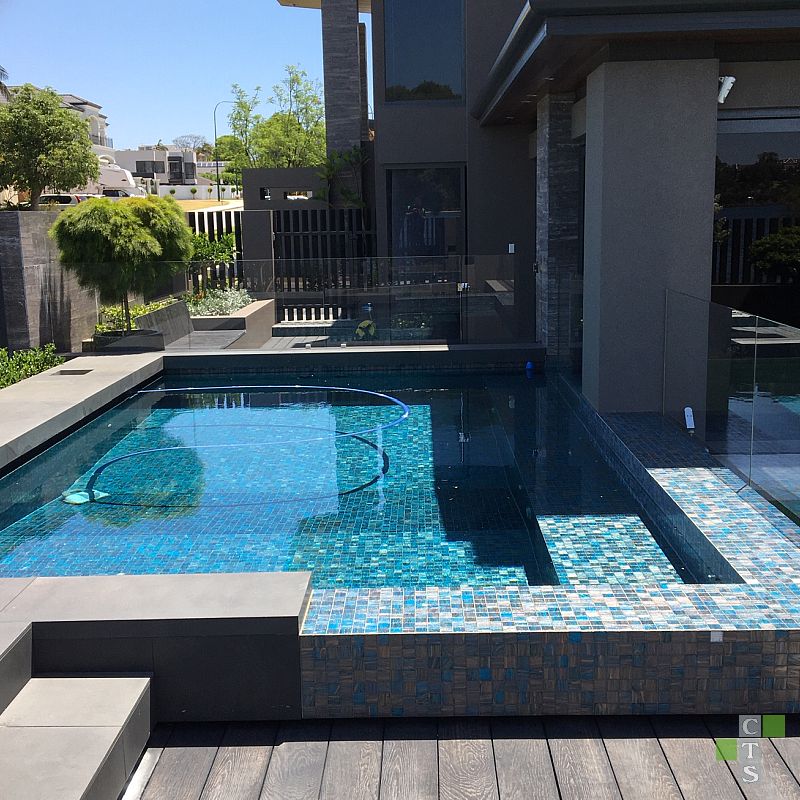
  • Swimming pools/ plunge pools

You can also use thin format tiles for commercial applications including:

  • Feature walls for lobbies and common areas
  • Bathroom walls and floors
  • Front desk design
  • Internals of elevators
  • Countertops
  • Exterior cladding
What are thin format porcelain tiles? 3
What are thin format porcelain tiles? 4
What are the benefits of using thin format porcelain tiles?

Thin porcelain tiles are becoming increasingly popular and there are a number of reasons why:

  • TPT are lightweight (they are generally half the thickness of standard porcelain tiles)
  • The reduced weight enables tiles to be produced in extra-large format such as 1.5 x 3 meters.
  • Low maintenance – they are extremely hardwearing and won’t deform, crack or fade when applied outdoors
  • Many different styles, colours and finishes to choose from 
  • TPT can be laid over existing floors and walls reducing time and cost of removal, and less waste is generated
  • The thin nature of the tile makes it easy to cut using conventional tiling tools suitable to cope with the size.
  • The manufacturing process has a significantly lower environmental impact than standard porcelain tile products

In addition, independent tests have shown that thin format porcelain tiles are nearly twice as strong as thicker, conventional tiles. 

Perth’s thin porcelain tile specialists

Be inspired by Ceramic Tile Supplies’ range of thin format porcelain tiles. Browse our collection, visit our Myaree and Wangara showrooms to view the full range of tiles on display or book a one-on-one consultation

Some of Our Thin Format Porcelain Tiles

How to choose the right grout for your tile project 5

How to choose the right grout for your tile project

By DIY, General, Tile Selection

Any ceramic tile project will use some form of grout to fill the gaps between the tiles and to hold it all together. Grout choice is just as important as your tile choice, so it pays to know which grout will work best for your tiles and deliver the best result. 

The two most common types of grout are cement grout and epoxy grout. Let’s compare the two to help you better understand your options when tiling your floors or walls.

How to choose the right grout for your tile project 6
What is cement based grout?

Cement based grout is the most common type of grout and the least expensive. It is made out of a mixture of cementitious powder, sand and water and comes in a sanded and un-sanded form.

Un-sanded grout tends to have a smooth texture. It is created from fine powders and is generally used to join tiles that have seams between 1-1.5mm wide. Sanded grout contains fairly large sand particles that can be seen, often with a gritty look and feel to it. The sand in this grout provides extra bonding that makes it harder to crack. Sanded grout is mostly used for seams 1.5mm or wider. 

When using cement grout you should seal it after application to prevent staining. Cement grout is not recommended for porous tiles like natural stone, because this type of surface combined with the grout is likely to stain. 

What are the pros and cons of cement based grout?

There are both advantages and disadvantages to choosing a cement based grout. Deciding whether to go for cement grout can come down to a few things such as:

Pros for choosing cement grout

  • Easy to install so it is great for a DIY job
  • Easy to clean – after installation, all you need is a wet cloth or, at worst, some light scrubbing to remove grout residue from your tiles.
  • It’s cheaper compared to epoxy grout
  • Wide choice of colours
  • Cement grout has a thicker consistency, so it can hold up well on any wall installation, even in the cases with wider gaps as it shrinks less and bonds well.
Cons for choosing cement grout

  • Needs to be sealed or a grout booster added to prevent staining, mildew and mould (refer to What is a great additive below)
  • Poor colour consistency – different factors such as the minerals in the water, how you mix the grout and humidity can affect the colour of the grout
  • Not waterproof – excessive exposure to water or moisture such as in bathrooms can cause damage to the grout, due to presence of porous features
  • Brittle – corners will crack and flake out over time or crumble if not installed properly
How to choose the right grout for your tile project 7
When should you use epoxy grout?

The stain and chemical resistant properties of epoxy grout make it suitable for high traffic areas such as schools, healthcare facilities, hospitality industry, commercial and industrial settings. \

They are also ideal for environments that experience excessive amounts of humidity or severe cold temperatures.

What is a grout additive?

A grout additive is a water based acrylic liquid added when mixing grout together to make the grout stronger, enhance the colour and make it flexible, which will eliminate cracks in your grout. Grout additive also reduces the porosity of the grout, making it easier to clean and minimising the growth of mould on the surface. We highly recommend adding a grout additive to cement based grout.

Be mindful when using grout additives in cement grout as it sets the grout off faster and there for is required to be cleaned as you go along. Do not leave it until after it has dried to clean off.

Why does grout crack?

Grout crack is common and happens mainly due to movement between two surfaces. You may not know this, but each material in your home is continually moving in tiny increments as a result of humidity, foundation settling, temperature and other factors. If grout in the kitchen or bathroom is a rigid material, it will crack. For example a tiled corner meeting another tiled corner can crack if there is movement in both of the walls due to the above mentioned factors. Or a join where a bathtub and tile meets has pressure applied to it where the bathtub is more flexible and the tile grout not so a crack will form between the two.

Choosing the right grout for your project makes all the difference to the final product. By talking to the professionals at Ceramic Tile Supplies, you’ll get the right advice on the products that will best fit your needs and budget.

Perth’s ceramic tile specialists

Be inspired by our extensive range of stunning bathroom tiles, kitchen tiles, floor and wall tiles. Browse our collection, visit our Myaree and Wangara showrooms to view the full range of tiles on display or book a one-on-one consultation.

Your bathroom tiling FAQs answered 8

Your bathroom tiling FAQs answered

By Bathroom Tiles, DIY, Tile Installation

Retiling your bathroom for the first time? Whether you’re taking it on as a DIY project, or you’re having a professional tiler handle it for you, there may be some things you’re scratching your head about. 

Tiling your bathroom is a little bit different to tiling other areas of your house, so it pays to understand what’s involved. Here are some answers to common questions we receive about bathroom tiling.

Your bathroom tiling FAQs answered 9
What type of bathroom tile should I choose?

Not all tiles are suitable for the bathroom because they get exposed to condensation and moisture. Glazed ceramic or porcelain tiles are the most practical options.

Ceramic tiles are affordable and simple to look after. They aren’t as hard wearing as porcelain tiles, but as bathrooms are not high traffic areas, ceramic tiles are perfectly fine to use on your floors and exceptionally good on walls.

Porcelain tiles are denser and tougher than ceramic, and also easy to look after. They’re suitable for both floors and walls. If you’re after a natural stone look, you can achieve this with full body porcelain tiles that look almost identical to natural stone tiles.

When it comes to your bathroom floor, make sure you choose a tile that has some slip resistance to avoid any future accidents.

If you have a small bathroom and want to create the illusion of a bigger space, consider using plain coloured or subtle patterned tiles and stick to a single shade. Avoid too many patterns or grout lines, as this will only make your bathroom appear smaller. 

Should I do full height tiling?

It all depends on the size of your bathroom and your budget. The benefits of tiling your whole bathroom is that your painted walls don’t get exposed to the humid environment and moisture, which can lead to mould, harbour germs and require more regular maintenance.

How do I get my walls ready for tiling?

It is imperative that your walls are clean and free from dust when preparing your surfaces for tiling. If you’re laying your own tiles, make sure you, patch, prime, and waterproof your walls before spreading adhesive.

Make sure your areas are waterproofed to prevent any possible leaks in the future. If you have a professional tiler laying your tiles then you don’t need to worry about this as most include this in their quote, but cleaning your walls beforehand will save your tiler time and ensure they are prepped and ready to go.


What’s the easiest way to tile around bathroom fittings?

It’s best to remove your fittings first before you tile. This helps to prevent any damage to your fittings and will allow for a neater finish with your tiling. Also, if you need to replace any fittings later on, it’s more difficult to remove if it’s been tiled in.

If you’re starting your bathroom from scratch, your bath and shower trays should be fitted and plumbed in first, then tiled. This ensures the edges of the bath or tray and covered to help create a watertight seal.

Your bathroom tiling FAQs answered 10
Your bathroom tiling FAQs answered 11
Do I need to apply silicone on bathroom tiles?

Silicone is important because it ensures the joints are sealed making your tiles waterproof. Silicone is applied after tiling and grouting to any areas that are susceptible to movement cracks.

Is it a good idea to tile over tiles?

Tiling over tiles isn’t as straight forward as it sounds, but it is possible. It’s an effective way to save time and money on your renos, while also keeping waste out of landfill. However, if your tiles are showing signs of damage or wear, you’re better off ripping them out to avoid bigger issues down the track. The remaining tile will also need to be roughed up or scored for the new tiles to adhere to the face. This can be quite difficult with some of the quality tiles as this is something that tiles are made to withstand to some extent. 

What’s a tile trim and do I need it in the bathroom?

A tile trim is used to neatly finish the edges around your tiled area and cover up any exposed or cut edges. It can also protect the edges of the tiles from damage and cracking.

Perth’s bathroom tile specialists

Be inspired by Ceramic Tile Supplies’ extensive range of bathroom tiles. Browse our collection and photo gallery, or visit our Myaree or Wangara showrooms to view the full range of bathroom tiles on display.

Some of Our Best Selling Bathroom Tiles

Busting the myths on timber look tiles 12

Busting the myths on timber look tiles

By Timber Look Tiles, DIY, Tile Selection

Timber look tiles continue to be all the rage for many home renovators looking for a more cost effective and eco-friendly alternative to wooden flooring. With advancements in technology, ceramic wood tiles do a pretty flawless job these days at mimicking the real deal. Still, there are some that aren’t convinced. 

Have you been tossing up the idea of timber look tiles but you’re on the fence? Let’s put any misinformation floating out there to rest and bust these myths head on!

Busting the myths on timber look tiles 13
Myth #1: Timber tiles look fake

Glazed porcelain wooden floors have come a long way over the years, and although they aren’t the real deal, if installed properly it’s hard to tell the difference. The key thing here is paying attention to your grout lines. For timber look tiles to look as authentic as natural wooden floors, you should choose timber tiles with rectified edges. This ensures the tiles can be laid as close together as possible (around 1mm) with minimal grout required. 

Myth #2: Wood look tiles are hard to maintain

Far from it. Are you forgetting timber look tiles are actually porcelain tiles? This means they are extremely easy to clean. And, unlike its authentic wooden counterpart that don’t do so well when the surface comes into contact with spills, wood look tiles require very little maintenance to retain longevity.

Myth #3: Timber look tiles can’t handle constant foot traffic

Again, being a glazed tile (remembering this doesn’t always mean glossy) they are actually highly durable and scratch resistant. You’ll be perfectly fine walking around in heels on a wooden ceramic floor, but the same can’t be said for real wooden flooring.

Myth #4: Timber look tile floors are too cold

Tiles do have the reputation of being colder than other types of flooring and not absorbing as much heat (which is perfectly ideal in summer). But there are other factors that can contribute to this, such as how much natural sunlight generates heat within your home. And, there’s nothing a few floor rugs or runners can’t fix especially when the product underneath won’t fade!

Busting the myths on timber look tiles 14
Busting the myths on timber look tiles 15
Myth #5: Timber look tile planks will warp over time

The tile planks will not warp over time. There is however the lippage (when one tile is higher than another resulting in an uneven surface) to consider. All tiles can be subject to a variation in flatness due to the manufacturing process. This is why it is not suggested to half off set or brick bond any rectified tile over 200mm in length. However the way to get around this is the thirds rule or stagger lay the timber tile with no more than a 33% overlap at any time. This allows for any curve that may be in the tile to be absorbed in the lay pattern instead of creating an unwanted uneven surface. Sound too complex for you? We recommend leaving the installation to an expert tiler while you take on a different DIY project in the house.

Perth’s timber look tile specialists

Be inspired by our extensive range of quality timber look tiles. Browse our collection  and photo gallery or visit our Myaree or Wangara showrooms to view the full range on display.

Some of Our Best Selling Timber Look Tiles

Timber Wooden Tile

How to choose splashback tiles for your kitchen

By Kitchen Tiles, DIY, Subway Tiles, Tile Selection

A key component to any kitchen design or renovation is your splashback. Functionally, it’s there to protect your walls from spills and splatters, visually it’s something you can have fun with.

Although just a small part of your kitchen, your splashback is where you can inject a lot of personality and make it the focal point of your kitchen. This is especially true in situations where the other elements of your kitchen have a neutral feel.

Tiles are an obvious choice for splashbacks as they are hygienic, durable, non porous, heat resistant and easy to clean. So, how do you go about selecting a tile that complements your kitchen design and adds character? 

A few things to consider when choosing your splashback tile includes the colour, shape, size and grout. Usually it’s a good idea to pick your benchtop first (as your options are more limited), and then incorporate your splashback design around this. 

When looking at tiles, the most durable and low maintenance option would have to be ceramic or porcelain tiles. Porcelain tiles are the tougher of the two, but will generally attract a higher price tag. Luckily, because splashbacks cover only a small surface area, it may be one of those areas you can afford to splash out on (no pun intended!).

Let’s explore what you need to consider in more detail.

How to choose splashback tiles for your kitchen 16
Colour

Your choice of tile colour can either blend subtly into your kitchen design, or you can be a bit more creative with pops of colour that draws attention. So firstly, you need to decide whether you want the splashback to be the standout feature in your room. Whatever you choose, it should work with your overall bench top and cabinetry colour scheme.

As a general rule, use dark tiles where there are no internal corners or assisting elements like cabinet lights or ample brightness to the room by other forms of light prevents dark corners from forming. Lighter shades will help brighten up the room and create a more open airy feel.  

If you opt for a colour similar to your benchtops and cabinets, consider a tile with more texture to add contrast. But choose wisely, as a heavy textured tile can prove harder to wipe down and clean.
Shape

Another way to create impact – if not through your colour choice, is the shape of the tile. Some popular options include incorporating a grid like pattern, geometric, subway style, penny round, chevron, diamond tile and mosaic style patterns.

Size

The size of your splashback area will affect your tile choice. For a clean look, choose large format tiles. This will also cut down on your grout lines but not be the cost effective option. If your splashback area is medium to small, the varying subway tiles make an excellent option as the scale into this size very well. If you are happy with a little more grout mosaics are a great option and come in many fun colours and shapes.

How to choose splashback tiles for your kitchen 17
How to choose splashback tiles for your kitchen 18
Grout

In general, the smaller the tile, the more grout lines you’ll have. If you want to avoid cleaning too much grout, choose a large format tile which will result in fewer grout lines. You can also use a grout additive (booster) or grout sealant in your small tiles to ease the cleaning woes.

Consider using a fine sand Epoxy grout. It’s a little more expensive than cement grout and harder to apply, but it’s a great choice for kitchens because it resists stains, is easy to wipe clean and more consistent in colour.
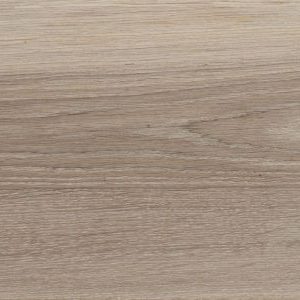
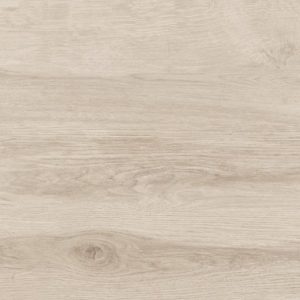
Aside from your tile colour, there are a number of grout colour options too. A couple of things to take note of:

  • Unsealed white grout will easily pick up stains, so make sure if you do choose a white grout you seal it or use a grout additive.
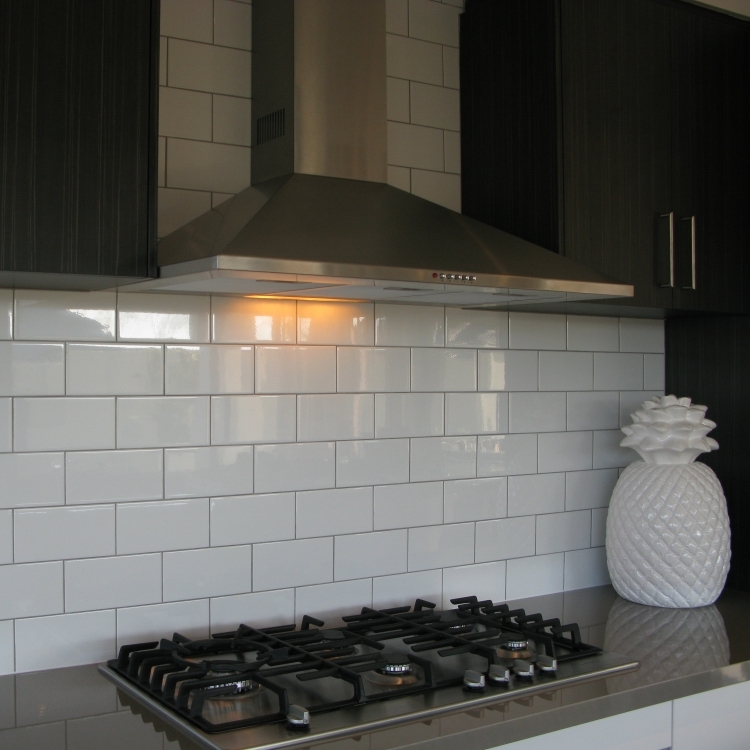
  • Black grout will accentuate the design, so it’s usually best to incorporate black grout with more neutral tones to create the right impact. It is also suggested with Black grout to use a grout booster to hold the colour.

Lastly, it’s also important to take into consideration the type of cooktop you have or will install. There are different clearance requirements from the centre of the burner to the splashback. Most tiles are glazed at a high temperature making them withstand heat variations from a cooktop however if you are looking at other materials such as natural stone, resin or hand glazed tiles they may require further considerations.

Need some inspiration for your kitchen splashback tile design?

Get inspiration from Perth’s kitchen tile specialists! Take a look at our photo gallery for ideas or browse our kitchen splashback tile collection on display at our Myaree or Wangara showrooms.

Some of Our Best Selling Kitchen Splashback Tiles

How to ensure your subway tiles don’t go out of style 19

How to ensure your subway tiles don’t go out of style

By DIY, Subway Tiles, Tile Selection

Is the subway tile leaving the station? We often get asked by customers if subway style tiles are still a popular tile trend to have in the home.

They’ve been a safe and reliable go-to choice for so many years now that it’s not unusual to think this style may be getting a little tired and dated.   

The thing about subway tiles though, is they have so much versatility and variety, we believe it will never go out of style. It’s all about being creative and applying this classic tile in a new and clever way to make it anything but boring.

So, what are some ways you can reinvent the subway tile look in your home to make it relevant again? Here’s a few of our favourite ideas.

How to ensure your subway tiles don’t go out of style 20
Create contrast with borders

Subway tiles come in so many different shapes, sizes and colours that they can be applied in so many different ways. One way is with a contrasting inset of tiles. Break up your subway tile with a random inset of a different colour of the same subway style, add some marble or mosaic border for a contrasting look – the possibilities are endless.

Add a pop of colour

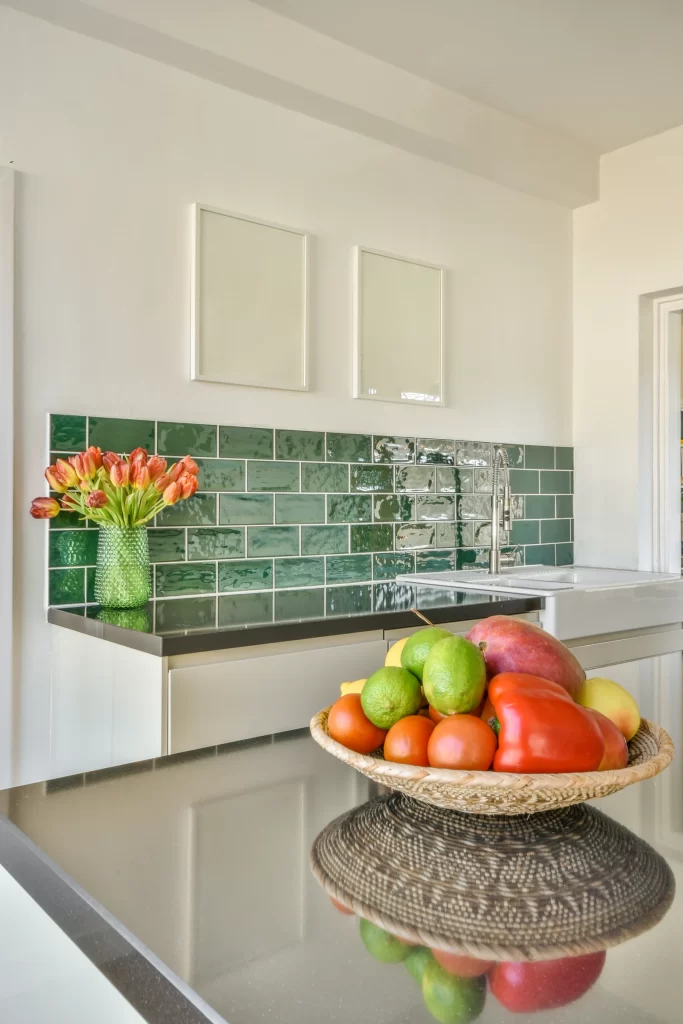
Move away from the timeless, white subway tile look and inject some colour for a fresh and modern appearance. Still functional, but utterly playful, coloured subway tiles work particularly well for kitchen splashbacks and in the bathroom. Subway tiles come in various shades of blue or green, iridescent, or even multicoloured so you can really have some fun with it.

Go for a different pattern

Creating a new pattern with subway tiles is one of the easiest ways to make a stunning visual impact to your space. Instead of running your subway tile in the typical running bond/ offset brick pattern, why not take another approach by changing up the direction you lay the tiles. Applying different orientations can alter how your room appears. For example, laying tiles vertically will create the illusion of more height.


Change up the size

The traditional subway tile comes in 75mm x 150mm (3×6 inches), but these days you can choose from various formats including ultra slim to larger sized tiles, square tiles and hexagon shaped tiles to create an aesthetically pleasing new look and feel. 

How to ensure your subway tiles don’t go out of style 21
How to ensure your subway tiles don’t go out of style 22
Discover new textures

If you want to be even more inventive, explore designs with textured subway tiles to add more depth to your walls or floors. Textured tiles tend to create a more effortless, casual vibe, and if you’re going for a natural look, a little bit of texture can go a long way.


Think about the overall design

When deciding on how to incorporate subway tiles, it pays to think about the context of your entire room design and surroundings. The various interior design elements you apply to your space can influence the overall look. For example, the type of plumbing fixtures you select in a bathroom should complement your tile choice and the style you’re going for. 

With so many ways to create a new look, subway tiles are here to stay. 

Perth’s subway tile specialists

Be inspired by Ceramic Tile Supplies’ extensive range of premium subway style tiles. Browse our collection or visit our Myaree or Wangara showrooms to view the full range on display.

Some of Our Subway Tile Range

How to get the timber look for every room in your home 23

How to get the timber look for every room in your home

By Timber Look Tiles, DIY, Tile Selection

One of the biggest flooring trends that continues to gain popularity is timber look tiles. 

The quality and technological advancements of wood look tiles has evolved tremendously over the past few years, making it a terrific and incredibly lifelike choice over timber flooring. 

Timber looks are timeless. But it’s not suitable to use real timber everywhere in the home. If you’re looking for a long-lasting and affordable alternative to classic wooden floor tiles that can be used in every room, then timber look tiles is your number one choice.

We love wooden look tiles because they are easy to maintain, won’t warp, creak or rot, and unlike natural wood, are perfect in wet areas.

Timber look tiles come in ceramic, porcelain and concrete form. Porcelain is considered the best of the three as it tends to be the most durable and affordable.

So where can you use timber look tiles? Let’s take a look.

How to get the timber look for every room in your home 24

High foot traffic areas

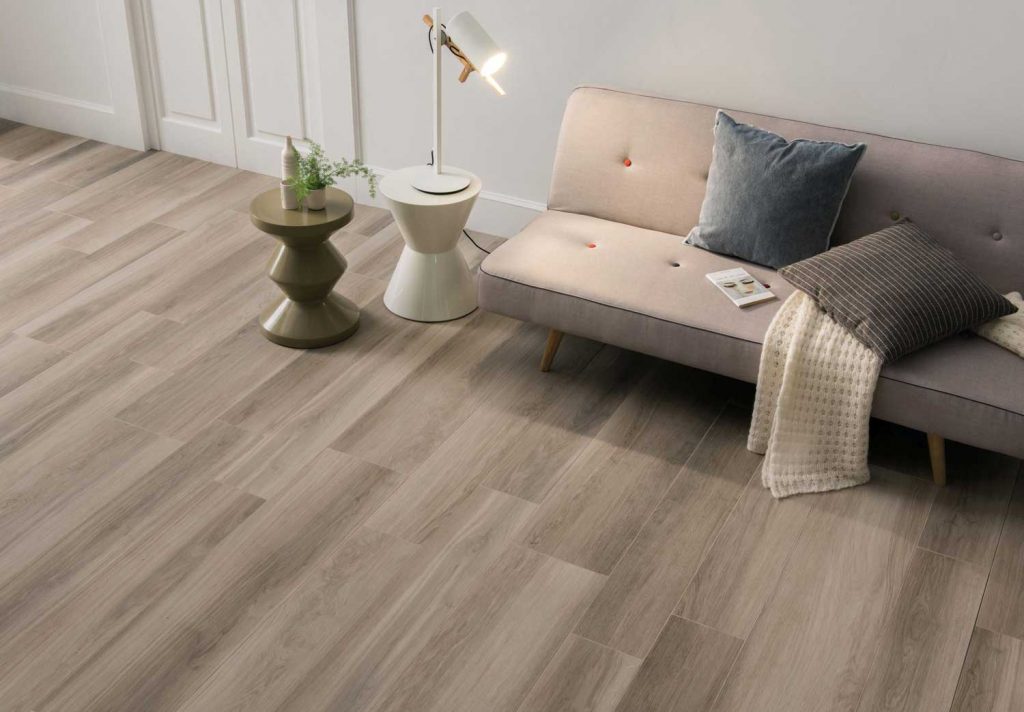
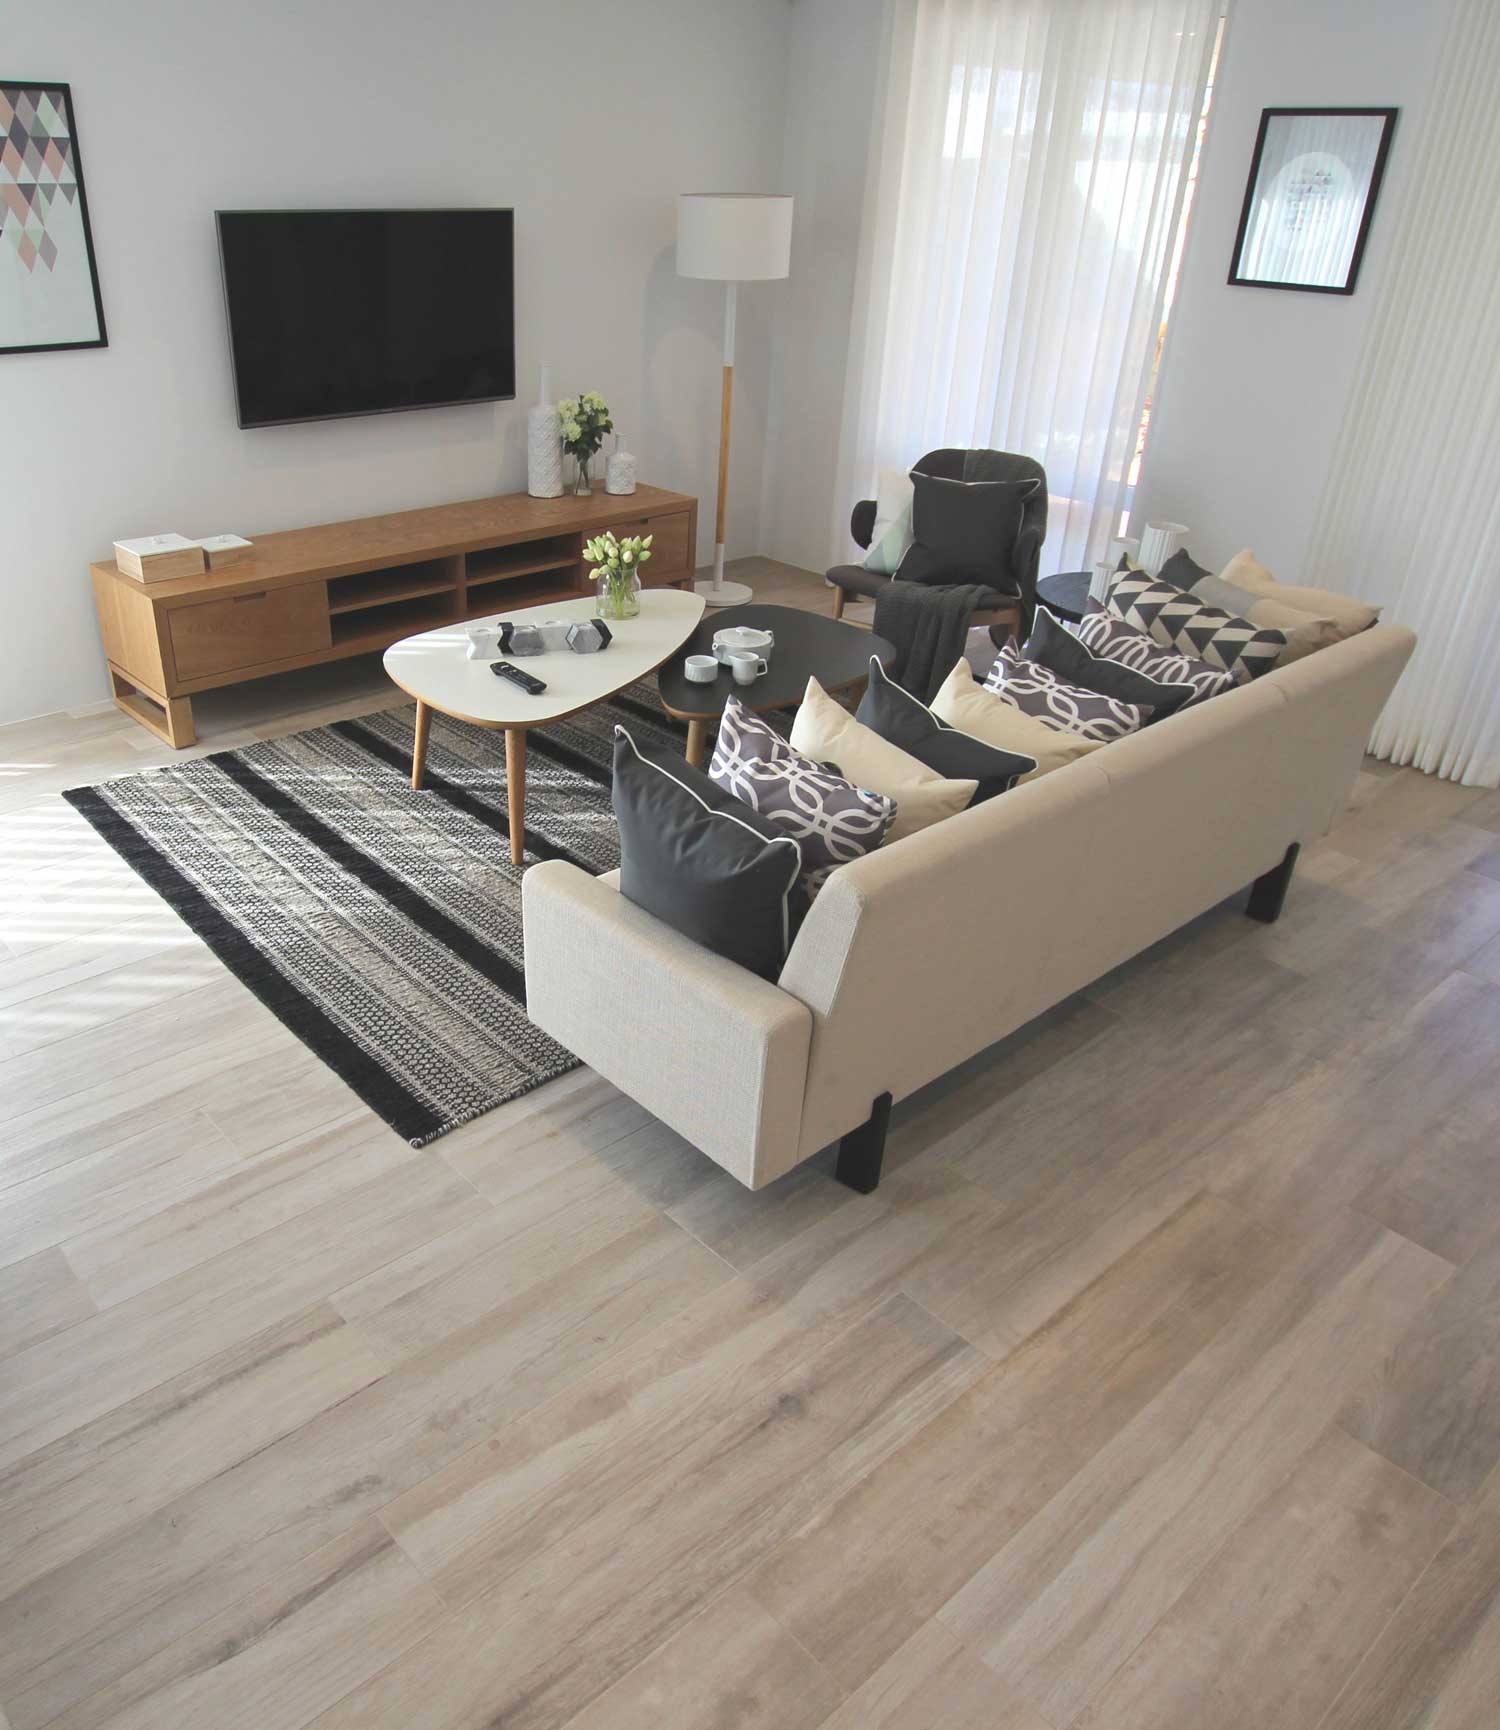
Wood look tiles effortlessly mimic the relaxed warm feeling of natural wooden floor tiles in a home. And as a hard wearing surface they are ideal for high traffic areas.

To make a statement with your timber tiles, try laying them differently. Herringbone, chevron and staggered patterns can all be achieved if you select the right timber tile.

In the bathroom

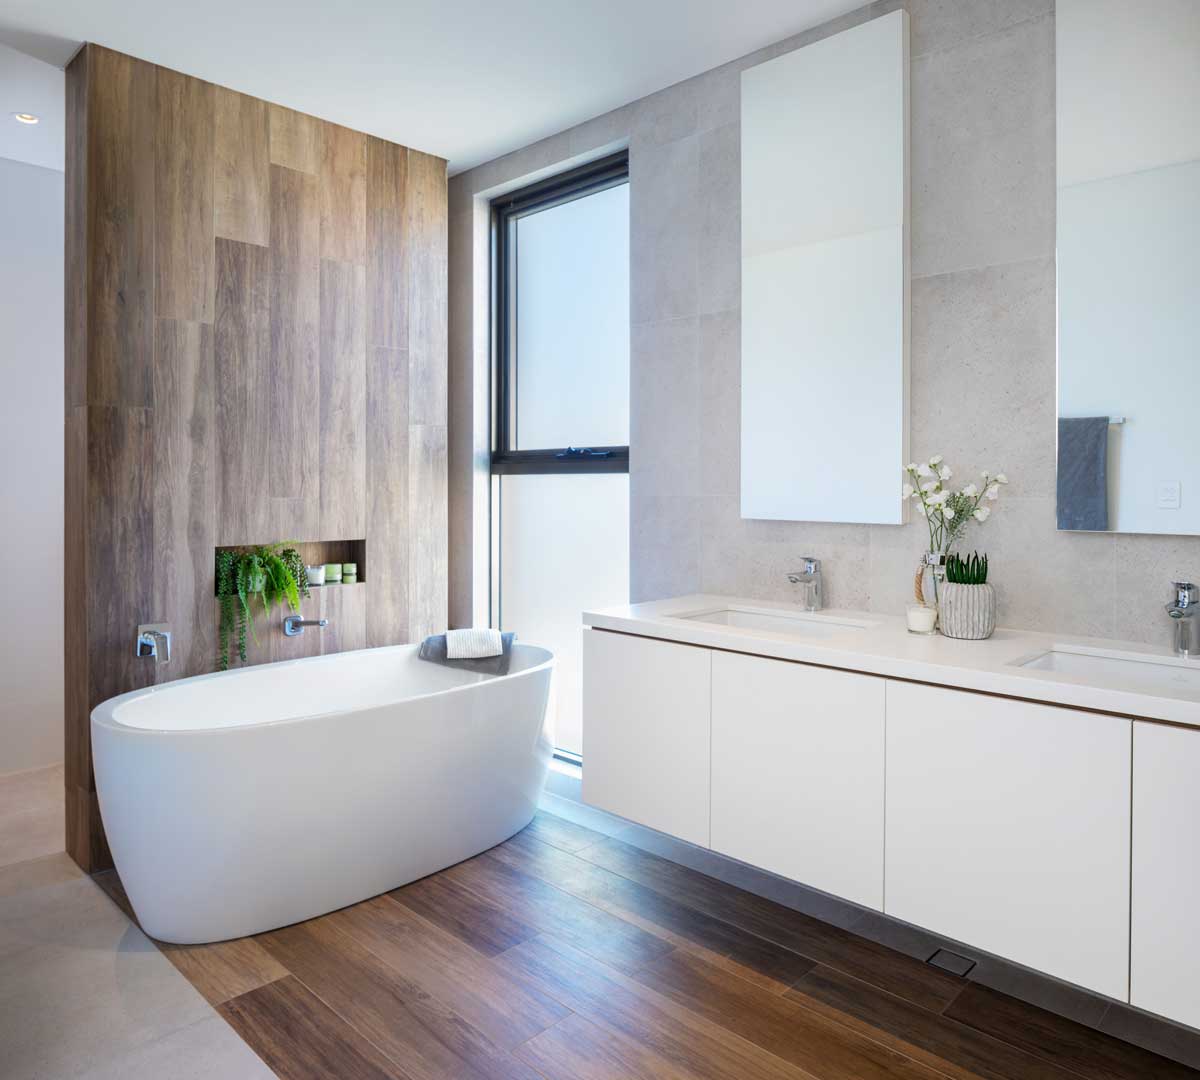
If you’ve ever noticed bathrooms with wooden features before, you’ll be pleased to hear it’s tiles. So, if you’ve ever wanted to add a splash of timber on the wall or floor – now you can!

Love the industrial look? You can achieve this at home combining aged timber look tiles dark hardware, white subway tile accents and honed concrete flooring.

Enhance with wall accents

Timber look tiled accent walls are great for the bathroom and kitchen, but they can also make a statement in the bedroom and living room – especially if you have a fireplace. 

Outdoor living areas

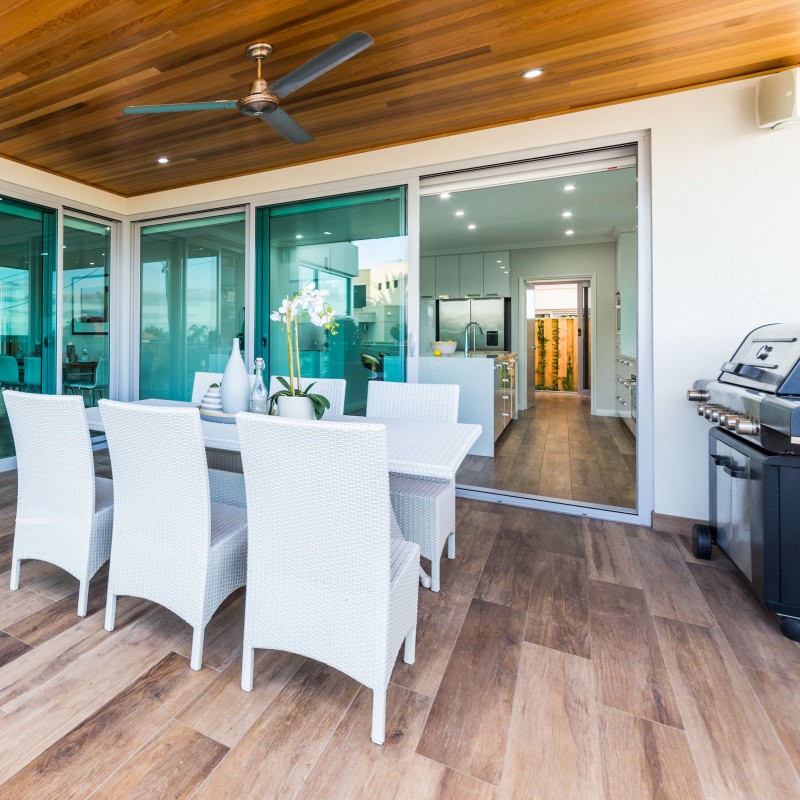
We love to spend a lot of time outdoors, and while wooden decking looks amazing, the upkeep and cost is insane. A good alternative to this, is of course outdoor wood look tiles. You can still achieve the same natural look to your indoor-outdoor design, with the added benefit that it will stand up against the elements, without any regular maintenance or treatment required.

Around the pool

Did you know timber look tiles are also great for pool areas? A non-slip surface is crucial in wet areas like pools, and wooden tiles with non-slip textures are great for this. 

Wooden decking will only warp and rot over time when in constant contact with water, something you don’t have to worry about with timber tiles.

How to get the timber look for every room in your home 25
How to get the timber look for every room in your home 26

What tile grade are timber look tiles?

Tiles are graded based on their hardness and durability. The PEI (Porcelain Enamel Institute) ratings help determine where tiles should be installed. The PEI ratings are as follows:

  • PEI 1 & PEI 2 – light duty wear that is good for bathrooms and bedrooms.
  • PEI 3 – medium to heavy duty wear which will survive heavy traffic in dining rooms, living areas, kitchens, entrances, hallways in homes.
  • PEI 4 – heavy wear perfect for living areas in homes, public buildings and retail.
  • PEI 5 – heavy duty wear in heavy traffic commercial areas.

Our timber tiles are no less than PEI 3, which means you can use them anywhere in the home and not worry they will get damaged months after installation.

Perth’s timber look tile specialists

Be inspired by Ceramic Tile Supplies’ extensive range of quality timber look tiles. Browse our collection or visit our Myaree or Wangara showrooms to view the full range on display.

Some of Our Timber Look Tile Range

Why timber look tiles are better than timber flooring 27

Why timber look tiles are better than timber flooring

By Timber Look Tiles, DIY, Tile SelectionNo Comments

Timber or timber look tiles? Two popular choices that many of us grapple with when considering flooring for living areas in the home.

While you can’t go wrong with either, it all comes down to a few key things like personal preference, how much money you have to spend, how tough do your floors need to be to withstand the brunt of kids or pets (if that applies), and how much maintenance are you prepared to take on to keep your floors looking immaculate?

Timber look tiles have come a long way. With advancements in tile manufacturing, timber look tiles are fast becoming an eco-friendly and hardwearing flooring alternative. And the range and quality is insane, with a style to suit both traditional and contemporary designs.

With timber look tiles, you can easily be mistaken to think you’re standing on the real thing. Natural imperfections and details like veining, knots and shade, which you would normally see in timber, are now being cleverly disguised in timber look tiles.

So what makes timber look tiles the better flooring option? Let’s take a look at some practical benefits.

Timber look tiles are hard wearing

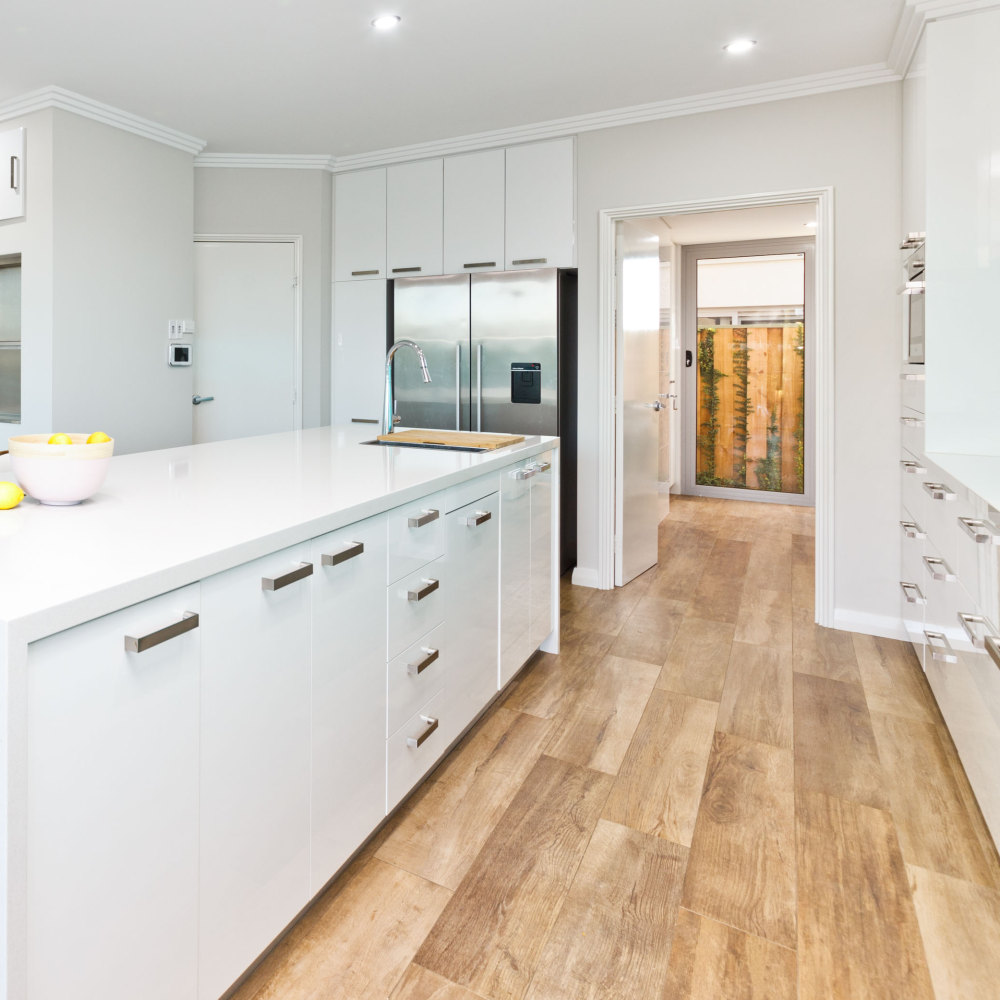
When it comes to bathroom flooring, you need an option that’s water-tight and slip-resistant. For kitchens, most of us look for something that’s easy to clean and can withstand spills and constant heavy traffic. Cue timber look tiles.

Unlike timber flooring, tiles won’t buckle or expand in wet areas. Extremely hard wearing, waterproof and heatproof, timber look tiles won’t scuff, fade and they are scratch resistant and heel proof. Basic spills and stains can also be easily wiped off without risking permanent damage to your floor. The effects of water over time can be damaging to wooden floors (even if sealed correctly), which is why it’s recommended you don’t use timber in high moisture areas like the bathroom.

All of this makes timber look tiles perfect for bathrooms, kitchens, alfresco areas and around pools.

Wood look tiles are affordable

When compared to authentic wooden floors, timber look tiles are cost effective and low maintenance. Timber is one of the more expensive flooring options when you add up the cost of the material, installation and upkeep. To maintain the look and finish of floorboards, ongoing maintenance is required. This includes sanding, resealing and polishing the floors to ensure its durability.

Timber look tiles are eco-friendly

Tread without guilt! Timber look porcelain tiles are a more sustainable option. It’s a welcome alternative to trees that have been cleared purely for the manufacture of wooden floors.

Tiles are a great insulator

Tiles can help to naturally heat up your home when the floors are exposed to sunlight during the day and act as a conductor at night. During summer they stay cooler underfoot, which is great for warmer climates like in Perth. Unlike wooden floors, timber look tiles can also withstand damage from heat around open and gas fires.

Allergy free flooring

Wood tiles are a safe option for anyone with asthma or allergies. The floor doesn’t trap dirt or dust mites like carpet can, and they are easy to clean. While wooden floors are great for this too, you do need to be careful with what kind of sealer, polish and lacquer you use to avoid breathing in any potentially toxic chemicals into your living space.


Perth’s tile specialists

Be inspired by Ceramic Tile Supplies’ extensive range of quality timber look tiles. Browse our collection or visit our Myaree or Wangara showrooms to view the full range on display.


7 ideas to feature subway tiles in your bathroom or kitchen 28

7 ideas to feature subway tiles in your bathroom or kitchen

By Subway Tiles, Bathroom Tiles, DIY, Kitchen Tiles, Tile SelectionNo Comments

Versatile. Durable. Affordable. Aesthetically pleasing. What’s not to love about subway tiles?

By tradition, these rectangular tiles are usually twice as long as they are tall. But despite their simple structure, subway tiles lend themselves to many different design possibilities.

It’s the one tile that never grows out of style, so if you’re looking for a failsafe solution to your bathroom or kitchen, here are 7 ways you can incorporate subway style tiles.

Classic subway

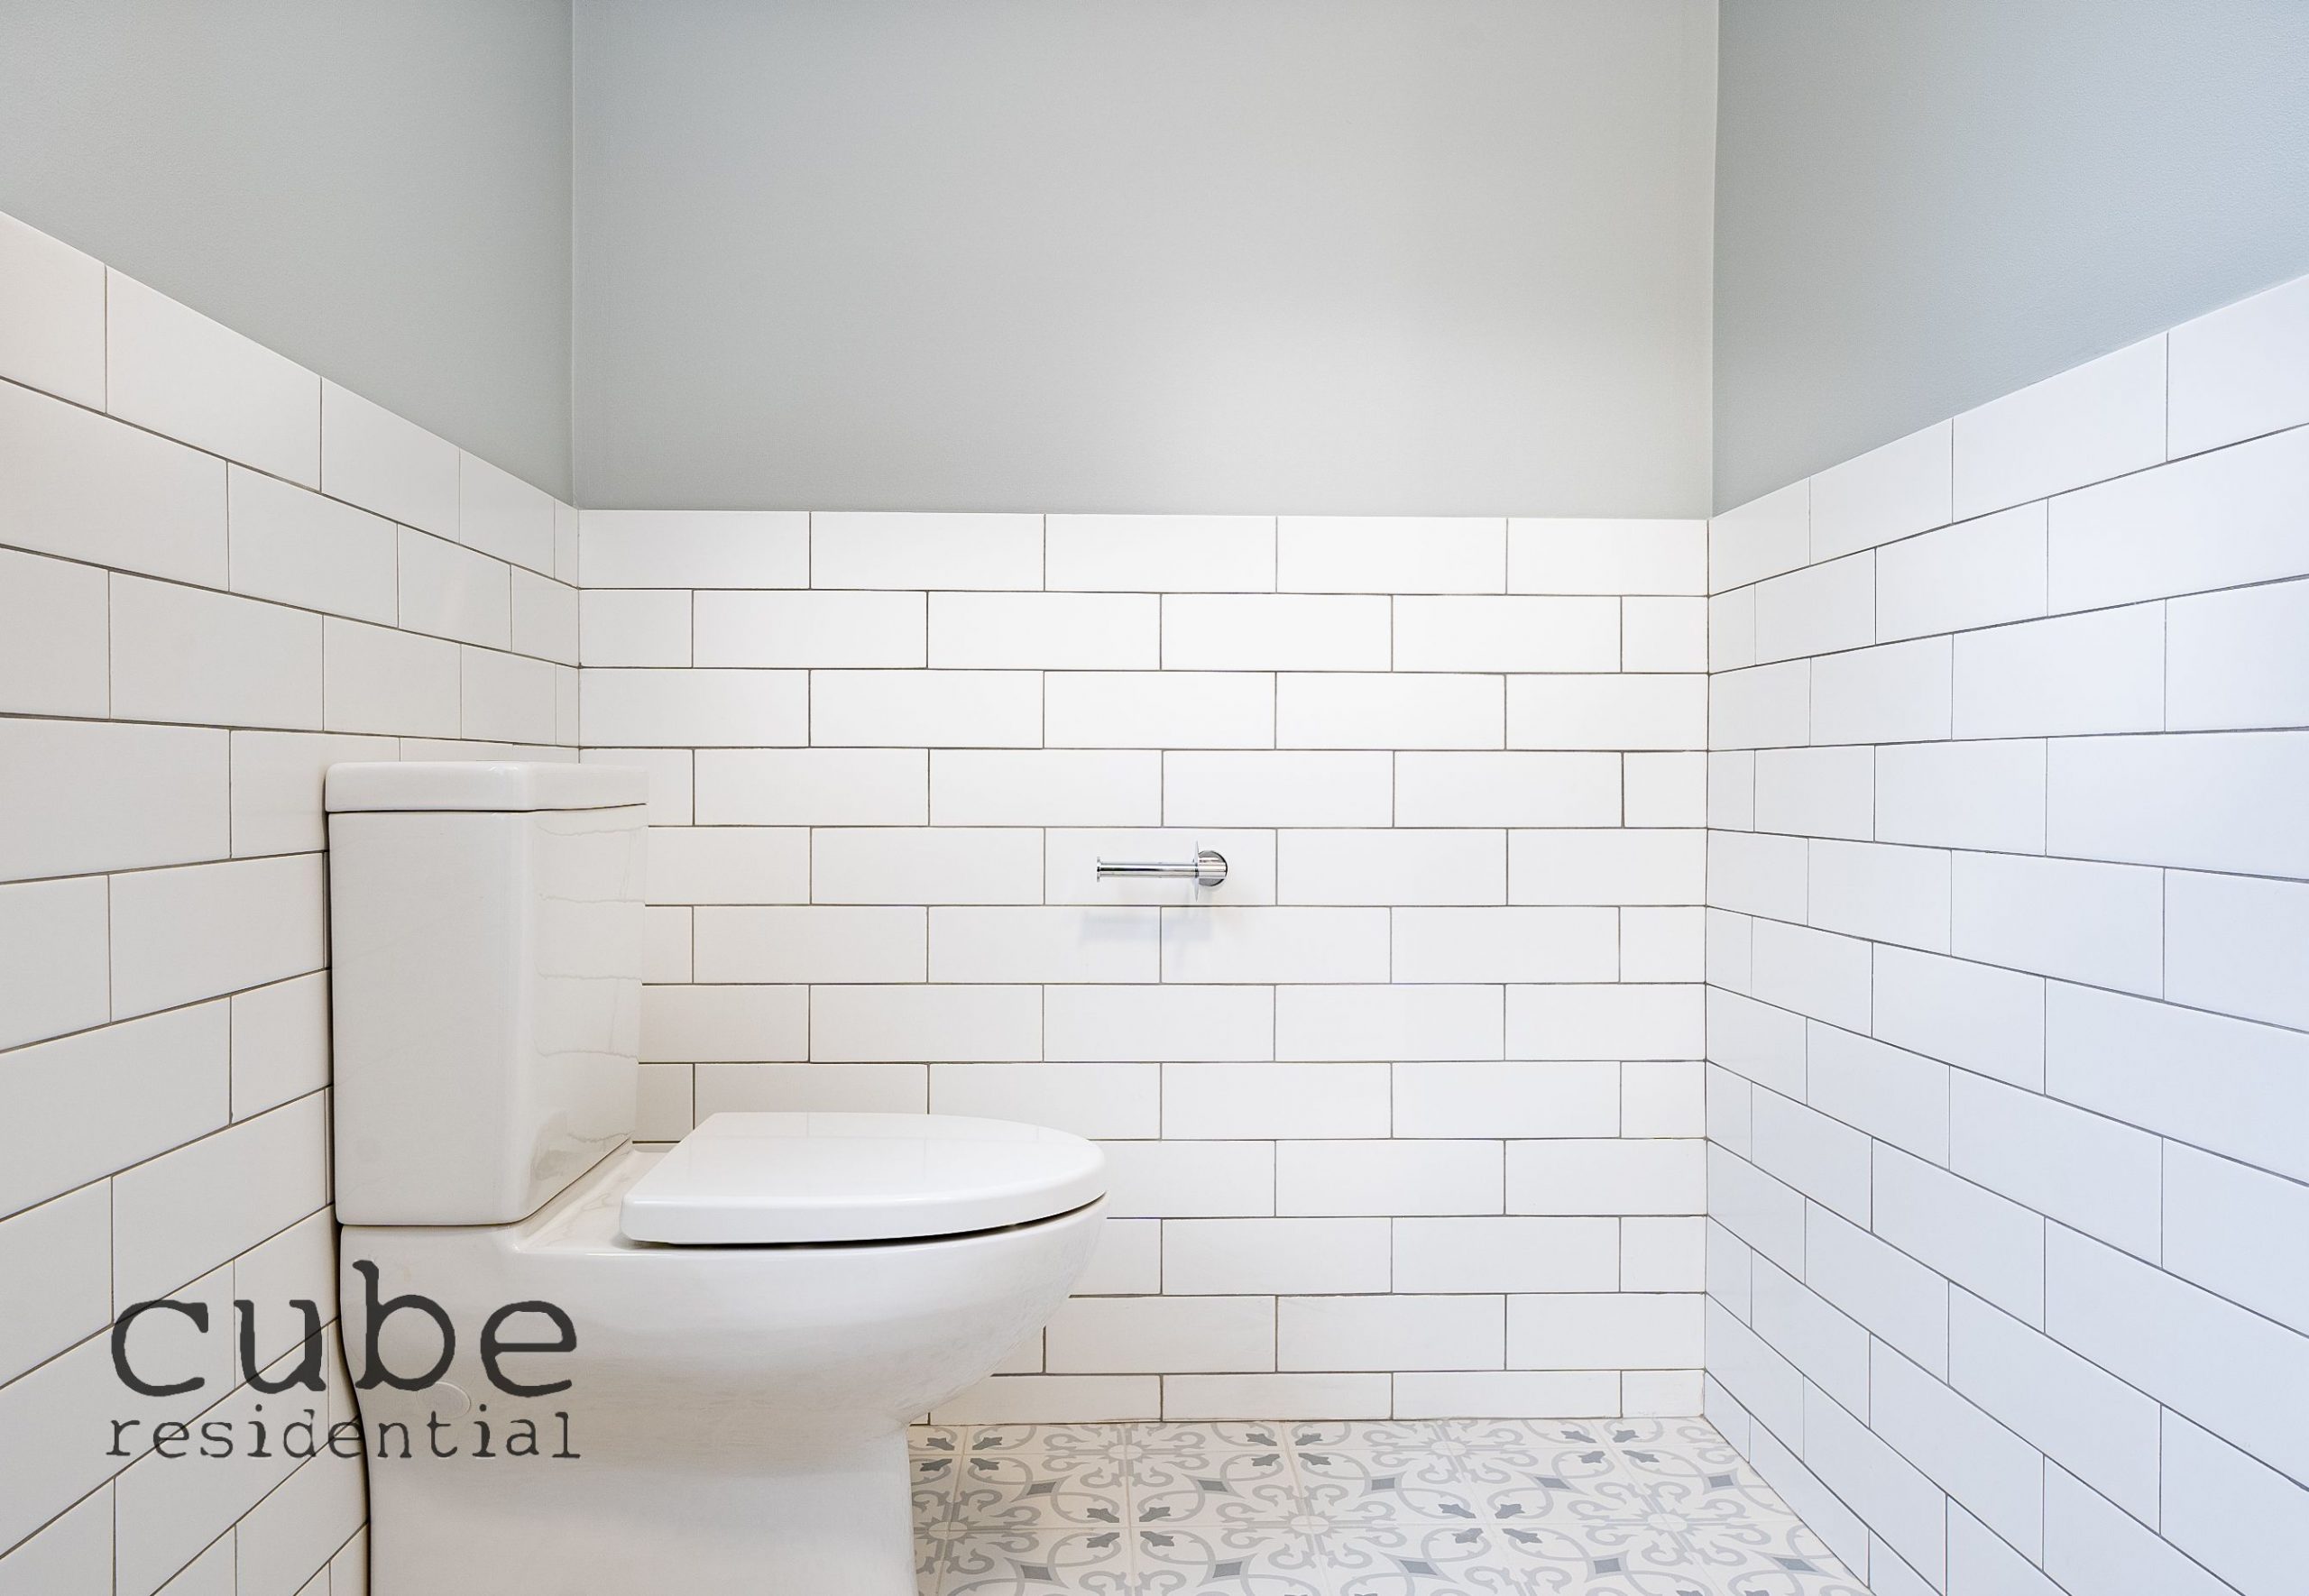
Since its early 1900s debut in New York subway stations, the timeless subway tile continues to be a popular tile choice in kitchens and bathrooms. The classic look takes its cue from conventional brickwork using a white repeating bond pattern – often referred to as running bond or offset brick. This white tile, white grout layout creates a seamless effect and is the most common subway tile pattern you’ll come across.

Stack them up

Different lays can add interest to a classic white subway tile. Large subway tiles stacked horizontally bring out a clean and contemporary look to your bathroom or kitchen design. Or, flip them over and install them vertically to evoke height and create an illusion of taller walls and higher ceilings.

Herringbone at 90 degrees

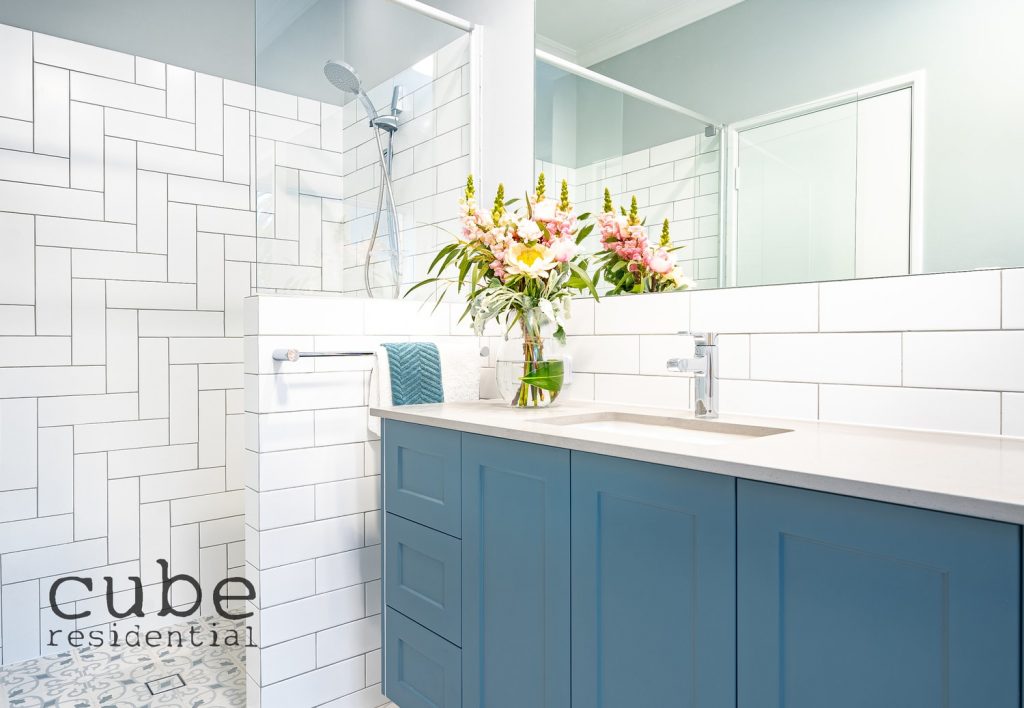
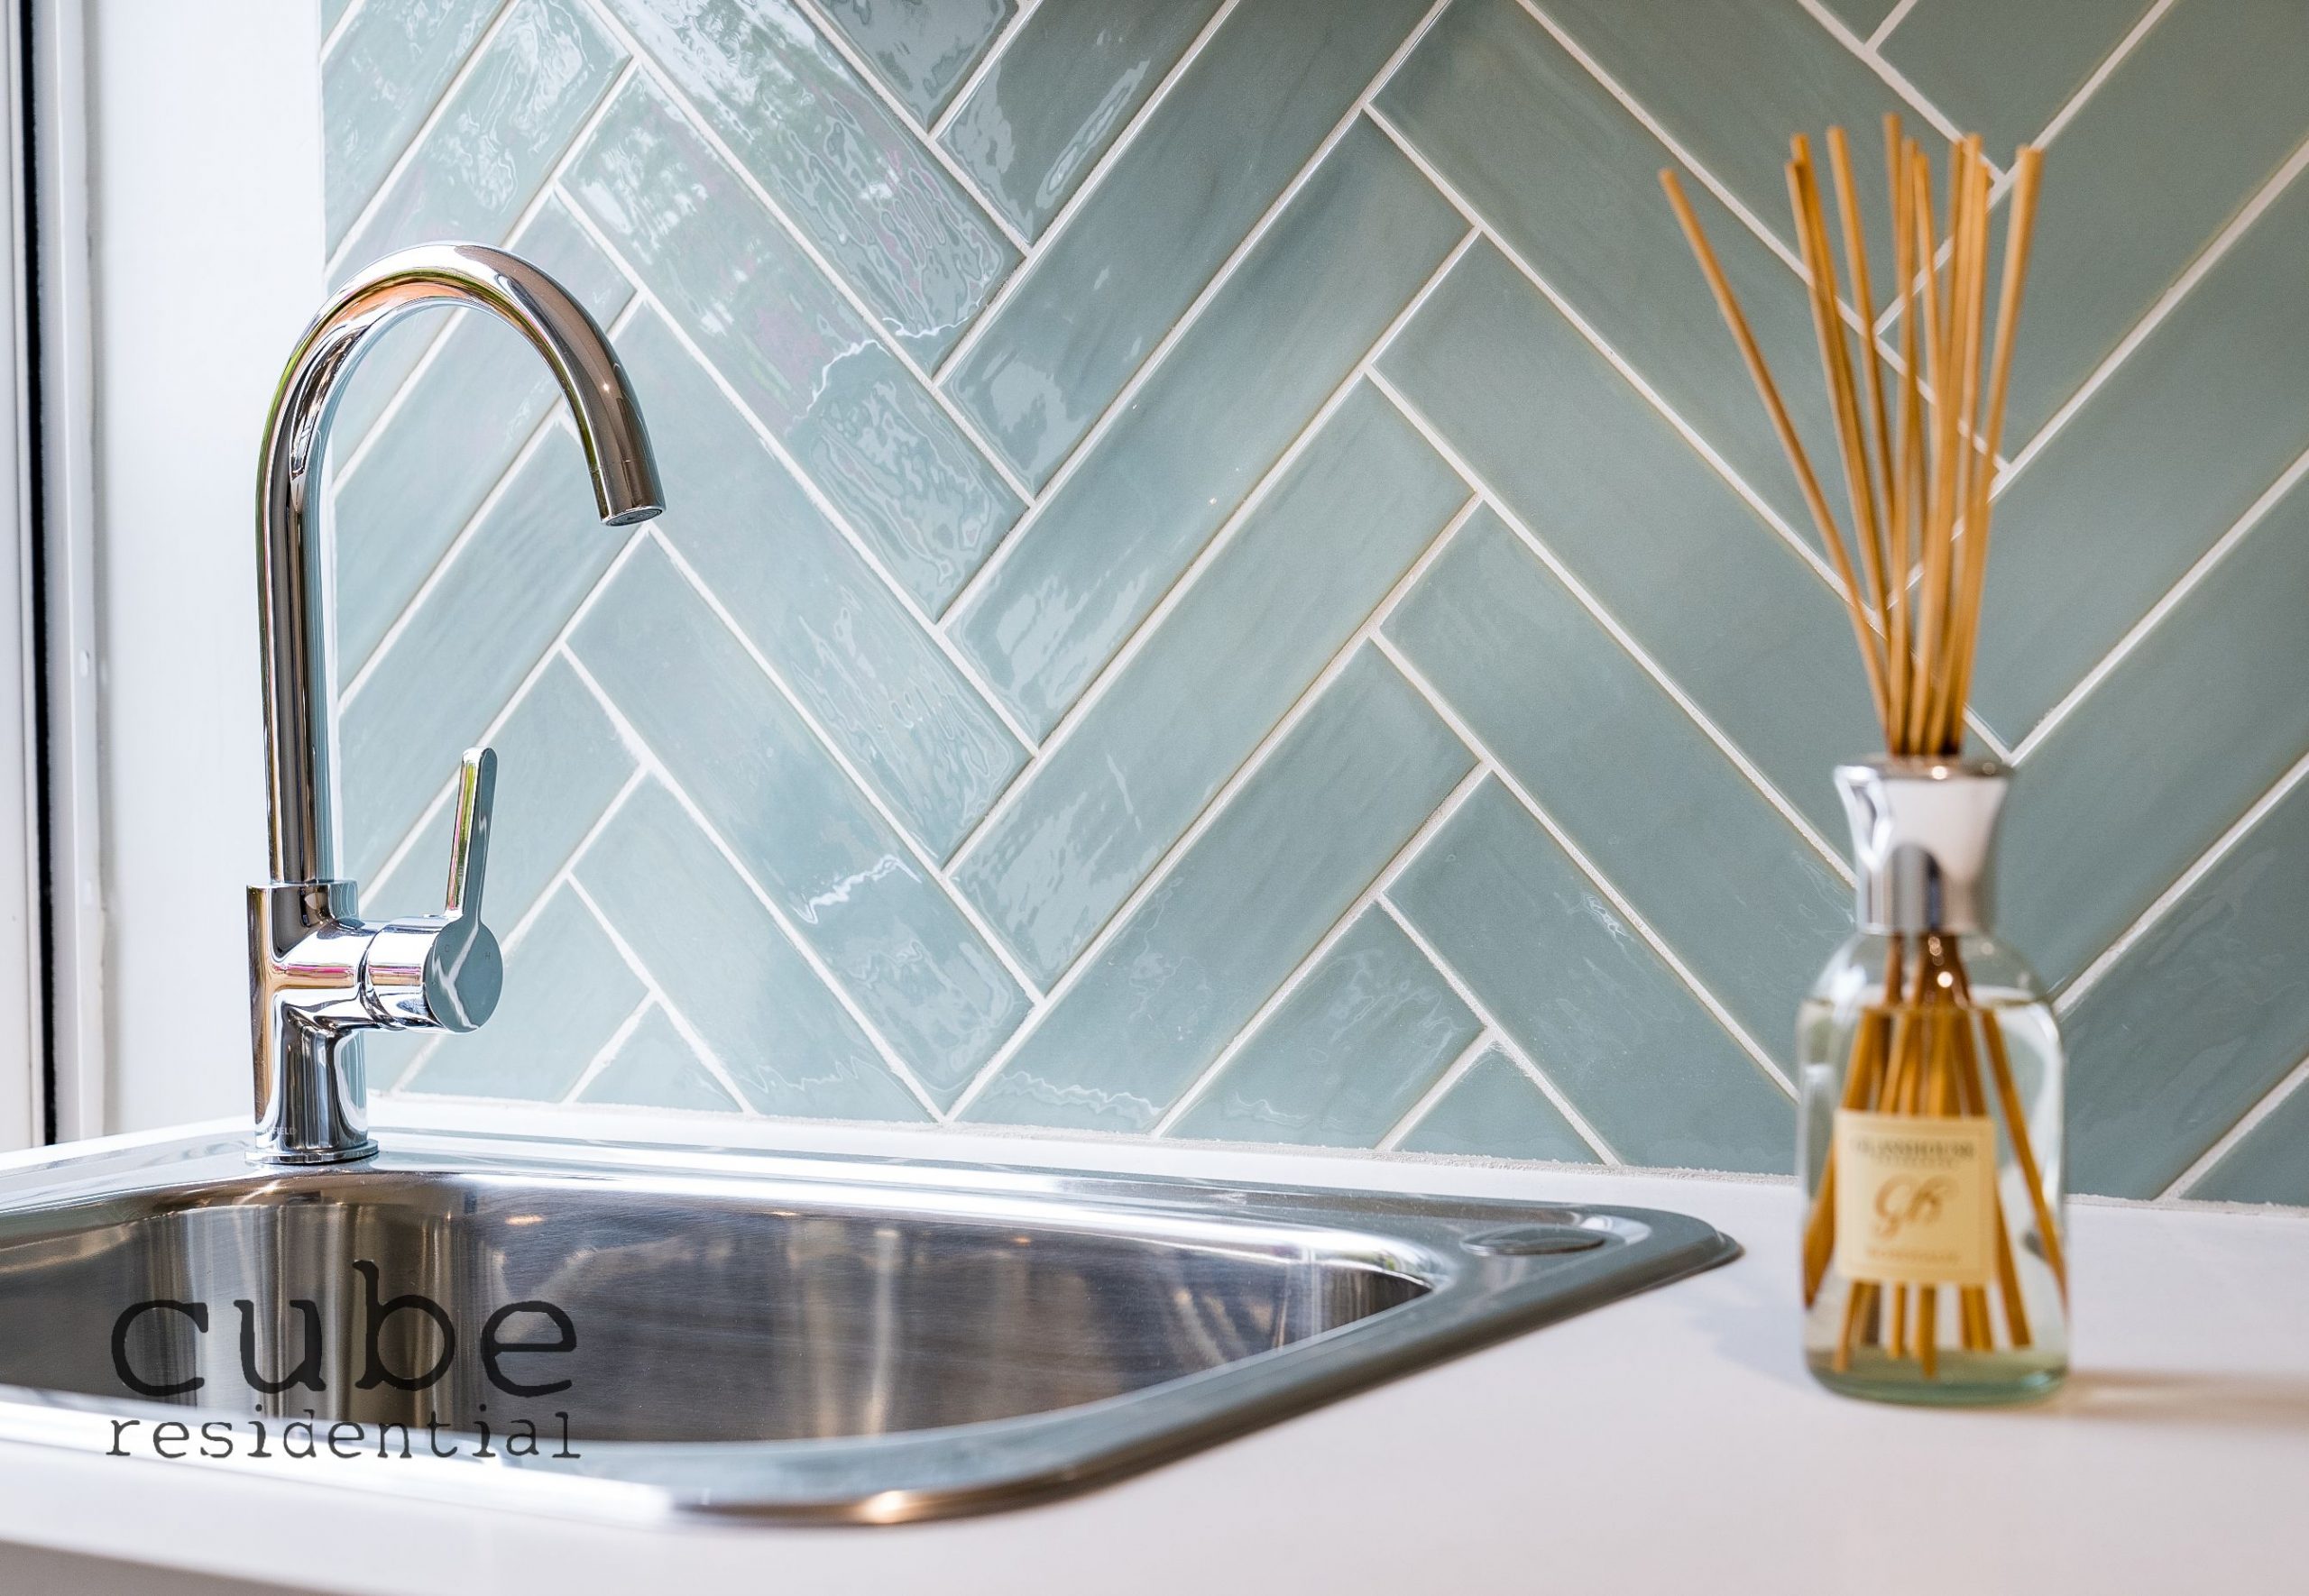
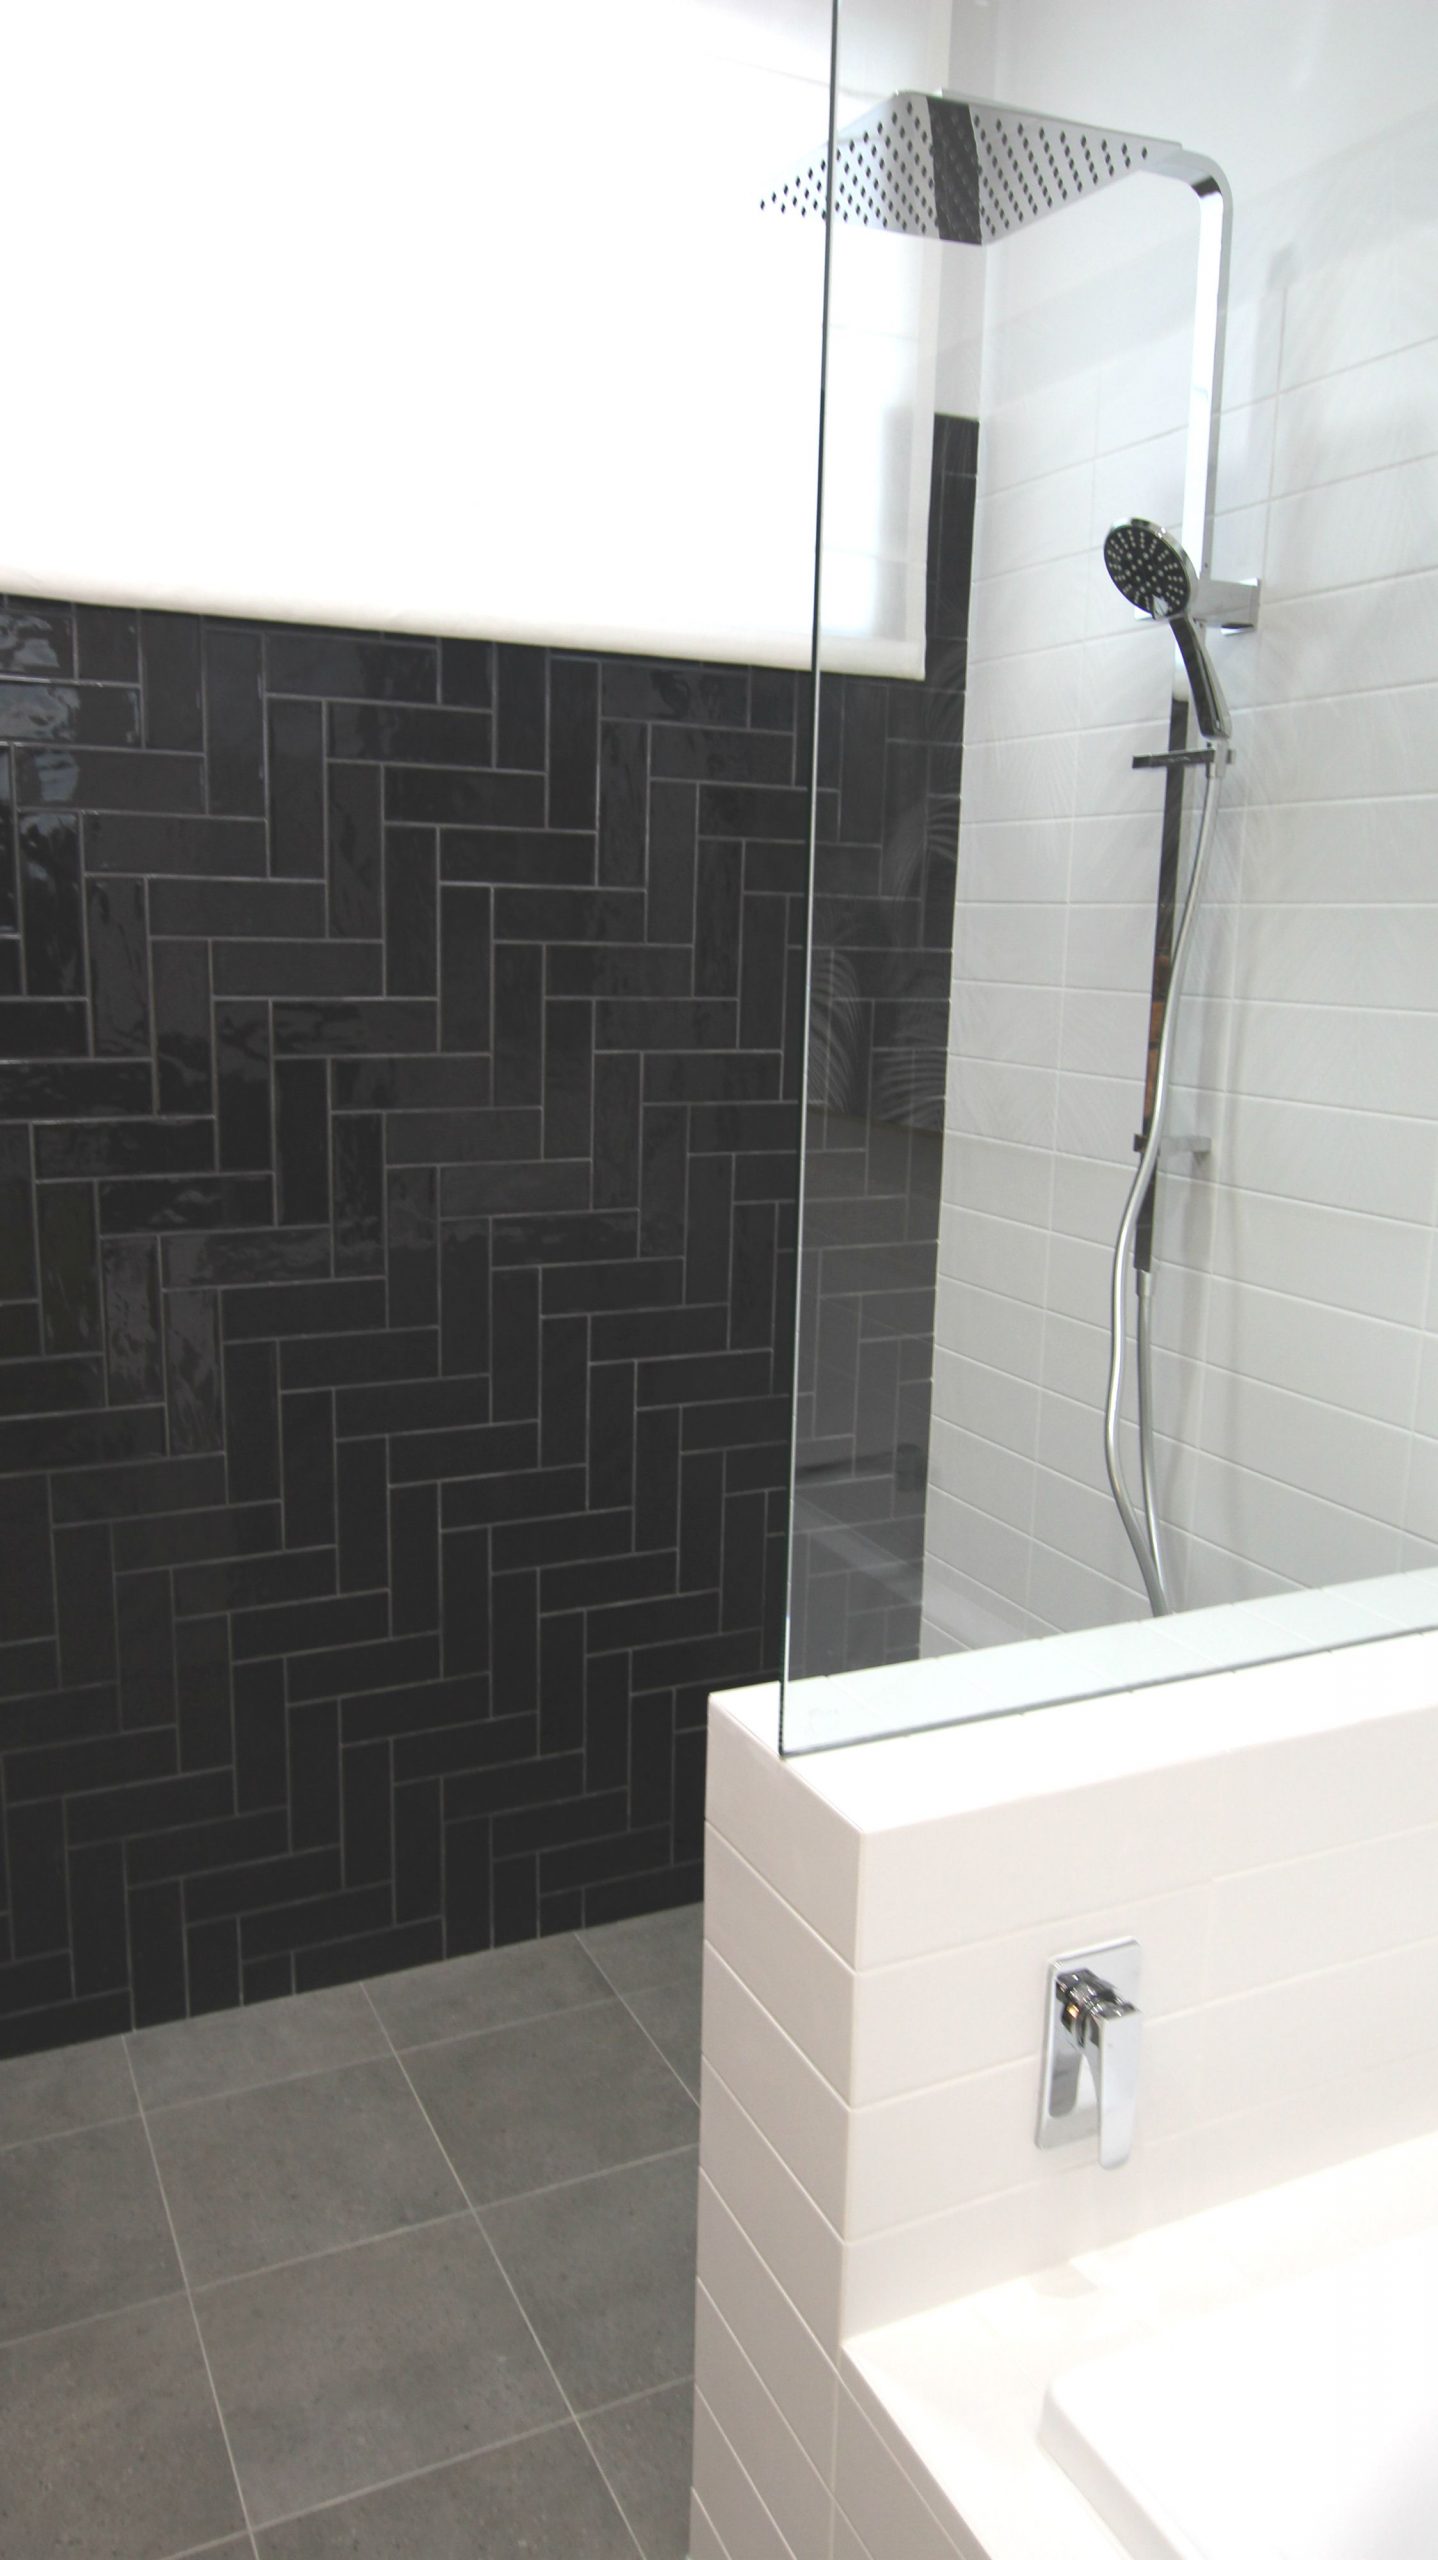
Named for its similarity to fish scales, this arrangement of rectangles in an L-shaped pattern creates a sense of movement and visual interest by drawing the eye up. In this layout, tiles are arranged so that the end of one vertical tile meets the side of a horizontal tile at a 90 degree angle. It works well for taller spaces like a shower.

If you want to take your herringbone design to the next level, bevelled edged subway tiles will add even more dimension to your space. Many interior designers love this modern look to the classic flat subway tile.

Herringbone at 45 degrees

Another impressive herringbone design is to rotate your subway tiles at 45 degrees. This pattern looks great on floors or walls. It works well for smaller spaces because it keeps your eyes moving around the room making it appear larger than it is. If you want to draw attention to a specific area, then herringbone is the way to go.

Basket weave

Interchanging pairs of horizontally and vertically laid subway tiles creates a grid-like pattern that resembles – you guessed it a woven basket. For the real wow factor, go for a contrasting tile and grout. This will give your weave design a more distinct effect. If you want to be original, a double basket weave pattern will produce an even more modern look.

Mix up the grout

Who said your grout has to be white? One of the easiest ways to modernise your space is to apply a different coloured grout (and it makes for easier cleaning too). Popular choices include black and dark or light grey. Dark grout will make white subway tiles pop out, as will the opposite of black tiles and white grout. If you want to create a more edgy and industrial feel, than a contrasting grout is what you should be aiming for.

Experiment with colour and texture

The original subway tiles were always white, but nowadays subway tiles come in a wide variety of colours, sizes and textures. Make the look of your space your own by experimenting with different shades and surfaces to achieve a trendy yet timeless design. One way you can do this is with colour blocking, which is a great way to break up white tiles.

We’ve all heard how mirrors can help elongate a space and make it look bigger, and you can also achieve the same effect with mirrored subway tiles.


Perth’s tile specialists

Be inspired by Ceramic Tile Supplies’ wide range of premium subway style tiles. Browse our selection of classic and modern designs, or visit our Myaree or Wangara showrooms to view the full range on display.

Benefits, Options, and Maintenance of Swimming Pool Tiles 29

Benefits, Options, and Maintenance of Swimming Pool Tiles

By DIY, Swimming Pool Tiles, Tile Maintenance, Tile SelectionNo Comments

When it comes to swimming pool features, there are many different options for style and functionality. Entrances, handrails, water features, square vs oval vs infinity pools – these are all options that you will have to decide when you are building your below-ground oasis.

One of the most important decisions, however, is an underappreciated material: swimming pool tiles.

Benefits of Tiles

Tiles offer more benefits than just looking good although they do that, too. Check out what opportunities become available when you focus on the pool tile as an all-important detail.

Underwater Style

Tiles create a beautiful and shimmering look in the water. The water and the tiles work together to make an aesthetically pleasing style that you will enjoy for years to come.

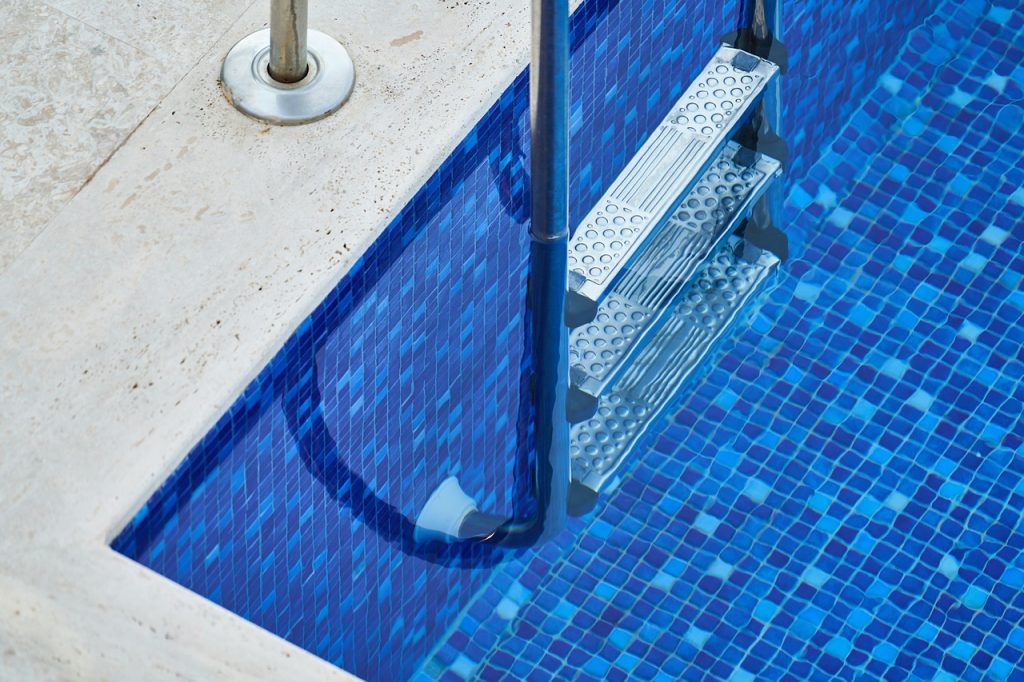
Tiles come in a range of options, so you may customise the tiles based on what you want. The Brilliante 245 Plus in our selection is great for a naturally patterned look. Other options like the Daintree Mix PLUS is great for a Caribbean aesthetic while the Black Step Tread works well for a darker, sophisticated style.

Safety

Some tiles can be a great feature to enhance the safety of the pool, especially on the stairs and the deck area. Our Step Tread series, for instance, features subtle ridges that allow swimmers to find firm footing on the hosing of stairs. This tread is available in black, grey, and granite.

Longevity

Besides style, tiles are very reliable as well. Tiles designed for pools are long-lasting, especially when they receive the proper care and maintenance.

Not only do the tiles themselves last, but it helps your whole pool obtain greater longevity. As long as you keep up with cleaning and treating your tiles, they will hold up for many summer pool parties to come.

Mostly you will only have to worry about occasionally resealing your pool tile. Otherwise, there is very little upkeep needed.

The Finishing Touch

You can use tiles to finish your deck as well. You can line the edges or create intricate designs in or around the pool itself.

Our Mass Mosaics and Ocean Mix PLUS series are popular choices for finishes. Using these, you can design elaborate fish, flowers, or any finishing look you desire.

Tile Options

When you’re choosing a tile, you want to research your options. Consider the placement, how much wear-and-tear they might endure, and the environment as well.

For example, our Trend Plus Surf 8051 tiles add a brilliant pop of blue. These are great for a cheery, bright scheme. Those looking for a more relaxed, monotone style might prefer the Cloud Mix PLUS.

Overall, your tile options will vary in style and colour, but you will also want to make sure that the tile you’re using will be comfortable and functional.

Tile Maintenance

Over time, roots grow, minor cracks spread, and walls shift in pools. To keep up with this, you’ll need to be consistent about tile maintenance and replacement.

Make sure that you lower your water level before starting. Then, remove the damaged tiles with a hammer. After that, you can replace and re-set a new tile into the missing spot. Allow it to dry for 24 hours before raising the water again.

If you keep up with this maintenance, you’ll have a perfect pool for years to come.

Ready to Put Some Tile into Your Style?

For pools in need of a serious makeover, or for pools that are just being built, pool tiles are a great way to enhance the luxury of having a pool. Consider the colour and style that you want and then continue to keep up with the repairs on damaged tiles. Soon, you will be ready to invite your whole neighbourhood to your next pool party.


If you’re in the market for stylish new pool tiles, visit one of our showrooms today for some expert advice!


Choosing the Right Colour for Your Swimming Pool Tiles 30

Choosing the Right Colour for Your Swimming Pool Tiles

By Swimming Pool Tiles, DIY, Tile SelectionNo Comments

Are you currently in the process of designing your dream swimming pool? An important consideration is what colour swimming pool tiles are right for your new freshwater paradise.

While it may seem as simple as looking at various swatches and choosing the hue that you like best, the fact of the matter is that the colour you choose will look quite different once the tiles have been covered with water, and your swimming pool is complete.

Here at Ceramic Tile Supplies, we specialise in swimming pool tiles in Perth. Below is a look at the top five best-selling colour options, along with a breakdown of what to expect after they have been placed inside your brand new pool. Learn more about these 5 popular choices today before you install.

Arctic Blue Nova Matte

This gorgeous green-blue shade contributes a cool tone to the water and promises a clear, sparkling blue effect in the sunlight. The stylish matte finish adds interest to the pool and draws more attention to the glistening lure of the water.

Choosing the Right Colour for Your Swimming Pool Tiles 31

Mass Mosaics Bali Light Blue

Basic blue swimming pool tiles are undoubtedly the most popular colour choice in Perth. They are classics for a reason! These beautiful blue mosaics reflect light, which will make a smaller swimming pool appear much larger and more welcoming. The result is an iridescent, crisp blue shade and a glossy finish.

Choosing the Right Colour for Your Swimming Pool Tiles 32

Midnight Mix PLUS

There is something intensely luxurious about a swimming pool with black tiles. They are slightly less common than green and blue coloured tiles, and as such, promise to turn your pool into an instant talking point. They offer the further advantage of much warmer water due to the fact that the dark colour absorbs and holds onto heat from the sun. This means that you are more likely to be able to use your pool comfortably in early spring and early autumn, not just in summer!

Choosing the Right Colour for Your Swimming Pool Tiles 33

Cloud Mix PLUS

The white-grey contrast offered by these swimming pool tiles is sure to help brighten up your pool and give off a welcoming atmosphere. The tiles will naturally reflect sunlight, which means that your water will remain cool and refreshing during those hot, balmy summer days that Perth is known for.

Choosing the Right Colour for Your Swimming Pool Tiles 34

Azzuro Mediterraneo PLUS

These stunning swimming pool tiles promise a stylish green shimmer. They literally glisten and gleam in the sunlight throughout the year. They are the perfect choice for anyone that is keen to add some mermaid-esque flair to the bottom of their pool and steer clear of the more predictable designs. The Italian glass mosaic is mounted on the TREND PLUS backing system. This is a huge advantage because it streamlines installation – you don’t need to worry about any paper, film or mesh mounting.

Have Any of These Tiles Caught Your Eye?

Are you still interested in more gorgeous options that we have on offer? For our full range, view our website or check out one of our showrooms!

How To Create A Timeless Bathroom 35

How To Create A Timeless Bathroom

By Bathroom Tiles, DIY, General, Tile SelectionNo Comments

Without a doubt, one of the most functional rooms in the house is the bathroom. It’s always in use and frequently exposed to water, chemicals, heat, and humidity. This means your bathroom can suffer more wear and tear than any other room in your home.

This private space always seems to be one of the first rooms up for consideration for a makeover. It’s often re-modeled because of its importance in the home and since it’s used by every member of the family. If you’re looking to redecorate your bathroom and create a timeless space, you need to select a design that won’t go out of style anytime soon. You also want to give off a pleasant, fresh look.

Keeping an eye on the current trends is always something we enjoy to do. It’s easy to get carried away when decorating your home with recent interior design updates, but when it comes to the bathroom, creating a timeless classic will add style and longevity.

Here’s how you can do it.

Choose Terrific Tiles

Bathroom tiles in Perth are now trendier than ever. Ceramic tiles help create a unique elegance all the way from its size, shape, and colour. With such a large spectrum of tile designs available, homeowners will have no trouble finding a style that suits their liking. We always suggest shapes like hexagons and rectangle variations as they add intrigue to any bathroom.

Moreover, when compared to other tile materials, ceramic presents an affordable option without disrupting your style. These tiles are very durable which will keep your space current and increase the value of your home. Specialist bathroom tile companies in Perth, like Ceramic Tile Supplies, will help you achieve a timeless and organic feel within your home.

Keep Colours Plain and Traditional

Shades of white, cream, and grey go a long way. They give you more room to play with the colour of bathroom accessories. Decorating using a neutral tone will not only provide you with a more classical look, but these colours never go out of style and go well with just about any other colour!

How To Create A Timeless Bathroom 36

Diamond Rhombus shape mosaic tile looks great with various shades of grout

If you are decorating your walls, our Albastro Grey Mosaic tile will beautifully compliment the main accessories of your bathroom.

Pick the Right Stone

The most popular and classical materials include stone, marble, and ceramics. These stones offer luxury and quality when used appropriately. One of our personal favorites is the ceramic stone as it is very hard wearing and easy to clean. Not to mention they offer infinite design opportunities.

A popular design in Perth is the Peronda Ground Silver. It’s safest for wet floors with its anti-slip texture. It creates a cool atmosphere in the bathroom and compliments other accessories.

Add Lighting

Lighting is always a matter of individual choice and style. This depends on your overall bathroom style and furnishing, but if you’re still looking for timelessness, adding extra lighting is a great idea.

After natural light, there is a wall and ceiling lighting. Wall fixed sconces and crisp white shades are delightful when contrasted with bathroom tiles. For the ceiling, a chandelier adds beautiful light and sparkles the room.

How To Create A Timeless Bathroom 37

Use a Classic Tub

The bathtub doesn’t need to be as flamboyant as you may think. The freestanding tub may be the most classic bathroom element that never goes out of style. Classical shapes are called so for a reason. They are much more practical and tend to match with more in the bathroom.

Final Thoughts

Regardless of taste, it’s important to think about the future of your bathroom. Will it look as fresh in five, ten or even twenty years? Homeowners don’t want to keep tweaking, especially with bathroom tiles. If you begin the design process with a clear head, your bathroom will remain timeless.

Need help choosing the right tiles for your bathroom? Stop by one of our showrooms today!