AIzaSyCx0PM-3N_RmbMTt2SRm-GX9AD-tAsfpC8 Skip to main content
All Posts By

admin

Finding the Right Swimming Pool Tile for Your Pool 1

Finding the Right Swimming Pool Tile for Your Pool

By Swimming Pool Tiles, DIY, Tile SelectionNo Comments

Your choice of swimming pool tiles is an essential finishing touch required to make your pool unique and beautiful. They improve not only the aesthetics but also the functional element of your facility.

Just like the tiles used on your walls, floors, and splashbacks, there is virtually an infinite number of types, styles, shapes, and colours of tiles for your swimming pool.

If you’re planning to construct or upgrade your pool, visit us at Ceramic Tile Supplies to choose from our vast array of styles and products. Our showroom will inspire you with pool design possibilities!

Here are some of the tile choices available to give your pool a beautiful finish:

Different Types of Tiles

There are generally four types of tile to choose from: mosaic tile, porcelain tile, glass pool, and stone tile.

You need to select the right type of tile for your amenity, because factors like heavily treated water can penetrate and affect some sorts of tile. The tile you choose should, therefore, be specifically designed for use in a pool. It should be vitreous or impervious – this ensures the tile doesn’t absorb much water.

At Ceramic Tile Supplies, we stock plenty of styles that can be used underwater. Check out our range here, or read on to learn about different types!

Mosaic Swimming Pool Tiles

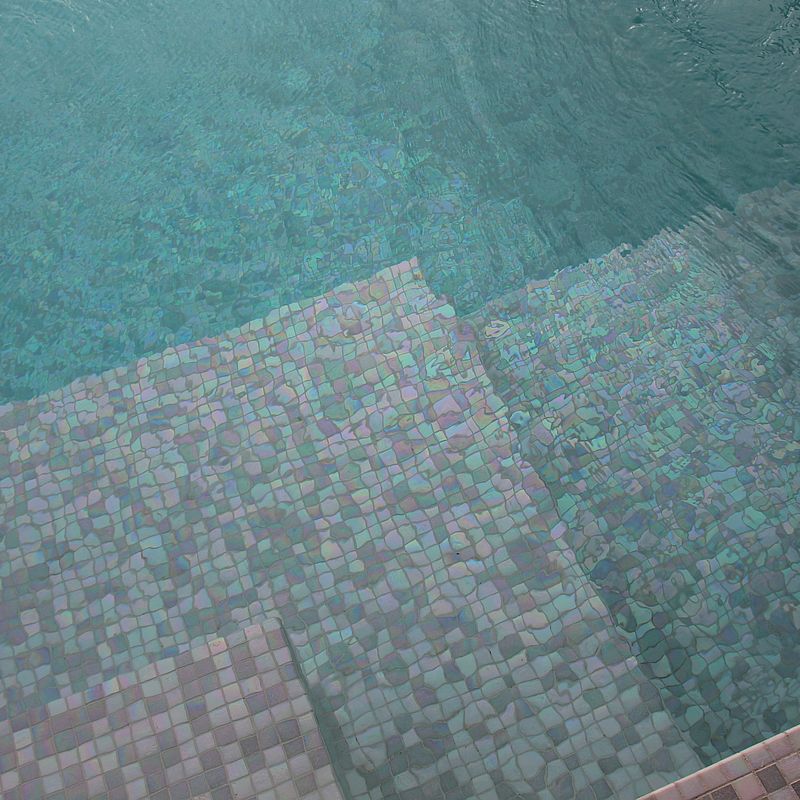
If you are looking for a tile that will add colour and vibrancy to your swimming pool, then a mosaic tile is what you need. This type comes in a wide range of designs, colours, and sizes. The tiles can be made of glass or ceramics and are easy to install.

Mosaics can be used either on the bottom of the pool, the sides, or both, depending on how eye-catching you want it to look! When used at the bottom, they require maintenance and a good cleaning to eliminate the build-up of pool chemicals, mould, and algae.

Finding the Right Swimming Pool Tile for Your Pool 2

Porcelain Tiles

Porcelain tiles are a highly popular choice because they require only basic cleaning and installation. The process of making them begins with heating clay at very high temperatures until it becomes waterproof. The heating process causes the tiles to harden and allows the colour to bake in; thus, the colour and design doesn’t fade even when exposed to extreme temperatures, like those of the Australian summer!


These tiles also have a vitreous lustre, are soft to touch, and easy to install. Porcelain tiles are available in different textures, colours, and patterns. They would be a perfect choice for your facility. The only downside is that they can break easily when put under much pressure, so be careful when handling.

Finding the Right Swimming Pool Tile for Your Pool 3

Glass Tiles

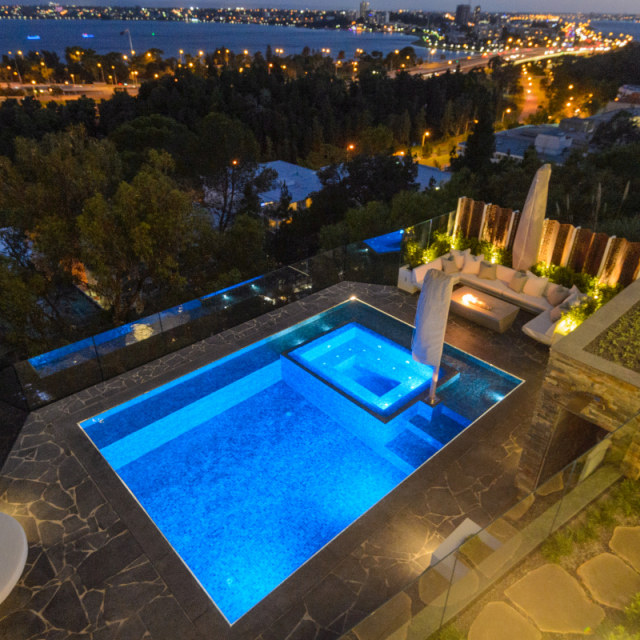
For use in a swimming pool, glass is a spectacular material. It gives your facility a miraculous feel, especially when the pool is lighted at night.


Glass won’t be affected by sunlight, water, or pool chemicals. Glass tiles make the pool look larger, because it reflects light. The downside is that they can be pricier than other materials, and can be more difficult to install because of its delicate nature.

Finding the Right Swimming Pool Tile for Your Pool 4


Stone Tiles

Using stone tiles gives your pool a natural element, making it look like a pond or lake. Different types of stones can be used, including limestone, sandstone, and granite. Most stones are porous, and a sealant should be applied every few years. Installation can take a while, and should be performed by a professional.

Finding the Right Swimming Pool Tile for Your Pool 5


We hope you’ve gained some inspiration for decorating your pool. Want some personalised help? Come to one of our showrooms and chat to an expert today!

glazed ceramic tiles

DIY Guide to Wall Tiling

By General, DIY, Tile InstallationNo Comments

Everyone enjoys a good DIY project in their home. Painting, crafts, and other small projects are immensely popular choices. What about something a bit larger, though?

Tiling your wall is a wonderful way to add a new flair to your living or business space. You can do intermittent tiling or go for a retro subway tiles look. Either way, there are a few steps to the process, and it requires quite a lot of patience. If you are hoping to undertake a tiling project and you are looking for tiles in Perth, our showrooms have exactly what you need!

How does one go about starting this sort of project? Here is a very brief guide to start your DIY journey with wall tiling!

Prepare the Surfaces & Yourself

The first step is to make sure the area you will be tiling is clean and clear of obstructions. If there is already wallpaper present on the wall, strip it down to the plaster. Fill any holes or cracks before tiling. Once the space is prepared, you need to be certain you are prepared too.

Here are a few supplies that you should have to keep yourself protected during your project. Your local Bunnings should have all of this.

  • Safety goggles
  • Dust mask
  • Gloves

You will also need to get materials and tools:

  • Tile adhesive
  • Grout
  • Measuring tape
  • Level
  • Trowel
  • Masking tape
  • Cloth

Depending on the style of tiling you are looking for, you may need other supplies. Consult with our tiling experts if you have any questions about specific tile types and installation.

Determine Your Design

Once you have your supplies and tiles, you want to determine your layout.

Beginning from the middle of the tiling space, establish the vertical rows first. Measure your tiles and use a pencil to mark where the tiles will be placed. Lay down a row of tiles with a bit of space between them (depending on how much space you want). Be sure to line up the bottom of the tiles to keep them even.

If you are looking to do a more abstract pattern, take the time to lay out the tiles to set up your pattern. It may also be helpful to number the tiles so you know how many you need.


DIY Guide to Wall Tiling 6

Fixing Tiles to the Wall

Before fixing tiles in place, be certain that the surfaces are even. If any tiles are uneven from their neighbours, you may need to get rid of it or use your various tools to adjust it. If the tiles are bevelled or rounded, you will not need a corner trim.

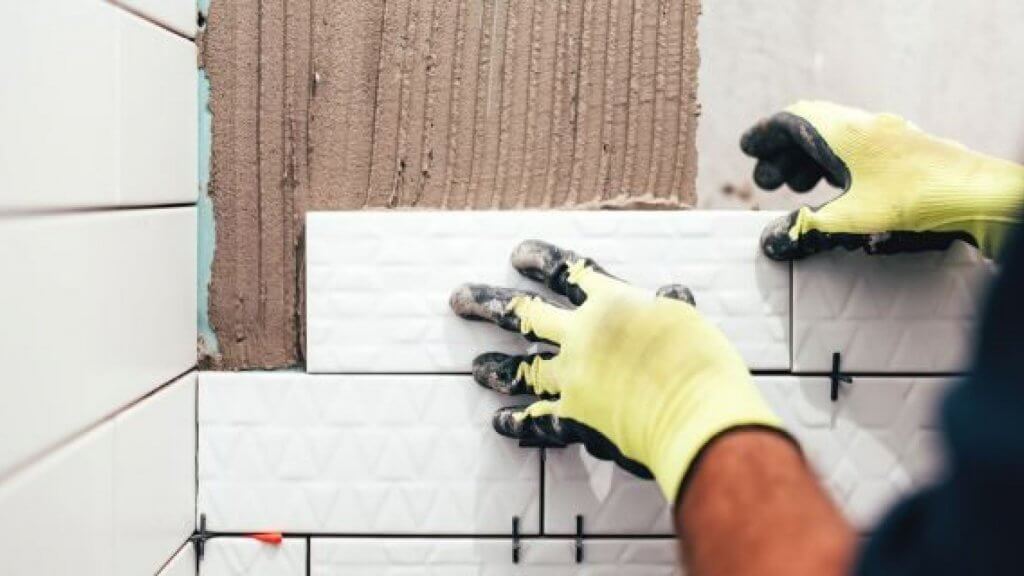
Begin from the centre once again and tile one side all the way over to the edge. Repeat the process for the other side. Use the trowel to place adhesive on the wall.

When spacing out your tiles, you’ll find battens help to determine a starting point. Use the battens to your advantage when attaching tiles, beginning in the corner and working outwards. Use tile spacers to secure space between the patterns and to make it easier to apply grout.

Be sure to remove extra adhesive with a damp sponge as you go. Once it dries, grout is almost impossible to clean.

Take Your Time

Tiling is a rewarding process. Once you finish, the results are beautiful and unique every time. However, taking your time is key to a secure tiled wall.

When approaching difficult spots, like corners or baseboards, use caution. It may even be necessary to search out expert opinions on these areas. There are lots of videos and helpful demonstrations for these situations. If you are uncertain, don’t power through it. Take the time to do it right, and you will enjoy the results even more.

Visit One of Our Showrooms

If you are considering this style for your wall and don’t know where to begin, visit one of our showrooms! Tiling is a great way to spice up any room, and we have plenty of options for you.


How To Use Large Format Tiles 7

How To Use Large Format Tiles

By General, Architects & BuildersNo Comments

Large format tiles are the ideal renovate solution for any room in your home. Whether you’re looking for flooring, walling, or even decoration, they can be a cost effective and easy-to-install way to get that updated, contemporary look you’ve been wanting.

Here at Ceramic Tile Supplies, we’re one of the premier experts of tiles in Perth. We have a wide range of tiles to suit any room or outdoor area. Keep reading to learn more about how large format tiles can make your space shine.

What Large Format Tiles Can Do

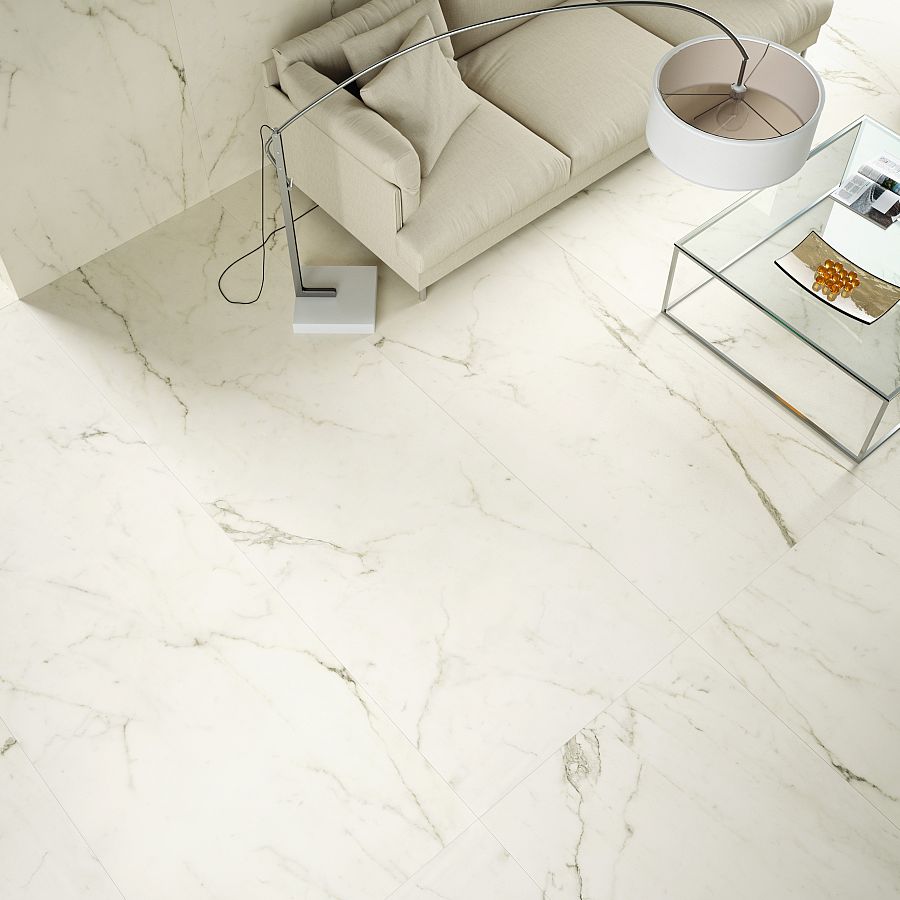
Imagine your bathroom decked out in this stunning Linea Deep Black tile. Its gorgeous, rich colour gracefully off set by minimal, thin white grout lines. Or, picture your kitchen tiled with our Coverlam Estatuario. Its classy marble-effect underscored by an almost identically pale grout colour can create a smooth, fluid space.

Large format tiles contribute to a contemporary, minimalist aesthetic in any room. Our tiles can help transform any room in your house into a space that feels brand new. These tiles are clean, with an unbroken style that makes a space seem more expansive.

By combining one of our stunning large format tile designs with a similar colour grout, you can achieve an even more spacious look. You can create a sleek design that flows to every corner. And, if you choose to use the same combination on your walls, you’ll instantly create a setting that is striking with a flowing, streamlined aesthetic.

Alternatively, you can also choose a contrasting grout colour, to emphasise the simple elegance of the tile itself and create a feature wall.


How To Use Large Format Tiles 8

Not Just Kitchens and Bathrooms

Being waterproof and easy to clean makes tiling an obvious, as well as stylish, choice for kitchens, bathrooms and walling, but they’re not limited to these areas. Our large format tiles combine stunning design with versatility, so they’re fitting for many different spaces.

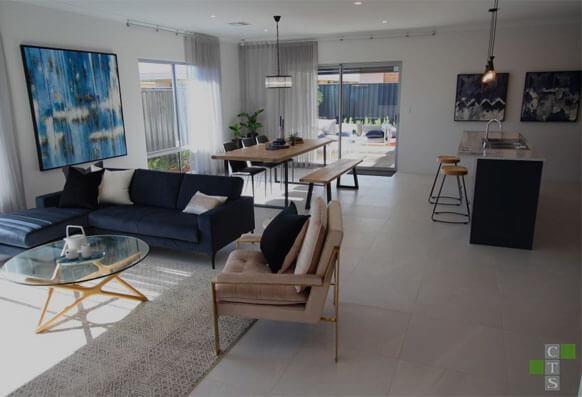
It might seem odd to consider tiling in your bedroom or lounge, but, unless you can’t live without the cosiness of carpet underfoot, having tile in your living areas doesn’t have to mean clinical coldness. Underfloor heating can ensure rooms lose none of their warmth, while pairing free-flowing large format tiles with contemporary, minimalist furniture can elevate a bedroom or living room to new levels of sleek sophistication.

Quality, Resilience and Sustainability

We have a large selection of quality choices from leading suppliers, and we specialise in showcasing the latest in tile design and technology. Despite their size, our large format tiles are thin and expertly made. They have the quality normally associated with heavier porcelain tiles, but in a lightweight, easier to handle form.

The large format tiles still deliver the same resistance to wear, staining and heat. Plus, even though they are lightweight, they also still deliver durability in an easier to use, more eco-friendly way than traditional tiles.

Choosing The Tile For You

If you want to do some research for yourself, our showrooms in Wangara and Myaree have the widest ranges of large format tiles in Perth. On top of that we don’t just sell tiles. If you’re struggling, our dedicated design team and colour consultants are here to offer their expert advice for all your decoration needs.

Our team will also gladly take care of the technical side of your tiling job. Not only can they tell what tiles look great and where, they can also accurately measure up the right tiling to fit in your space and provide you with a quote for your requirements.

At CT Supplies we pride ourselves on our expert advice and attention to detail, so head on over to one of our showrooms for a chat. Whatever room or space you’re working with, one of our specialist staff will be happy to help you find exactly the right large format tile for you.


How To Use Large Format Tiles 9

Reliable delivery, reliable contacts

Once you’ve chose the tiles you want, you might need a little help getting them to your home or office and then installing. True to their name, large format tiles are big (ours measure up to 3×1 metres) and can be difficult to transport.

Luckily, our distribution team have their own trucks, as well as years of experience delivering tiles in Perth, while we also pack orders for dispatch to anywhere in Western Australia. So, once you’ve selected your tiles, you can rest easy and let us handle the heavy lifting.

And, when we’ve fulfilled your delivery, we’d be happy to put you in contact with reliable and experienced tilers in your area who can give you a quote on your installation.

Check Out Large Format Tiles Today

Ceramic Tile Supplies Perth has a variety of large format tiles to choose from. Just pop down to one of our showrooms and find out more!

Creating the Perfect Bathroom Tile Feature Wall 10

Creating the Perfect Bathroom Tile Feature Wall

By Bathroom Tiles, DIY, Tile SelectionNo Comments

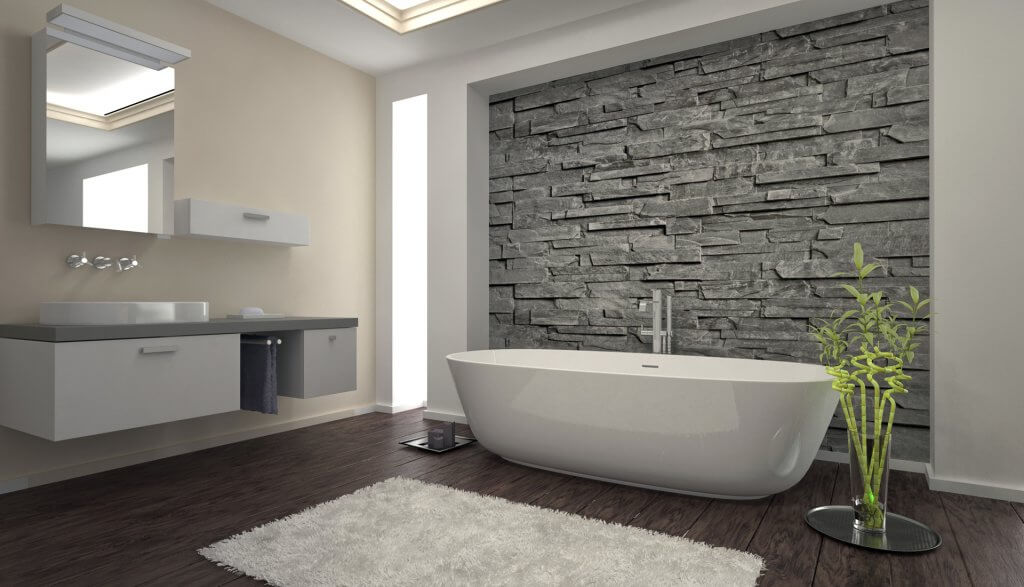
A feature wall is a unique in that it differs from the other walls in the room, usually in pattern, colour, or finish. It can add pzazz to a room that could otherwise be flat or boring. For bathrooms, homeowners may run into a problem finding a balance between design and functionality. A bathroom feature wall need to withstand hot and humid conditions without compromising style. Using bathroom tiles is an excellent way to hit that perfect balance of style and function.

Range of Tile Options

Ceramic, porcelain, glass, marble, and more — there are plenty of different types of bathroom tiles to pick from for your unique bathroom feature wall. Here’s a few, just to get you started.

Ceramic Tiles

The most common bathroom tile comes in several colours, sizes, textures, and styles to suit any design. They’re perfect for DIY homeowners, since they’re easy to install and maintain. Best of all, they’re moisture resistant making them perfect for your bathroom. You can really add a dramatic flare to your bathroom and create a mosaic or go subtle and have a single colour. The possibilities are endless.

Porcelain Tiles

Porcelain tiles have an elegant finish and do not fade or crack. They go well in almost any room, are durable and sturdy.They are also non-porous, which makes them highly resistant to staining and moisture. With dedication to installation and upkeep, the finished product can be breathtaking, especially when used on a bathroom feature walls.

Glass

With superior stain resistance and easy upkeep, glass is a great choice. They’re also more suited to walls than to flooring, due to the possibility of chipping.

Marble

Marble adds a level of sophistication to any room, especially in smaller applications.

Matt, Gloss, Glaze, Satin?

Surface finishes are just as important as the type of material chosen for the tile. Glazed and gloss finishes are shiny, slippery, and reflective, which makes them excellent for bathrooms, and they are available in an array of colours, textures, and styles. Satin finishes are the middle ground between matte and gloss tiles, are less reflective than glazed, and are easy to clean and maintain. Matte finishes are soft to the touch, not reflective, durable, and easily combined with gloss or satin finished bathroom tiles for contrast.

Creating the Perfect Bathroom Tile Feature Wall 11

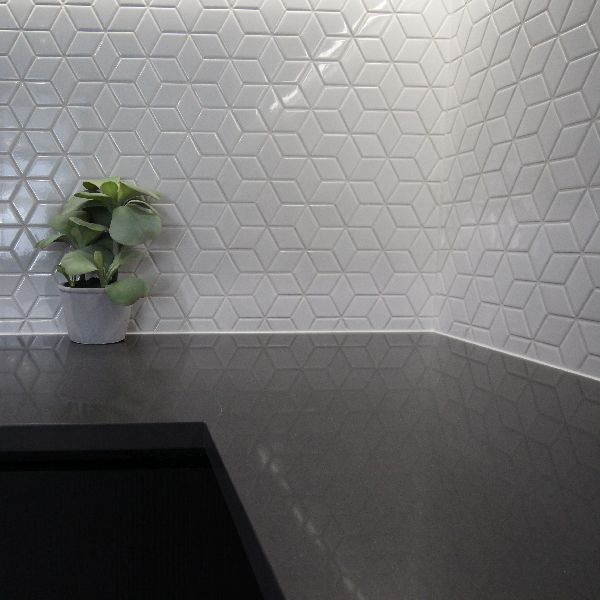
Diamond Rhombus shape mosaic tile looks great with various shades of grout

Design and Implementation: Bringing It All Together

There are tons of ways to use bathroom tiles to brighten up and stylise a room that’s not typically thought of as “stylish”. Geometric patterns using large, differently-finished tiles adds depth and contrast. Bright, vivid colours can add character and shine. Dark, muted colours can create a sleek and modern look. A combination of several different types of bathroom tiles adds not only functionality, but creativity. You can use straight lines to elongate a room, zig zags and curves to add movement, or solid shapes to establish patterns and stabilise the room. The design is completely customisable because every individual tile element is also uniquely customisable. Where the design goes is up to you–that’s the best part of using bathroom tiles for your feature wall!


Ceramic Tile Supplies in Perth and we have experts that can help you from the design phase all the way to the finishing touches. Need help picking the right tiles for your bathroom feature wall? Visit one of our showrooms today!

How Ceramic Tiles Are Made 12

How Ceramic Tiles Are Made

By GeneralNo Comments

The earliest known example of ceramic tiles being made and used was in 4th millennium b.c. Egypt. From there, the trend spread outward through Africa and the Middle East, reaching Europe around the 10th century a.d. and to our tile shop in Perth today!

As one of the more affordable tiling options available, ceramic is a popular choice among customers buying tiles in Perth. While they can still easily be handmade just like they were hundreds of years ago, advances in manufacturing now also allow them to be mass produced by specialised machines.

The Basics

For both handmade and industrially manufactured tiles, a tile body must be mixed. This body is made from clay, which can now be produced with a mixture using the dust of pulverised rocks or even recycled material such as post-industrial glass, instead of having to source it from a riverbed.

After this first step in prepping the material which will make the tiles, the process begins to shift depending on the production process.

Shaping

Handmade

Tiles produced by hand are shaped by hand-rolling the clay. The clay must be flattened to an even thickness, and this is achieved by either pressing the clay out within a wooden frame or using a roller machine. After this step, the tiles are ready to be cut to whatever shape is desired using wire or shaped metal die.

Industrial

In a ceramic tile manufacturing facility, the clay body will be flattened and cut evenly by machines.

An option called dry pressing places the clay body in molds and evenly compacts it at a high pressure Another method extrudes the clay through a mold in the desired tile shape, then slices the tiles evenly with a wire cutter.

In both process, the unbaked clay, or greenware, is then dried to remove any moisture that may cause it to crack later in production.

Glazing

Handmade

After the greenware has been dried, the decorative accents that make each tile unique can be applied.

Glaze is the glossy finish on the top of tiles. It can be layered onto the greenware before or after a first firing. Many ceramic artisans prefer to glaze ceramic as bisqueware, which is unglazed greenware that has been fired once.

Glaze can be painted, sprayed, or rolled with hand tools onto the ceramic tiles, generating about 50 pieces per day that are ready to be fired.

Industrial

Industrial machines apply glaze to the cut tile blanks with a variety of machines.

Primers are applied to the tiles as they pass under a steady, curtain-like stream of glaze along a conveyor belt. After this step, additional glazes that may react with the primer or produce different decorative effects are applied.

Machines such as glaze slingers, glazing drums, disc sprayers, or even inkjet printers expedite this step in industrial settings. All together, these types of machines can glaze around 2,000 square feet of tile each day.

Firing

Handmade

Clay must be heated to harden into tile, and to bring out the colours of a tile’s glaze. The ovens used for this process are called kilns.

Handmade ceramics are made in smaller batches using smaller kilns than the industrial process. Periodic kilns with a singe oven door are the most popular type used in smaller production studios and production rates are limited by their size.

Industrial

Large scale tile manufacturing sends glazed tiles through a roller oven or other style of continuous kiln. This specific conveyor style kiln can heat up to 4,000 square feet of tile on its 125 meter journey through the oven.

Similar to firing practices in the hand-made process, shuttle kilns may also be used, but they are less efficient than the roller oven.

Delivery

After the tiles have been fired and cooled, they are ready to be shipped out to stores such as our tile shop in Perth. Contact us online or stop in to one of our locations to see the new styles we have in stock today.

Choosing the Right Grout Colour—What You Need to Know 13

Choosing the Right Grout Colour—What You Need to Know

By General, DIY, Tile SelectionNo Comments

Have you finally picked out the perfect kitchen tiles? Don’t get too comfortable. Your design work isn’t done quite yet.

Now, you’ll need to find the right grout colour. This might seem like an insignificant factor to consider. However, your grout colour can make or break the look of your whole kitchen.

As specialists on tiles in Perth, Ceramic Tile Supplies has you covered. We’re going to go over everything you need to know about choosing the right grout colour for your kitchen tiles.

Match, Complement, or Contrast

One of the main things you should consider is the style you are going for. For your tiles in Perth, you essentially have three options:

Match

Many people choose to make the grout the same colour as their kitchen tiles. This has many benefits.

For one, it will create a uniform look. Other pieces in your home will be able to take centre stage. This is especially important with modern designs that already have enough flair.

Matching is also good in that it makes a room look bigger. The consistent design gives the illusion that the area is more spacious than it actually is.

Complement

The complementary option is a middle ground between matching and contrasting. It can create space while making a subtle yet impactful statement.

Contrast

Choosing a grout that contrasts with your tile is a bold choice. It should be a decision made with intent. Make sure it matches the theme of the room and your stylistic vision.

If done right, contrast can make your kitchen tiles stand out without looking too busy. It will add a pop of colour and mesh well with your decor.

Take Maintenance into Account

The colour you choose will affect how much maintenance your kitchen tiles require. Lighter shades tend to collect more dirt, requiring you to clean more frequently.

Darker shades, however, aren’t free of maintenance. They tend to produce efflorescence that needs to be scrubbed and removed.

No matter what kind you get, consider sealing options. This will prevent staining and help your tiles in Perth last for years to come.

Test It Out

This probably isn’t the most important decision you’ll ever make. However, you’ll want to be happy with it. You don’t want to feel regret when you look at your kitchen tiles every day.

So why not test it out? Use a piece of plywood to make a mock-up. Place the sample in the room you are renovating. Leave it there for a few days to get a feel for it. This will help you determine if the design is a good fit.

Talk to the Experts

Still can’t decide? We know it can be overwhelming. There is a lot that goes into selecting the right grout colour.

If you are feeling unsure, don’t worry! We are here to help. You can stop by one of Ceramic Tile Supplies‘ showrooms. Our professionals will give expert advice and help you put the finishing touches on your tiles in Perth.

Why Should You Choose Under Tile Heating? 14

Why Should You Choose Under Tile Heating?

By General, Architects & BuildersNo Comments

As the cold weather sets in, it can become less appealing walking barefoot across the tiled areas of the house. Speaking from experience, nothing beats the feeling of warmth underfoot, especially on a brisk Perth morning.

Under tile heating is not a new concept for homeowners. In fact, the Romans used to build houses with empty spaces and tunnels under their flooring. Air, warmed by an open fire, would be channeled through these tunnels to heat up homes during winter. Pretty cool right?

Now that we’re done with our mini-history class, here’s everything you need to know about under tile heating in Perth.

How Does Under Tile Heating Work?

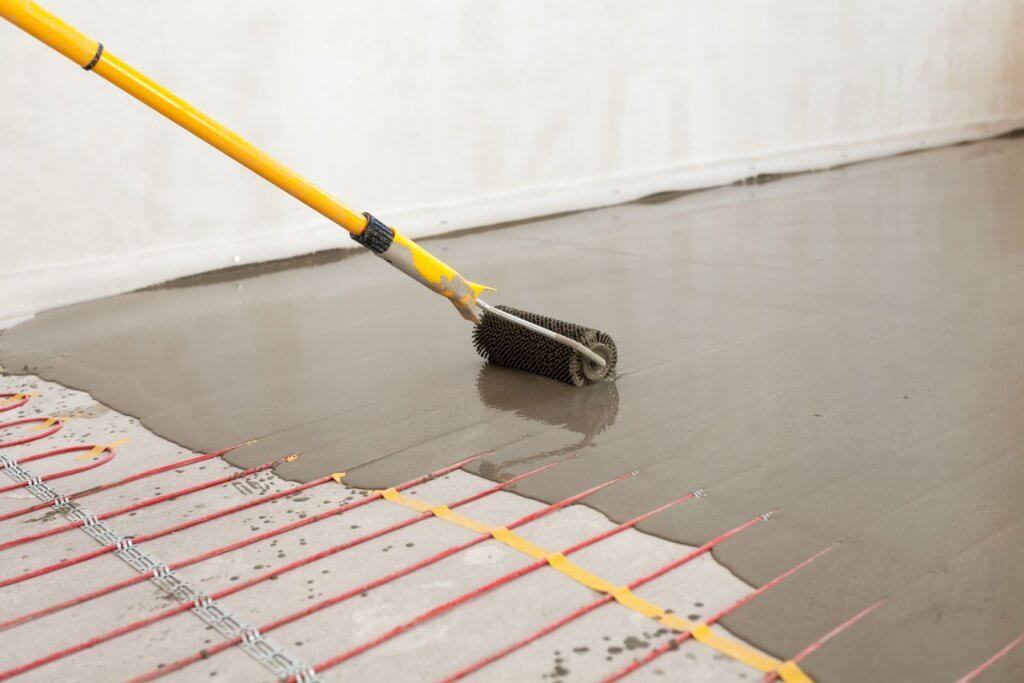
Under tile heating is an invisible heating system powered by either hot water or electricity. It is designed to run under the tiles through a network of conductors or tubing to deliver a controlled flow of warmth.

It can be easily installed in virtually any home. And, it’s energy efficient, non-intrusive and frees up your wall space from radiators or convectors. It’s not surprising that it has become quite popular among homeowners in recent times.

The Benefits of Under Tile Heating

A balanced heating profileThe best part of installing under tile heating is the balanced, comfortable heat it produces across the home. There are no cold spots or draughts that catch you unannounced. It also works great for those who have dust allergies as there are no dust movements being pushed around by fans.

Energy efficiencyOne of the most popular reasons people choose this system is its low running costs. Its surface area is larger than that of a radiator, which allows it to run at a much lower flow temperature while still heating the floors. Its ability to run at a lower temperature means it’s a cheaper system to use: it can be 25% cheaper with a hot water system and as much as 40% cheaper with an electric system.

Compatibility Another great advantage is it can be installed across the home – bathrooms, living room,  terrace, anywhere. It can also be installed across a wide range of floor coverings, from marble to vinyl.

Affordability The combination of energy efficiency and low maintenance costs just screams affordable in the long run. While you might spend an initial larger cost to install, over time, the savings quickly add up. And once installed, you spend close to nothing in maintenance.

Installing Under Tile Heating

By now, you may be asking – can I do this myself? Probably, yes! But should you? Probably not.

Installing heating under tiles in Perth is difficult. That’s why you should work with a qualified installer to guarantee that you choose the right materials, everything is done right, and it’s an economical investment. They’ll be able to offer expert advice and help you calculate the desired temperatures, potential heat loss, the ceiling height and the type of flooring required where necessary. 

If you need help picking the right tiles, get in touch with one of our experts in Perth today at Ceramic Tile Supplies!


mosaic tiles perth

Tile Design Trends That Are Transforming Perth Homes

By General, Architects & BuildersNo Comments

While other types of home design trends remain steady throughout the years, trends in tiles change quickly. Out-of-date flooring can really stick out like a sore thumb.

Homeowners looking to update their tiles in Perth should know what the latest styles are; although, they should ultimately go with what they like best. If you’re exploring trend tiles in perth, understanding today’s popular shapes, colours, and finishes can help you make a confident choice.

Hexagon-shaped

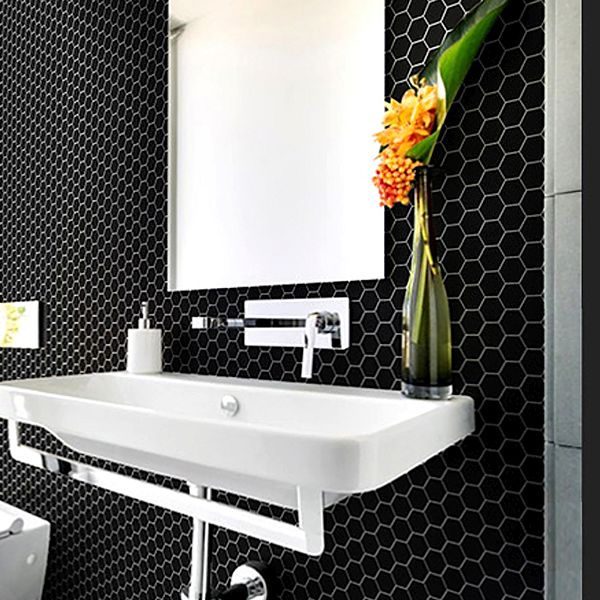
In recent years hexagon-shaped tiles have become a preferred choice for bathroom floors. The traditional rectangles and squares that have decorated these spaces for decades are being replaced by more modern tile designs. Hexagons offer an appealing aesthetic that looks great in a variety of colours, textures, and sizes.

They’re a stylish and practical option for your shower floor or entire bathroom. If you really want to go out of the box, try alternating complementary coloured flooring in a repeated pattern throughout the area. A bold graphic floor using trend tiles in perth can create a space you’ll be excited to step into each morning.

As homeowners continue experimenting with trending tiles design, geometric patterns like these remain at the forefront of contemporary interiors.Tile Design Trends That Are Transforming Perth Homes 15

Timber Look Tiles

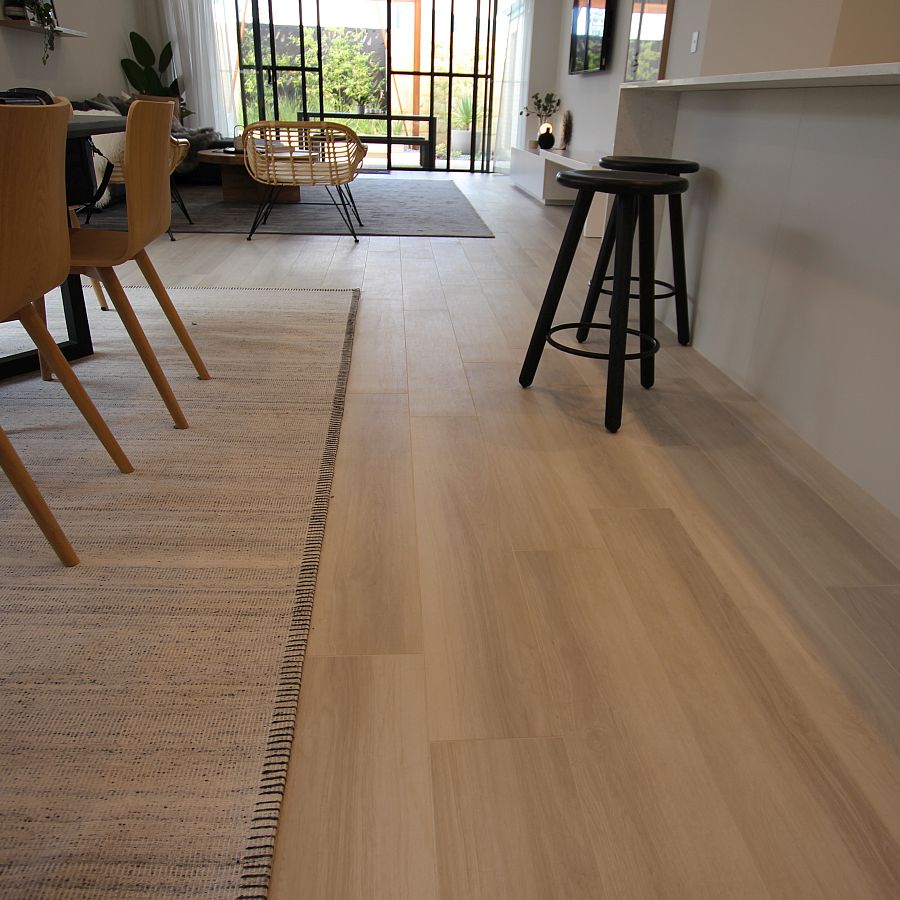
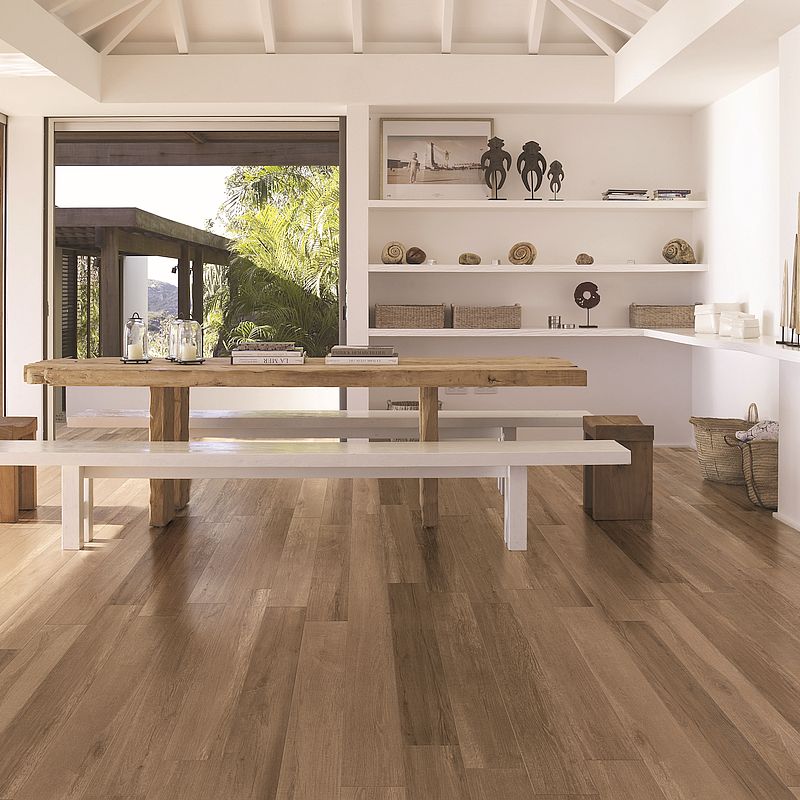
Wood flooring is a staple in home renovation. However, the upkeep of hardwood has caused many to opt for alternatives. Water can easily damage wood, yet people still want that natural, warm look. Luckily, timber-look tiles offer a durable, water-resistant solution.

These tiles are made to withstand heavy traffic and moisture, making them perfect for busy areas of your home. The appeal of timber look trend tiles in perth options goes beyond their practicality — they also bring a cozy, timeless charm to any room.

As trending tiles design continues to evolve, timber-style tiles prove that it’s possible to blend rustic beauty with modern performance. They’re ideal for kitchens, bathrooms, and living spaces seeking that natural touch.Tile Design Trends That Are Transforming Perth Homes 16

Marble Subway

While flooring trends may change quickly, some designs remain timeless. If you’re planning to install tiles in your Perth home, consider white subway tiles. Their stretched, elongated form brings a refined and modern tile designs feel, especially in bathrooms and shower areas.

Adding a contemporary twist to this classic look is simple — try using marble variations for an upscale appearance. The clean lines and polished finish of marble subway trend tiles in perth instantly elevate your space without overwhelming your décor.

This trend continues to gain momentum among trending tiles design enthusiasts who appreciate minimalism combined with luxury.

Cement

Sustainability has become increasingly important in interior design. For eco-conscious homeowners, cement tiles offer a beautiful and responsible choice. Made from clay, sand, and natural pigments, they’re both durable and environmentally friendly.

These tiles can be customised in colour and pattern, ensuring your space reflects your creativity and preferred style. Incorporating trend tiles perth options that mimic the look of concrete can also give your floors a sleek, industrial aesthetic while maintaining a soft, livable feel.

If you can’t find internal-grade cement tiles locally, Ceramic Tile Supplies offers several high-quality porcelain collections featuring this look. As trending tiles design continues to prioritise sustainability and originality, cement and concrete-look styles are here to stay.


There are so many popular modern tile designs and finishes to choose from that it can be challenging to create a cohesive vision for your renovation project. When selecting the right tiles in Perth, consider the texture, tone, and overall atmosphere you want to achieve.

Our team at Ceramic Tile Supplies can help with every aspect of your project. With over 50 years of experience, we’ll guide you through the best trend tiles perth selections suited to your home’s unique design.

How to Clean Tile Grout: Tackle Tough-to-Clean Tiles & Grout 17

How to Clean Tile Grout: Tackle Tough-to-Clean Tiles & Grout

By General, Bathroom Tiles, DIY, Tile MaintenanceNo Comments

Whether you’re preparing to seal freshly installed tiles in Perth or figuring out how to clean stubborn grout from regular wear and tear, there are a variety of effective at-home solutions that can help make your grout look brand new.

Tips From The Professionals:

At the tile shops in Perth, we know that nothing diminishes the beauty of tiles quite like dirty grout. Before jumping into the best method to clean grout, keep these essential tips in mind to ensure optimal results:

  • Don’t rush: Let your grout cleaner sit for ten to fifteen minutes before you continue for the best results.
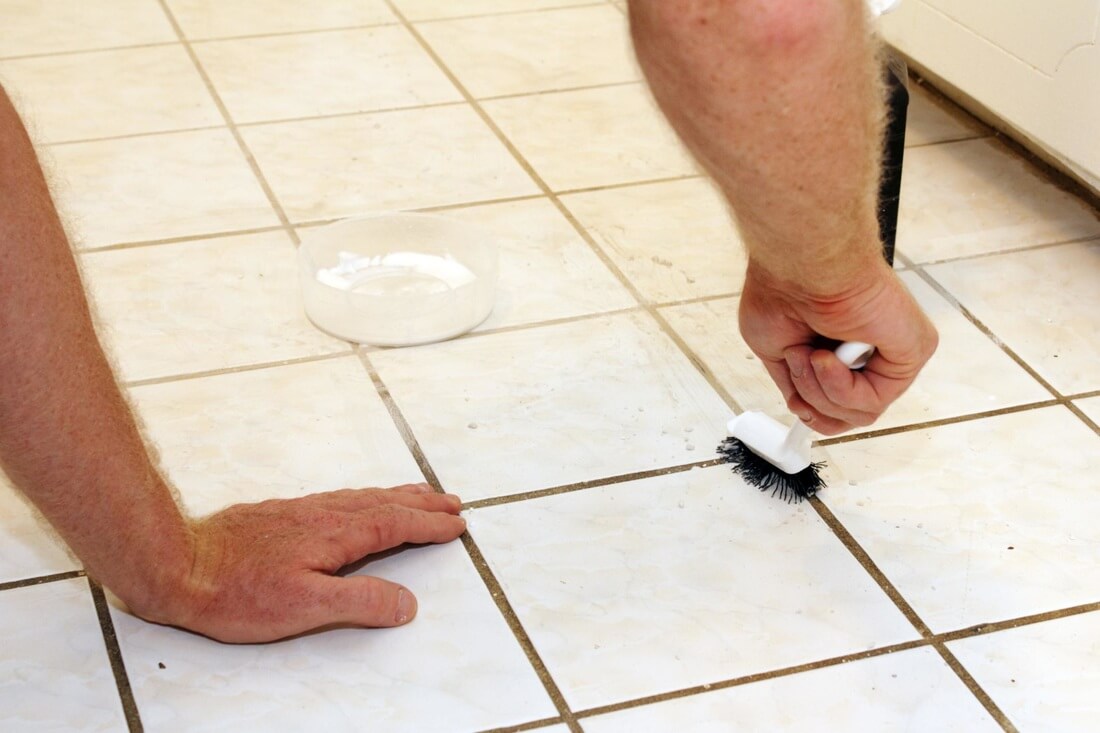
  • Use the right tools: A small, stiff brush than can fit within your grout lines is the key to getting any and all buildup off.
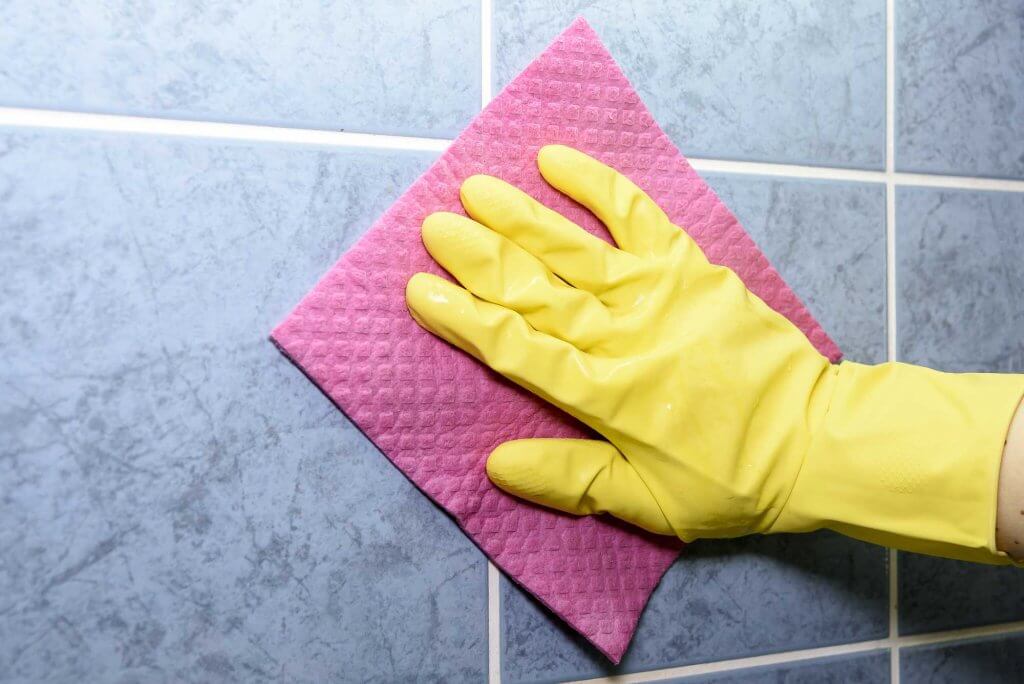
  • Rinse, don’t repeat: Mop or wipe down your recently cleaned tile and grout with warm water and mild cleaning detergent to pick up any remaining loosened residue and prevent streaking.
  • Test a sample: Especially on coloured grout, test all of these solutions on a small corner to confirm that any chemical reactions will not produce discolouration.

OPTION ONE: STEAM CLEANING

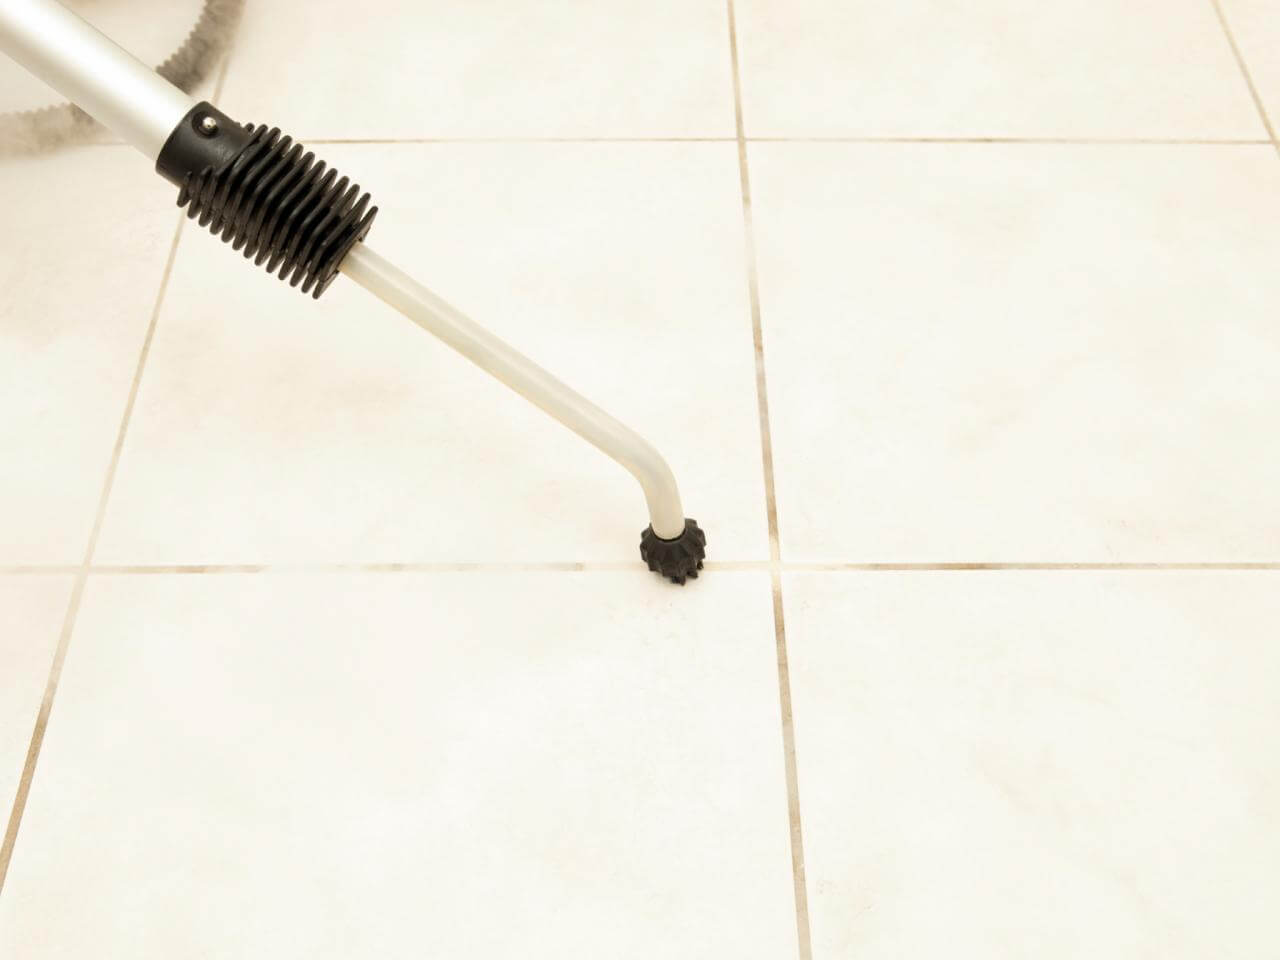
The least strenuous, time consuming, and least chemically abrasive option, particularly suitable for those who don’t want to be scrubbing tile on their hands and knees or who are concerned about chemical contact around themselves, children, or animals, is steam cleaning.

Be advised that this solution will remove any sealant on your grout so it is best used on older grout that is due to be resealed. However, as there is no chemical reaction in this cleaning process, it is ideal to use on coloured grout as there is no risk of discolouration.

If you do not wish to purchase your own steam cleaner, many hardware or home improvement stores offer rental options that may be suitable for your needs. Be sure to use the appropriate grout cleaning attachment, such as a steam hose and a small brush, for the best results.

Tile Grout Cleaning

OPTION TWO: BAKING SODA AND VINEGAR SOLUTION

This option is not suitable for grout used on natural stone, as the vinegar may stain or damage natural tile, but is otherwise very convenient as the ingredients are very commonly found already within your home.

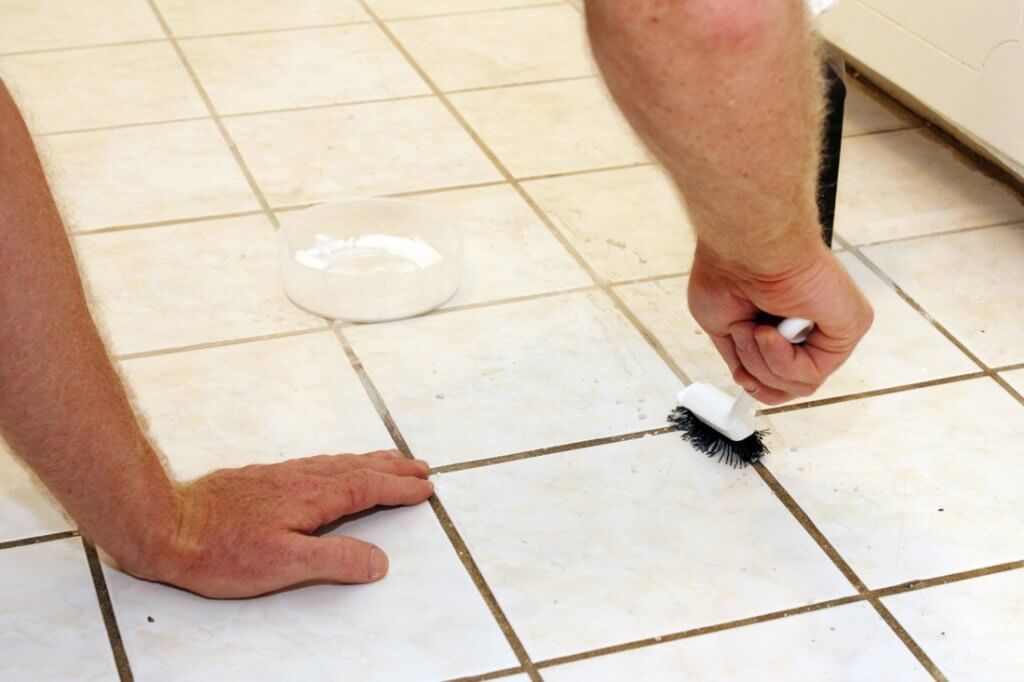
The first step is to mix a 3:1 solution of baking soda and water to produce a thick paste that can be generously applied directly on the grout lines. You should then spray a 1:1 solution of vinegar and water onto the paste which will cause the two ingredients to react by bubbling. Once the bubbling ceases, scrub away the paste then wipe or mop up any remaining residue.

OPTION THREE: BAKING SODA, DISH SOAP AND HYDROGEN PEROXIDE SOLUTION

Similar to the option above, this solution can also be made with commonly found household items. A solution of 1 tablespoon dish soap, 1/4 cup hydrogen peroxide, and 3/4 cup of baking soda creates a cleaning paste that can be applied in a similar manner to the baking soda and vinegar solution. Let the solution bubble and sit for the recommended ten to fifteen minutes then scrub, rinse, and mop.

How to Clean Tile Grout: Tackle Tough-to-Clean Tiles & Grout 18

OPTION FOUR: OXYGENATED BLEACH

Chemically, using bleach is the strongest cleaning option we can recommend, though not necessarily the most effective depending on the state of your grout. Mix two tablespoons of bleach thoroughly into two cups of water, and use as quickly as possible for the best results. Make sure to also use a synthetic bristle brush to prevent your tools from breaking down in reaction to the chemical agents in bleach. Apply the solution in sections to your grout, let sit, scrub, and rinse as usual.

Particularly tough to clean spots with deeper stains or more build-up can be treated with small amounts of pure bleach. It is recommended you wear gloves and use sufficient ventilation when using this treatment option to protect your skin, lungs, and eyes from the harsh chemicals found in bleach.


If you’re still unsure about how to clean tile grout or need professional assistance, contact our team at the premier tile shops in Perth. We can help assess your cleaning needs and recommend the best solution to restore your tile and grout to their original shine!

subway tiles

History of Subway Tiles – Origin Story

By Subway TilesNo Comments

They do say that styles and designs have a way of repeating themselves over the decades, but there are some that never leave.

Although subway tiles had early beginnings in New York in the 1900s, it seems to us that this clean and chic style will continue to be placed in homes for many more decades to come.

Here at Ceramic Tile Supplies we offer an extensive variety of subway tiles, so we know that it can sometimes be difficult to choose between these timeless classics. That is why we are here to help you every step of the way towards the design of your dreams.

That being said, here is your ultimate guide to help you choose the right subway tile for your latest project!

The 75 X 150mm Subway Tile

Despite originating in New York, this tile style made its way all the way to Paris for this enticing take on subway tiles.

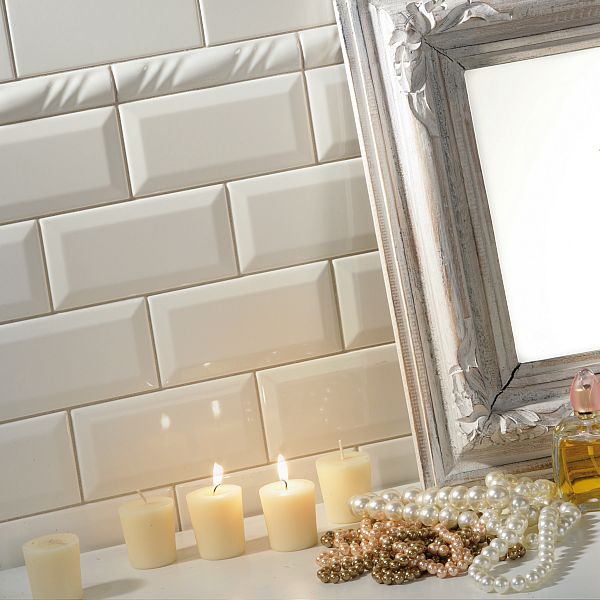
These 75 x 150mm designs feature bevelled edges that offer more appeal and dimension wherever they are placed. We recommend these tiles as a classic option for those who like to keep things simple and elegant.

We offer a variety of bevelled options, and they come in both matt and gloss finish options.

Victorian Bianco Diamond Lucido bevelled subway tiles

The 75 X 300mm Subway Tile

The 75 x300mm Subway tile style is not only taller than its sibling, but it is also more equipped to make a statement.

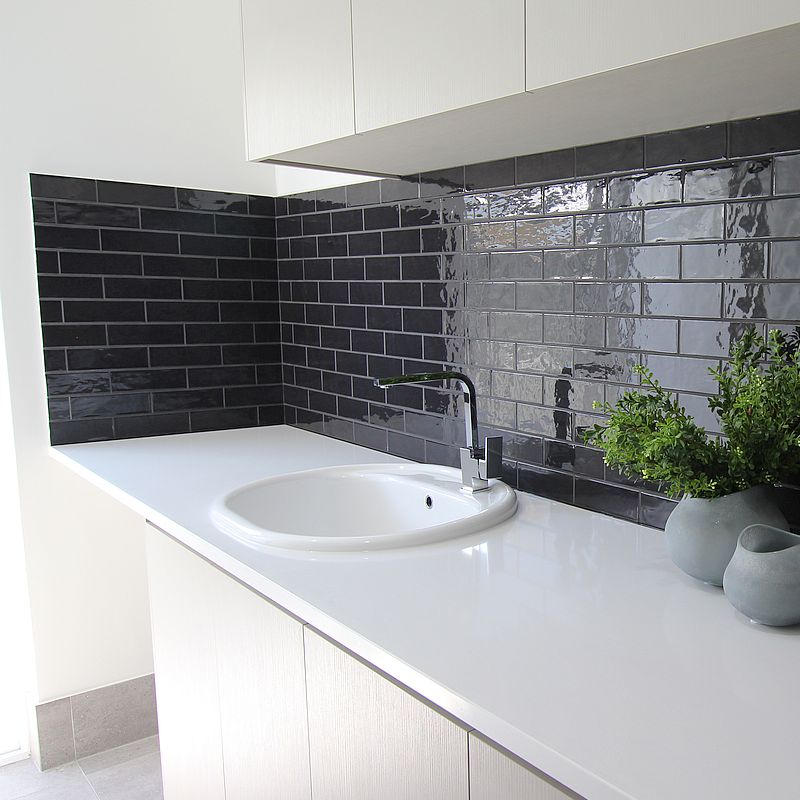
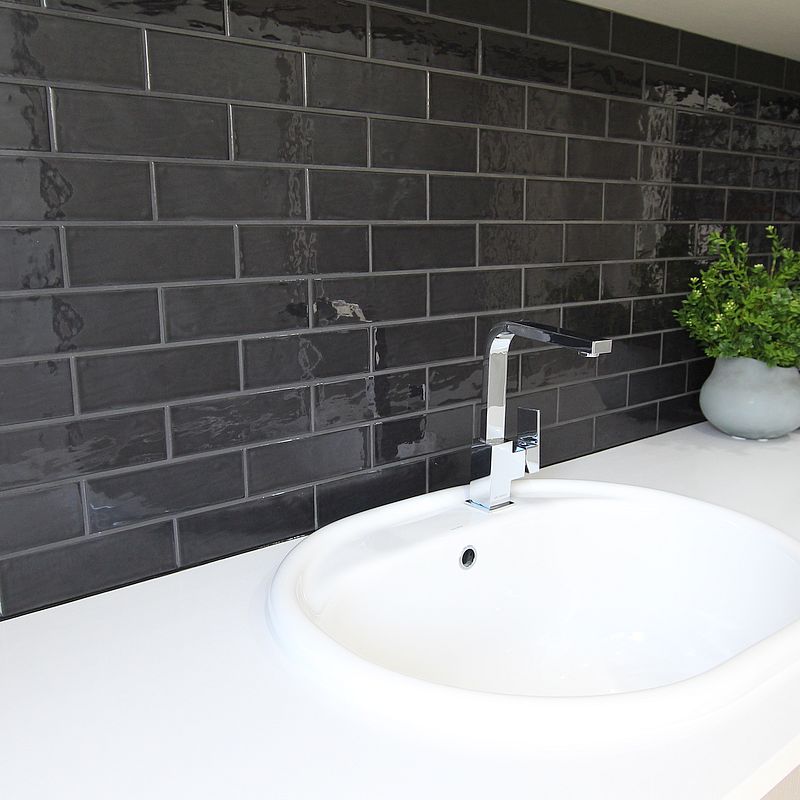
With these tiles, there is an option to swap the normal straight edge for a trendier wavy edge to add character and keep your project looking unique. We also offer these tiles in a variety of colours, all available in a glossy finish and with a select available in matt.

The Country Style

The Country style of subway tiles from Spanish manufacturers Equipe are a range of elegant glossy subway tiles with a hand made effect to finish off the wonderful design.

Available in a range of colours, and able to create many different looks and effects, including the popular subway wall tile look.

This style is great for those who want to match their tiles to a vintage or country-style. However, it is not just a design for those styles of furnishing, as it also stands out and thrives among contemporary design choices as well.


History of Subway Tiles - Origin Story 19More Tips for Designing with Subway Tiles

The fun of design is not over once you choose your preferred tile.

One of the best things about tiling in general is how versatile the design layout is. With these tiles, you can create different patterns and looks that will make every project look unique, even if it is the same kind of tile!

These tiles will give you the freedom to give any room a new look. Whether you are redoing your bathroom or the splashback of your kitchen, you are bound to find a design that suits your style and the rest of the room splendidly.

For more information on the countless design possibilities for subway tiles in Perth, our range of colour and design options, or any other questions you may have about tiles in general, come on into one of our showrooms right here in Perth


Our Top Tips for Choosing the Right Bathroom Tiles 20

Our Top Tips for Choosing the Right Bathroom Tiles

By Bathroom Tiles, DIY, Tile SelectionNo Comments

Choosing tiles for your bathroom renovation is a big deal. Tile is one of the most significant components of a bathroom’s design. The wrong choice could result in an overall look that is undesirable and doesn’t make you feel at home. To save you from making poor tiling choices, we have compiled this collection of tile selection tips. As a leading supplier of bathroom tiles in Perth, we have significant expertise that we cannot wait to share with you.

Don’t Rush Yourself

With so many tiling options currently available, the process of making a choice can be remarkably overwhelming. Do not force yourself to decide quickly. If you are not completely sure, take your time and look at some other options. When visiting the showroom, give yourself a significant amount of time to browse without enforcing strict deadlines on yourself. Even if it takes a bit more time, you will be much happier if you end up with the choice that truly helps you to achieve your dream bathroom.

Prepare in Advance

If possible, try to have an idea of what you want before you get to the showroom. That way, you will be much more likely to stay on track and eventually make a purchase with which you are satisfied. Try to determine which colour scheme you want to go with before you arrive at the showroom. This will prevent you from being overwhelmed by the sheer number of options and colours available.

Also, bring inspiration photos to show to associates. Photos and examples can give them an idea of your preferences. As a result, they will be able to help more quickly with finding something that matches your style and vision.

Bring Your House Plans

Price is always a factor in home renovation purchases. Therefore, you need to ensure that you bring your house plans and any other relevant paperwork. This will enable the sales associates to give you accurate figures regarding the tile of your interest.

Additionally, if you show up with your plans, the associates will be more likely to give you advice. they can consult with you about what may look good and which options to avoid in your specific space.

Don’t Over-Complicate

Choosing tiles can be exciting. However, that doesn’t mean that you should go wild and purchase ten different types of tile for one room. A good rule of thumb is not to utilise more than three different kinds of tile in a single space. Otherwise, the area will become too overwhelming. Clashing designs will deteriorate the sense of style and aesthetic.

Talk To An Expert

Hopefully, these tips have given you some direction for choosing bathroom tiles. If you are still feeling lost, not to worry! Please feel free to contact us for more information. From subway tiles to mosaics, we can find something that perfectly fits your lifestyle and your budget. We invite you to give us a call anytime or visit one of our showrooms today.

Laying Tiles for Beginners 21

Laying Tiles for Beginners

By General, DIY, Tile InstallationNo Comments

Tiles are one of the most popular flooring choices for home renovations. It’s an attractive and functional choice for kitchens and bathrooms. Plus, they’re easy to maintain. However, installing tiles in Perth can be daunting for someone who’s never laid flooring. The following is a breakdown of how you can easily lay tile as a beginner.

Keep Safety First

You want to keep yourself safe if you decide to lay your own floors. To do so, wear heavy-duty gloves and protective goggles to guard your feet and eyes against the broken shards of your old flooring.

Prepare and Purchase the Product

Before you make any purchases, you want to measure the area to account for any awkward or jutting areas. When you measure, round to the nearest whole number. This will help you figure out how many packs of tile you need to buy. Each pack covers a specific surface area.

To further prepare your floors, ensure they’re level and dry. Ideally, you’ll lay your flooring on the concrete floor.

You can lay flooring over existing quarry tiles and vinyl, but you need to make sure that that flooring is laid down firmly and properly. When you lay over vinyl tiling, ensure that you also coat the surface with a primer. If you’re laying over concrete or wood, then you should use an adhesive for your primer purposes.

Once you’ve figured out the type of flooring you’re working with, you’re ready to select your tiling. Contact your local tile shops in Perth, such as our team here at Ceramic Tile Supplies, for help on design and colour options.

Plan the Layout

The first tile you lay is your “key tile”. It determines the entire layout of your tiling, making it the utmost importance that you get the positioning right. You’ll want to ideally start somewhere near the centre of your room and work out in each direction. Since many rooms aren’t perfect squares, starting out at the edge will leave you with a huge mess.

To ensure you don’t mess up the process, dry lay a row from the centre to the wall. If you end up with a tiny slither of tile against the wall then move that entire line of tile one tile width away. Once this line is laid correctly, keep dry laying your floor in the opposite direction and move your key tile around if things are not lining up.

When you’ve found the perfect location for that first tile, mark it down with chalk. If the edge pieces are not perfectly aligned, you’ll need to mark where they meet the wall and cut it to shape.

Start Tiling

Lay down the tiling the same way you dry laid it, starting with your key tile and working out toward the walls. Keep in mind, as you choose your direction, you want to avoid stepping on your newly laid floors. If you see no way of avoiding your newly laid tile while you work, think of working in sections per day.

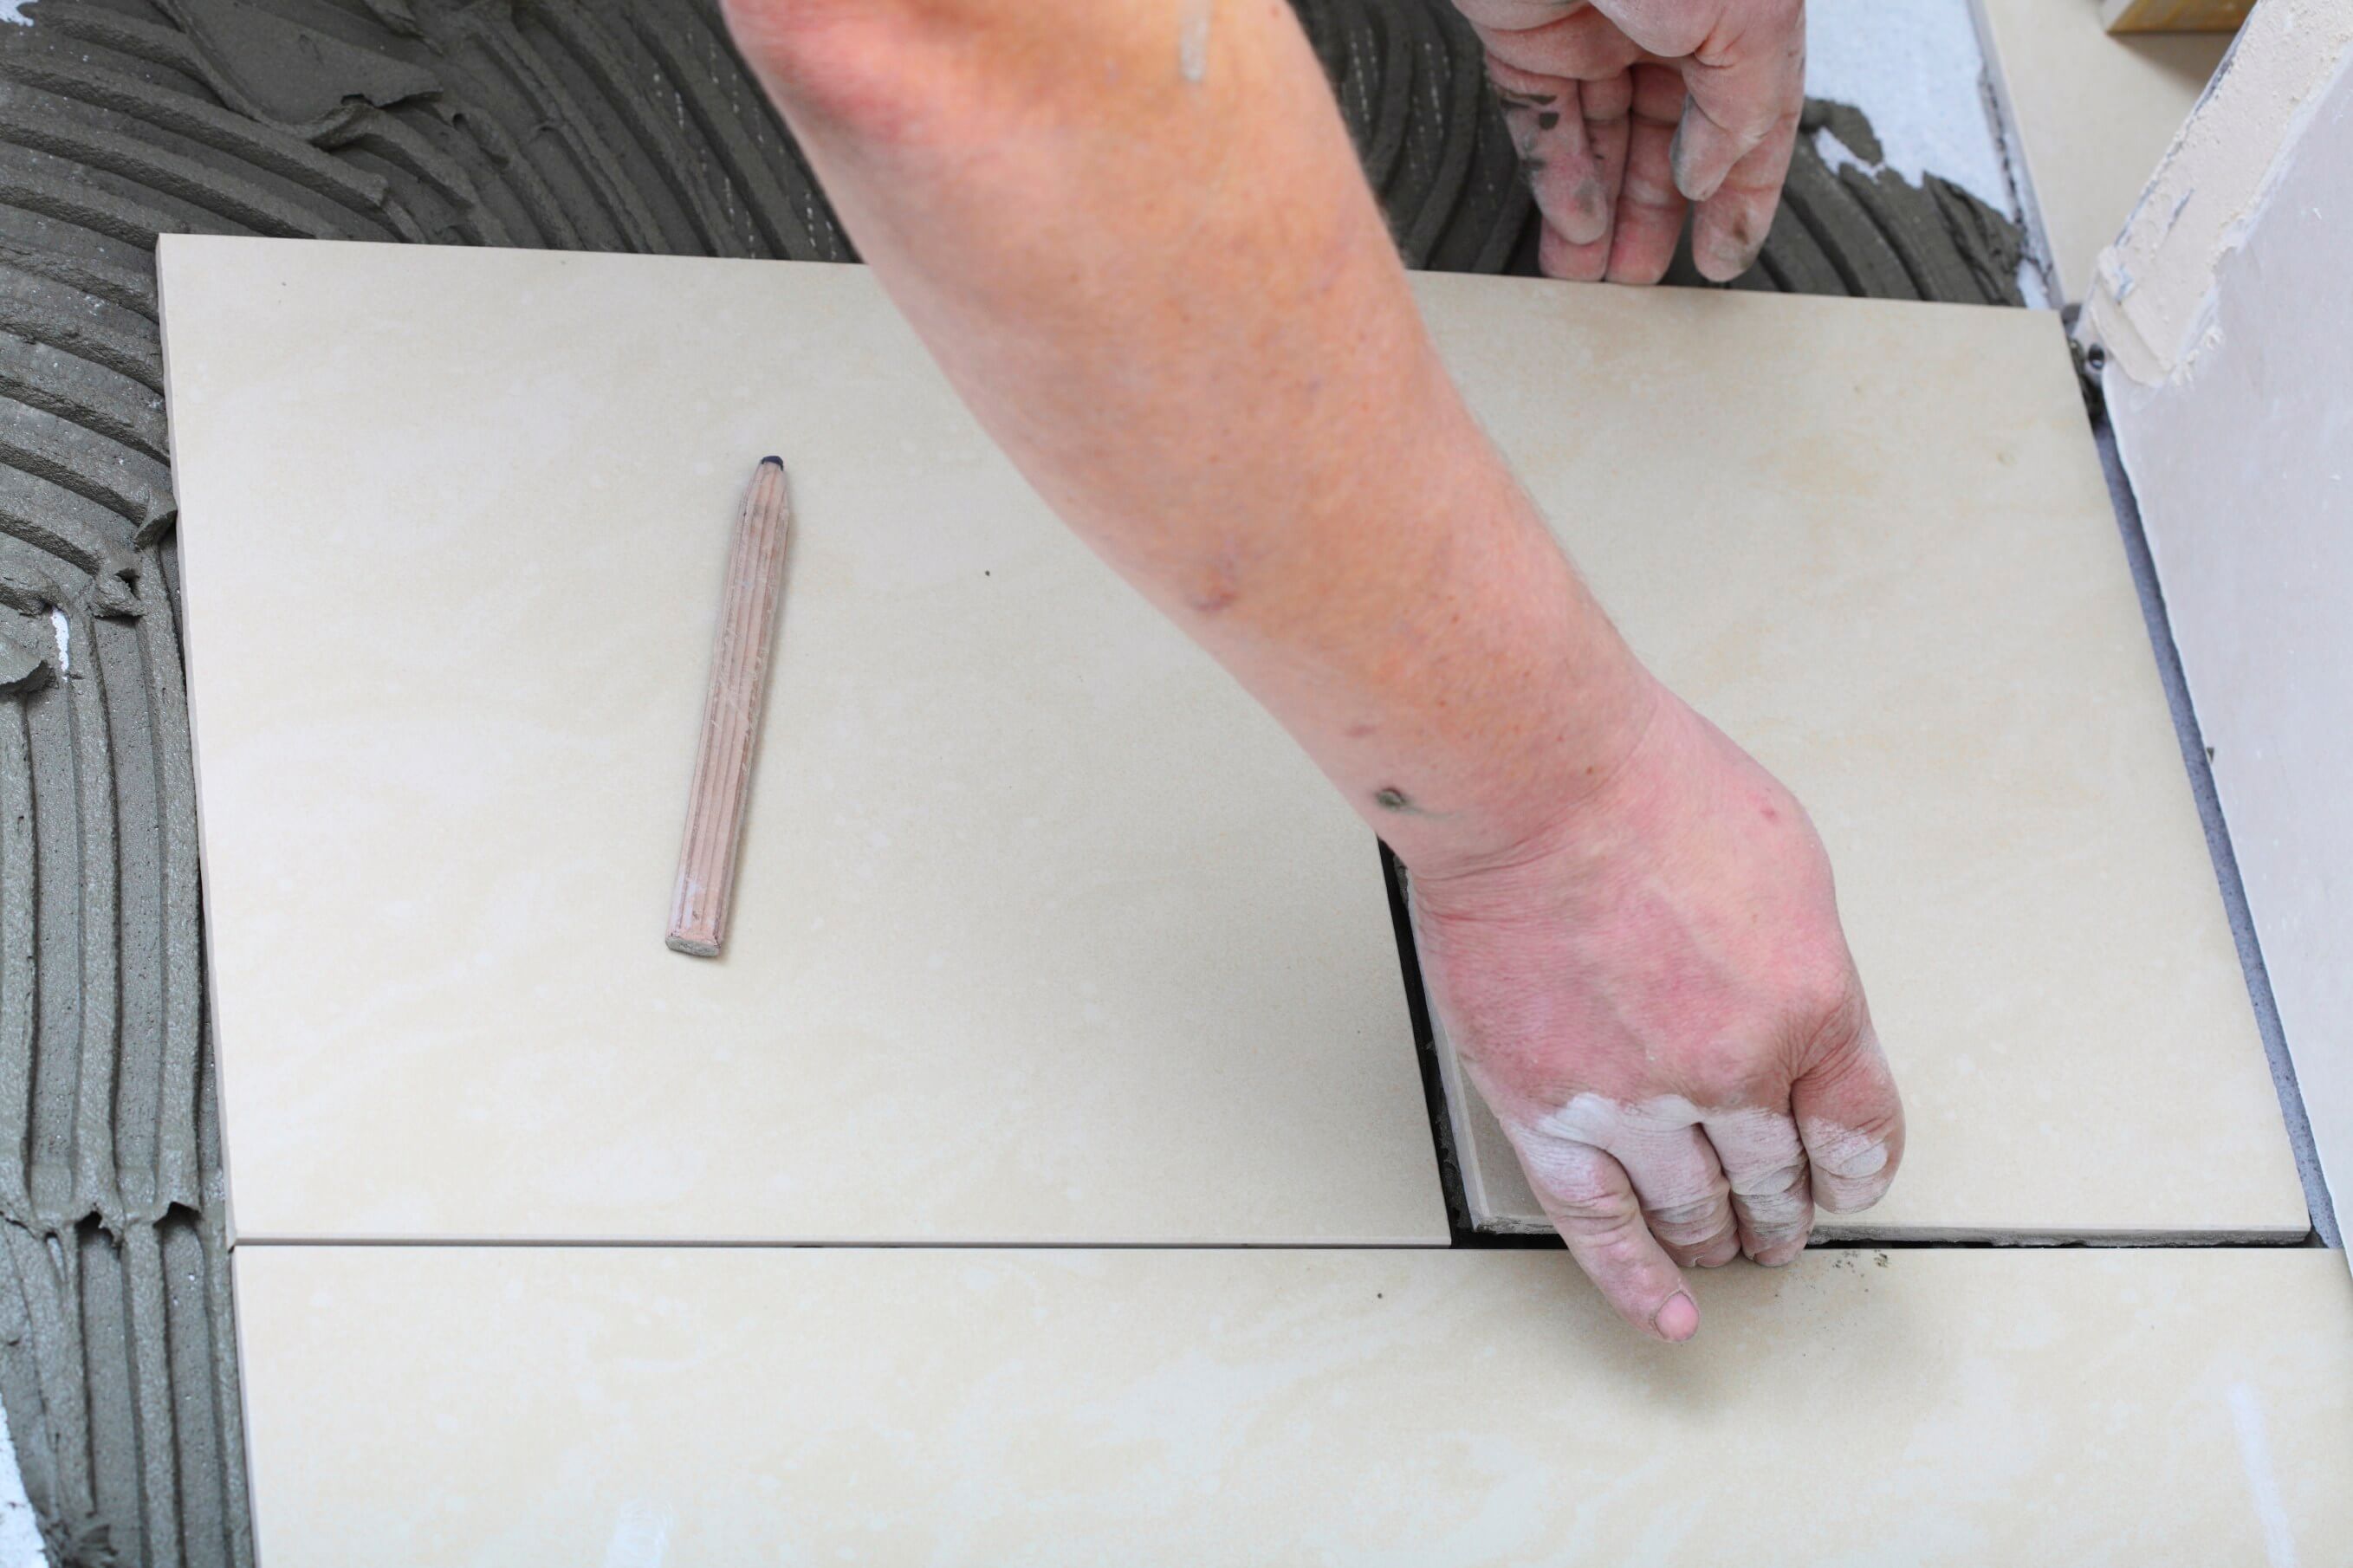
When you first start, spread out about a metre’s worth of adhesive in the centre of the area. To spread it evenly, use a spreader or notched trowel. A spreader leaves just the right amount of product so that the tile actually sticks. Lay your first trowel down, onto the mark you’ve placed before starting, and twist it slightly as you lay it to get rid of any air bubbles.

Work out from the key tile, using plastic spacers, toward one wall. Whenever you get done with every metre or two, check to ensure that your floor is level with a spirit measure. Once you’ve completed this row, redo these steps at right angles so that your tiles are crisscrossing the room from your centre tile. Continue this pattern in rows in one corner of the room and work in quarters.

Once you’re done, wipe down all of your flooring to ensure there is no adhesive left to ruin your perfect new floors. Don’t put your edge tiles in just yet.

Laying Tiles for Beginners 22

24 Hours Later

Once you’ve got your tile shaped by cutting it, you can fill the edges after the rest of the floor has set. Put a layer of adhesive onto the back of these cut tiles and press them into position, leaving them for 24 hours to set.

Get It Grouted

Before moving onto the grouting phase, make sure your tile is solidly set. Mix your grout well so that there are no lumps. Leave your grout sitting for 2 to 3 minutes to help break down these lumps and to release air bubbles.

If the tile you’ve laid is glazed, you can pour the grout over the flooring and spread it with a tool with a rubber edge to move it into place. For non-glazed, you have to gently place it into the cracks so that it doesn’t get on the floor’s surface and stain. As it begins to set, press the grout down with a wooden dowel to fill any air pockets or gaps. Have a damp sponge with you so that you can wipe away any excess.

The grout should harden in approximately an hour. When it is hard, you’ll want to wipe each tile with a damp cloth to make sure there are no grout stains that have escaped your attention. Be very gentle over the next 48 hours. Finish up your floors by sealing around the corners of the room with a flexible sealant the same colour as your grout.

Getting Started

Installing your own tile can be a huge job that takes a lot of time, energy, and patience. For those looking for help from tile shops in Perth, contact us today. We can give you a list of experienced and qualified professionals.